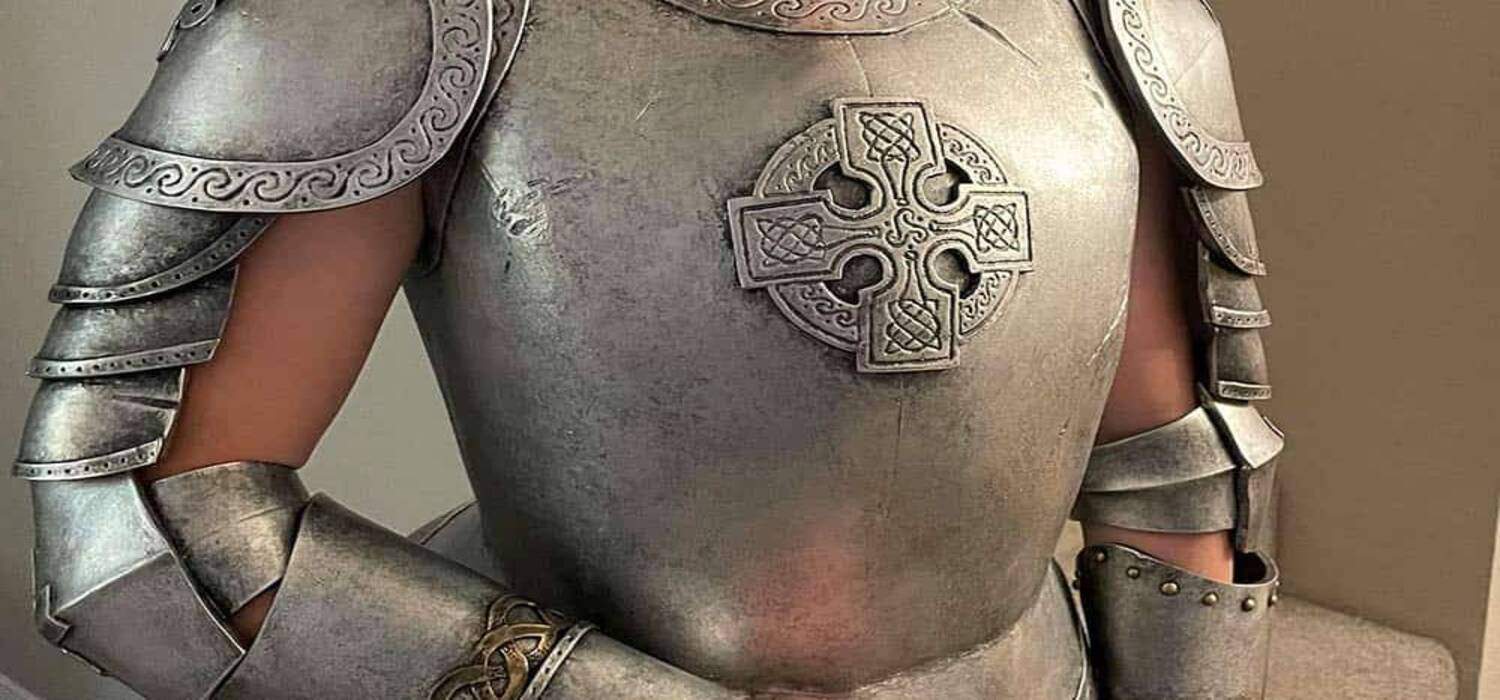
Ever wondered how to transform simple craft foam into stunning armor for your next cosplay or costume project? You’re not alone. The quest for easy-to-follow, cost-effective DIY armor solutions has brought many to the craft foam frontier. This article is your map to navigating the craft foam armor-making process, ensuring you not only end up with a piece that looks professional but also feels rewarding to make. Let’s embark on this crafting journey together, turning sheets of foam into armor worthy of any event.
How to make craft foam armor in a nutshell: Measure and cut your craft foam according to your armor design. Heat shape the pieces for a perfect fit, glue them together for form, and add paint for that final, dramatic effect. Simple steps, epic results.
Key Takeaways
Crafting armor from craft foam isn’t just about cutting and gluing; it’s an art that combines creativity with precision. Here are your key takeaways:
- Start with a Plan: Designing your armor on paper or software helps visualize the end product. This blueprint is crucial for accurate cutting and assembly.
- Material Matters: Not all craft foam is equal. Opt for higher density foam for durability and better detail work.
- Precision in Cutting: A sharp knife makes clean cuts. Keep blades fresh for the best results.
- Shaping with Heat: A heat gun can bend foam into almost any shape. Practice control to avoid overheating and damaging the foam.
- Glue Wisely: Use contact cement for strong, flexible joints. Apply evenly and wait for the right moment to adhere pieces together.
- Detailing Makes the Difference: Small additions, like beveling edges or adding texture, can elevate your armor from good to great.
- Seal Before You Paint: Applying a sealant ensures your paint adheres properly and lasts longer.
- Patience Pays Off: Take your time with each step for a polished and professional-looking piece.
Gathering Your Materials
- Craft Foam Sheets: Choose various thicknesses for different parts of the armor.
- Sharp Cutting Tools: Precision knives and scissors for clean cuts.
- Heat Gun: For shaping the foam.
- Glue: Contact cement or hot glue for assembly.
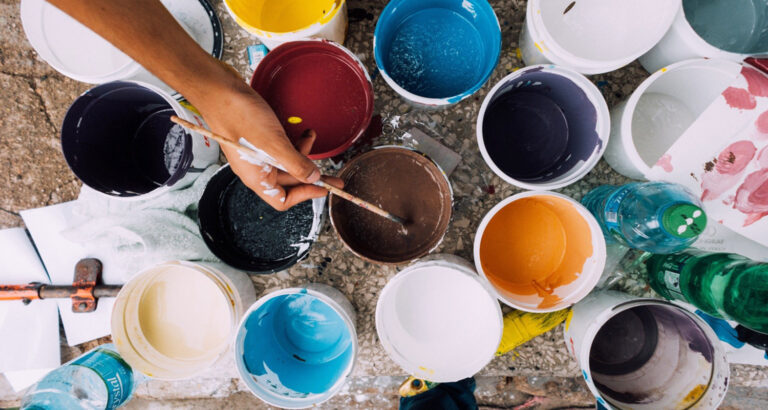
- Paint: Acrylic or spray paint for coloring your armor.
- Sealant: To protect the paint and foam.
Designing Your Armor
- Sketch your design or use software to plan your armor.
- Consider functionality and mobility in your design.
Cutting Out Your Pieces
- Transfer your design to the foam using a marker.
- Cut out the pieces with precision for a snug fit.
Shaping the Foam
- Heat the foam pieces gently until pliable.
- Mold them to your desired shape and let cool.
Assembling the Armor
- Glue the pieces together, ensuring strong bonds at the seams.
- Allow adequate drying time for strength.
Detailing for Realism
- Add textures, engravings, or additional foam layers for depth.
- Bevel edges for a more polished look.
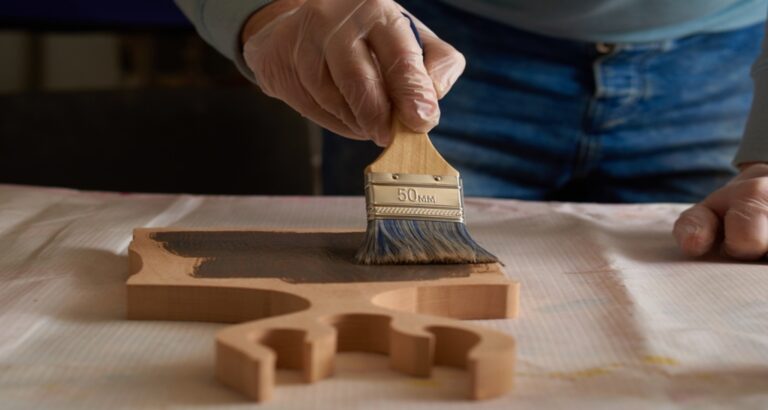
Painting and Finishing Touches
- Seal the foam before painting to ensure even coverage.
- Apply base coats and details as desired.
- Finish with a protective sealant layer.
Final Fitting
- Attach straps or closures for wearing your armor.
- Adjust for comfort and mobility.
Remember, patience and practice lead to improvement. Your first piece of craft foam armor might not be perfect, but each project will bring new learning opportunities and better results.
Advanced Techniques and Tips
Moving beyond the basics, let’s delve into some advanced techniques and tips that can elevate your craft foam armor from good to extraordinary. These methods require a bit more skill and patience but are well worth the effort for the stunning results they can produce.
Enhancing Durability
- Layering for Strength: Combine multiple layers of foam for increased thickness and durability in high-stress areas.

- Fiberglass or Resin Coating: Apply a thin layer of fiberglass resin to harden the surface. This step requires ventilation and protective gear.
- Texturing for Toughness: Use tools like a dremel to create textures that not only add detail but also contribute to the structural integrity of the armor.
Creating Seamless Joints
- Hidden Fastenings: Experiment with Velcro, snaps, or magnets to create joints that are both strong and barely visible.
- Smooth Edges: Use sandpaper or a rotary tool to smooth out edges for a seamless look. Filler can be used to patch any gaps before painting.
Advanced Painting Techniques
- Layering Colors: Build up color gradually with multiple thin layers, allowing each to dry thoroughly for depth and richness.
- Weathering: Add realistic wear and tear using techniques like dry brushing, sponging, and the application of washes to highlight edges and textures.
- Metallic Finishes: Use specialized paints and techniques like buffing to create realistic metallic effects on your foam armor.
Incorporating Electronics
- LED Lighting: Add LED lights for glowing effects. Plan your wiring route and battery placement carefully to maintain the armor’s appearance and functionality.
- Sound Effects: Compact sound modules can be incorporated to add sound effects to your armor, enhancing the overall impact.
Custom Fittings
- Adjustable Straps: Use elastic or adjustable straps for a comfortable, custom fit that allows for movement.
- Padding: Add foam padding on the inside for comfort during extended wear.
Maintenance and Repair
- Quick Fixes: Keep a repair kit handy with glue, spare foam, and paint for quick fixes on the go.
- Long-Term Care: Store your armor on a mannequin or in a spacious container to keep its shape and avoid creases.
These advanced techniques not only improve the look and feel of your craft foam armor but also its functionality and durability. With each project, you’ll find new ways to refine your process and make each piece uniquely yours.
By mastering both the basics and these advanced methods, you’ll be well on your way to creating craft foam armor that stands out for its craftsmanship and attention to detail. Remember, the key to great armor is not just the techniques used but also the creativity and passion behind the work.
Would you like further details on any of these advanced techniques, or are you interested in exploring additional topics related to craft foam armor making?
Conclusion
As we wrap up this comprehensive guide to making craft foam armor, remember that the journey from a flat piece of foam to a detailed, wearable piece of art is both challenging and immensely rewarding. Through this process, you’ve learned not just the basics of cutting, shaping, and assembling foam into armor but also explored advanced techniques to enhance durability, aesthetics, and realism.
Crafting with foam offers a unique blend of creativity, precision, and problem-solving. Each step, from the initial design to the final touches, is an opportunity to express your vision and hone your skills. Whether you’re creating armor for a cosplay event, a theatrical production, or just for the joy of making, the key is to enjoy the process, learn from each attempt, and never be afraid to experiment.
Remember, every piece of armor you create is a reflection of your dedication and passion for the craft. Wear it proudly, knowing that you’ve brought a concept to life through your hard work and creativity.
As you continue on your crafting journey, keep exploring, learning, and pushing the boundaries of what you can achieve with craft foam. The world of armor-making is vast and full of possibilities, waiting for your next amazing creation.

I am Sammy and I blog at Live it. Love it. Make it. It is creative lifestyle blog run by best friends H and Sammy. Head over and follow our crafty adventures!