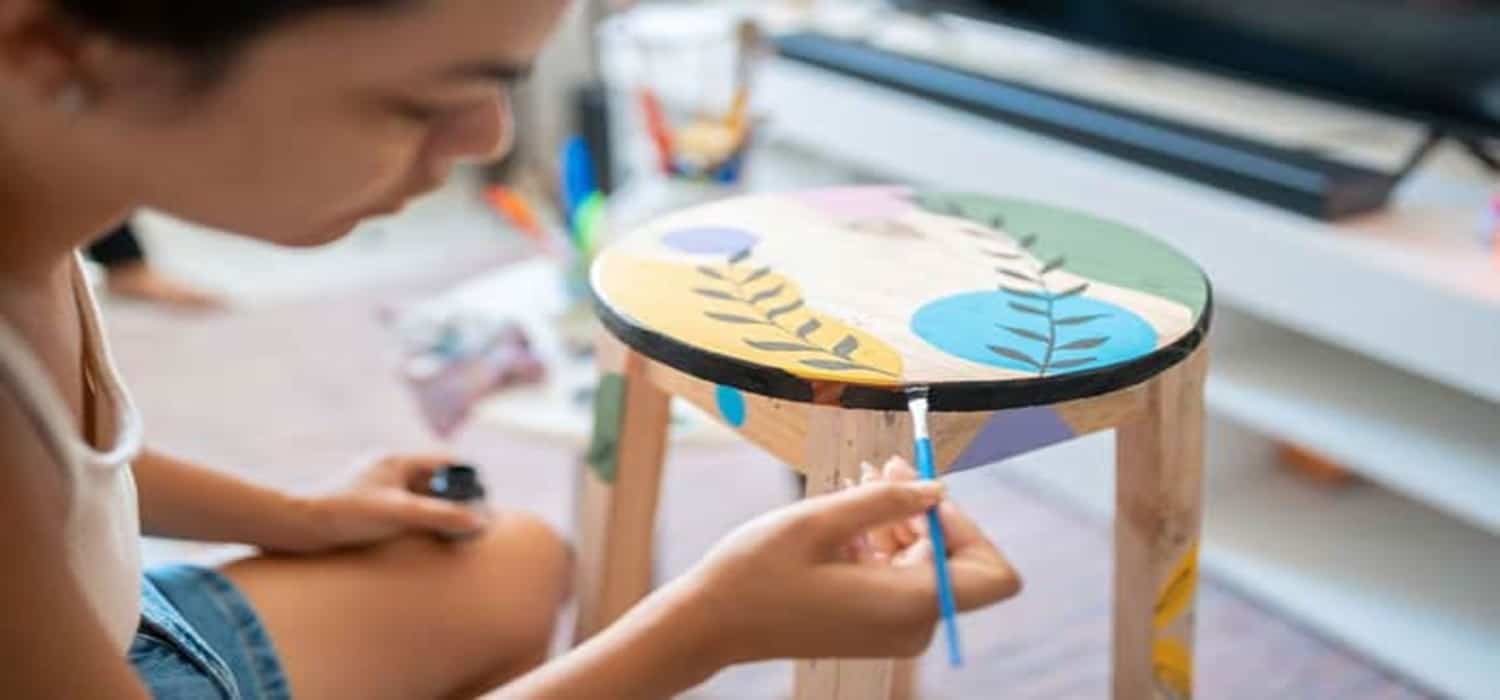
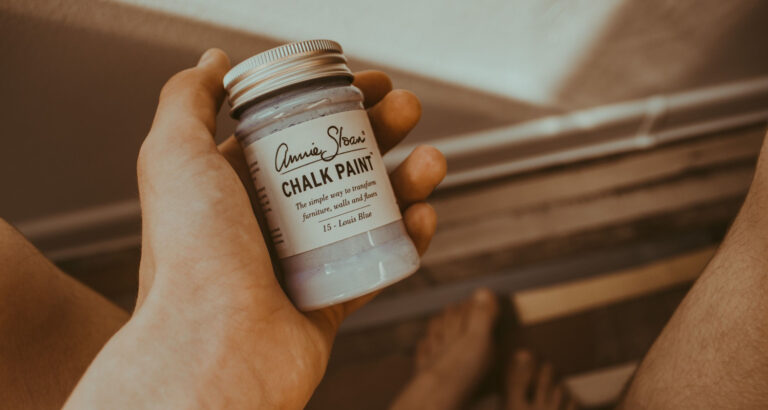
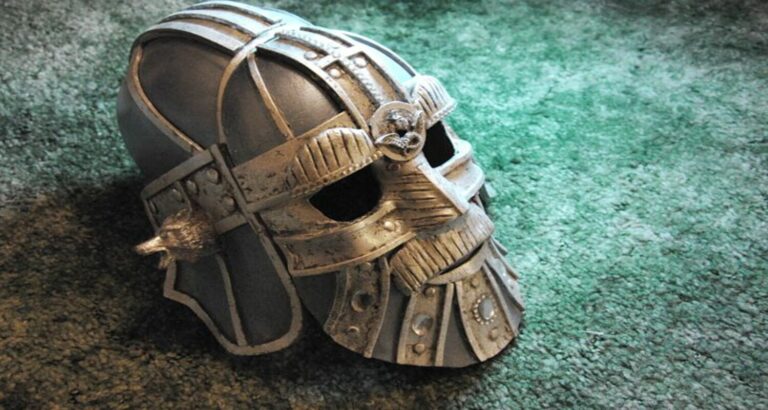
Ever looked at a plain piece of craft wood and felt it was missing something? You’re not alone. The journey from bland to grand begins with a splash of color, transforming a simple piece into a masterpiece. This article is your gateway to unlocking the beauty of craft wood with paint, a process that’s simpler than you think but with results that can be as complex and nuanced as you desire. Dive in to discover the secrets to painting craft wood, making your projects stand out in just a few easy steps.
To paint craft wood, start by sanding the surface smooth. Then, apply a primer to ensure the paint adheres well. Choose acrylic paint for its versatility and apply it using a brush or sponge for an even coat. Finish with a sealant to protect your masterpiece.
Key Takeaways
- Preparation is Key: Before painting, ensure your craft wood is sanded smooth. This removes imperfections and provides a clean surface for painting.
- Choose the Right Paint: Acrylic paint is versatile and ideal for craft wood. It dries quickly and comes in a variety of colors.
- Priming is Crucial: Applying a primer ensures the paint adheres better and lasts longer. It also enhances the vibrancy of the paint color.
- Apply Paint Properly: Use even strokes and consider the number of coats. Start with a base coat and add details as needed.

- Sealing for Protection: Finish your project with a sealant to protect the paint from chips and scratches, ensuring your craft lasts.
- Patience Pays Off: Allow adequate drying time between coats and before handling or displaying your project.
- Experiment with Techniques: Don’t be afraid to try different painting techniques like blending, stippling, or layering to add depth and texture to your work.
Remember, painting craft wood is not just about the end result but also enjoying the creative process. Each piece is a reflection of your unique artistic journey.
When and Why to Paint Your Wood Crafts
When to Paint:
Paint your wood crafts when they are completely dry and sanded smooth. This can be anytime you feel the craft needs a visual enhancement or protection. Seasonal changes or project completion stages are also perfect times to consider painting.
Why Paint Wood Crafts:
- Personalization: Painting allows you to add a personal touch, transforming a simple piece into something uniquely yours.
- Protection: A coat of paint can protect your wood crafts from wear, tear, and environmental elements, extending their lifespan.
- Aesthetic Appeal: Paint can enhance the visual appeal of your craft, adding color, depth, and texture.
- Hide Imperfections: Painting can cover up any blemishes or imperfections in the wood, making your craft look flawless.
- Value Addition: A well-painted craft piece can increase in value, whether it’s for personal satisfaction or sale.
Remember, the decision to paint is as much about the craft’s final appearance as it is about the process. Enjoy the journey of bringing color to your wood creations!
Required Equipment for Painting Wood Crafts
To start your wood painting project, gather the following essential tools and materials to ensure a smooth and successful outcome:
- Acrylic Paints: Chosen for their versatility and wide range of colors. Suitable for most wood craft projects.
- Primer: A crucial first step to prepare the wood surface, ensuring paint adherence and longevity.
- Sanding Paper: To smooth the wood surface before painting. Start with a medium grit and work your way up for a fine finish.
- Clean Cloth or Duster: For removing dust post-sanding. A slightly damp cloth can also pick up residual dust.
- Paint Brushes: Include a variety of sizes. A wide brush for base coats and smaller, finer brushes for detailed work.
- Palette: For mixing paint colors and thinning paints if necessary.
- Sealant or Varnish: To protect the painted surface once it’s dry, enhancing durability and finish.
- Safety Gear: Masks and goggles for sanding, especially if working in a less ventilated space.
Remember, the right equipment can make a significant difference in the ease of your project and the quality of the finished product. Each item serves a specific purpose in the preparation, execution, and finishing phases of your wood craft painting project.
Taking the Right Preparation
Preparing your wood crafts for painting is a critical step that can significantly affect the outcome of your project. Here’s how to ensure you’re taking the right preparation steps:
- Sanding: Start with a medium grit sandpaper to remove any rough patches and then move to a finer grit to smooth the surface. Sanding along the grain of the wood prevents scratches and prepares the wood to absorb the primer and paint evenly.
- Cleaning: After sanding, there will be dust on your craft. Use a clean, dry cloth or a duster to wipe it off. For more thorough cleaning, a lightly dampened cloth can pick up any remaining dust, ensuring a clean surface for priming.
- Priming: Applying a primer is essential for several reasons. It helps the paint stick to the wood surface, increases durability, and enhances the paint’s color brightness. Ensure the wood is completely dry before applying a primer. Use a brush or roller for even application and let it dry as instructed by the product’s guidelines.
- Equipment Check: Before starting to paint, make sure all your equipment is clean and ready to use. This includes brushes, palettes, and any mixing tools you might need. Having everything prepared in advance will make the painting process smoother and more enjoyable.
Taking these preparatory steps seriously will lay a solid foundation for your painting project, leading to better adhesion, a smoother finish, and a more polished look for your wood crafts. This preparation makes the painting process not just easier but more successful, resulting in a final product you can be proud of.
Choosing the Right Paint and Color
Selecting the ideal paint and color for your wood craft project is both an art and a science. Here’s how to navigate your choices:
Type of Paint:
- Acrylic Paints: These are a favorite for wood crafts due to their quick drying time, ease of use, and water solubility. They’re versatile enough for a variety of effects, from opaque to watercolor-like finishes.
- Enamel Paints: For a more durable and glossy finish, enamel paints are a great option. They are perfect for projects that will be handled frequently or exposed to the elements.
Color Selection:
- Consider Your Project: The color should complement the purpose and setting of the craft. Vibrant colors can add a playful touch to children’s items, while more subdued tones might be better for home decor.
- Test Samples: Paint a small section of wood or a similar material to see how the color looks when dried. Paint often dries darker than it appears when wet.
- Mixing Colors: Don’t be afraid to mix paints to get the perfect shade. Acrylics, in particular, blend well.
Finish:
- Matte: A matte finish will give your project a non-reflective, modern look. It’s ideal for pieces that you want to have a soft, velvety appearance.
- Gloss: For a shiny and vibrant look, choose a gloss finish. It’s great for making colors pop and adding a protective layer that’s easy to clean.
Safety and Clean-up:
- Non-toxic Paints: Especially important if the craft is for children or will be used indoors. Look for paints labeled non-toxic.
- Ease of Clean-up: Acrylic paints are water-soluble and can be cleaned up with soap and water, making them a convenient choice for most projects.
Remember, the right paint can not only enhance the beauty of your wood craft but also protect it, ensuring your project lasts for years. Experimenting with different paints and colors is part of the creative process, so don’t hesitate to try something new!
Steps to Perfectly Paint Any Wood Craft
Painting wood crafts is an enjoyable way to express creativity and personalize items. Here’s a simplified guide to help you achieve perfect results:
- Plan Your Design: Before you begin, have a clear idea of your design and color scheme. Sketching your design on paper or planning the color placement can save time and ensure a cohesive look.
- Preparation: Ensure the wood surface is smooth and free from dust. If you’ve followed the preparation steps previously discussed, such as sanding and priming, your craft is ready to be painted.
- Mix Your Paints: If you’re customizing colors, mix your paints on a palette before applying. This ensures a consistent color throughout the project.
- Apply Base Coat: Start with your base color. Use a wide brush for large areas to apply an even coat. For acrylic paints, water can be mixed in small amounts to improve flow but avoid diluting the paint too much.
- Add Details: Once the base coat is dry, use finer brushes to add details. This could involve layering colors, adding patterns, or painting intricate designs. Patience is key; allow each layer to dry before adding the next.
- Sealing: After the paint has completely dried, apply a sealant to protect your work. A clear acrylic sealer works well for most projects, providing a durable finish that protects against scratches and fading.
- Drying Time: Be mindful of the drying time between coats. Rushing this process can result in smudges or uneven textures.
- Corrections: If mistakes happen, don’t worry. Once the paint is dry, you can often paint over errors or gently sand the area for a redo.
- Enjoy the Process: Remember, the goal is not just to finish but to enjoy the creative journey. Your skills will improve with each project!
By following these steps, you can transform any wood craft into a beautiful, personalized work of art. Whether you’re a beginner or an experienced crafter, the key to a perfect paint job is preparation, patience, and creativity.
Tips and Tricks for Best Results
Painting craft wood can be a fun and creative process. Here are some tips and tricks to achieve the best results:
- Prepare Your Surface: Begin by sanding the wood surface to smooth out any rough edges or imperfections. This will ensure that the paint adheres evenly and creates a professional-looking finish.
- Prime the Surface: Applying a coat of primer before painting can help the paint adhere better to the wood and provide a smoother finish. Choose a primer suitable for wood surfaces and allow it to dry completely before painting.
- Choose the Right Paint: Select acrylic or latex paint for painting craft wood. These types of paint are durable, easy to work with, and come in a wide range of colors. Make sure to choose paint that is suitable for indoor or outdoor use depending on the intended location of your craft.
- Use Quality Brushes or Rollers: Invest in high-quality brushes or foam rollers designed for painting wood surfaces. These tools will help you achieve smooth and even coverage, resulting in a professional-looking finish.
- Apply Thin Coats: Instead of applying thick coats of paint, opt for multiple thin coats. This will prevent drips and streaks and allow each layer to dry thoroughly before applying the next coat.
- Allow for Drying Time: Be patient and allow each coat of paint to dry completely before applying additional coats or handling the wood. This will help prevent smudges or imperfections in the finish.
- Add Texture or Patterns: Get creative with your painting by adding texture or patterns to your craft wood. You can use techniques such as stenciling, sponging, or masking to create interesting designs and effects.
- Seal the Paint: Once you’re satisfied with the paint job, protect it by applying a clear sealer or varnish. This will help preserve the paint and protect the wood from damage, especially if your craft will be displayed outdoors or in high-traffic areas.
- Clean Up Properly: Clean your brushes or rollers with water or paint thinner depending on the type of paint you used. Properly cleaning your tools after each use will prolong their lifespan and ensure they’re ready for your next painting project.
- Experiment and Have Fun: Don’t be afraid to experiment with different techniques, colors, and finishes when painting craft wood. Let your creativity shine and enjoy the process of bringing your vision to life!
Conclusion
In conclusion, painting craft wood can be a rewarding and enjoyable activity with the right techniques and preparation. By following these tips and tricks, you can achieve professional-looking results that will enhance the appearance of your crafts. Remember to properly prepare the surface, choose the right paint and tools, apply thin coats, and allow for adequate drying time between layers. Don’t hesitate to get creative with textures, patterns, and colors, and always protect your finished work with a clear sealer or varnish. With patience, practice, and a touch of creativity, you’ll be able to paint craft wood like a pro and create stunning pieces that showcase your unique style and imagination.
FAQ’S
When is the best time to paint wood crafts?
The ideal time to paint wood crafts is when the weather is dry and mild, preferably indoors. Avoid painting in extreme temperatures or high humidity to ensure proper drying and adhesion of the paint.
Why should I paint my wood crafts?
Painting wood crafts enhances their appearance, adds color, and protects the wood from damage due to moisture, UV rays, and wear. It also allows for creativity and customization, making your crafts unique and visually appealing.
Can I paint unfinished wood crafts?
Yes, painting unfinished wood crafts is recommended to seal the wood and provide a smooth surface for painting. Sand the wood to remove rough spots, apply a primer if needed, and then paint with your desired colors.
How do I decide on the paint colors for my wood crafts?
Consider the theme, décor, and intended use of your wood crafts when choosing paint colors. Experiment with complementary or contrasting colors to achieve the desired aesthetic and match your personal style or the project's purpose.
What are the benefits of using acrylic paint for wood crafts?
Acrylic paint is versatile, dries quickly, and offers vibrant colors for wood crafts. It adheres well to wood surfaces, resists fading, and is easy to clean up with water. Plus, it's suitable for various painting techniques and finishes.

I am Sammy and I blog at Live it. Love it. Make it. It is creative lifestyle blog run by best friends H and Sammy. Head over and follow our crafty adventures!


