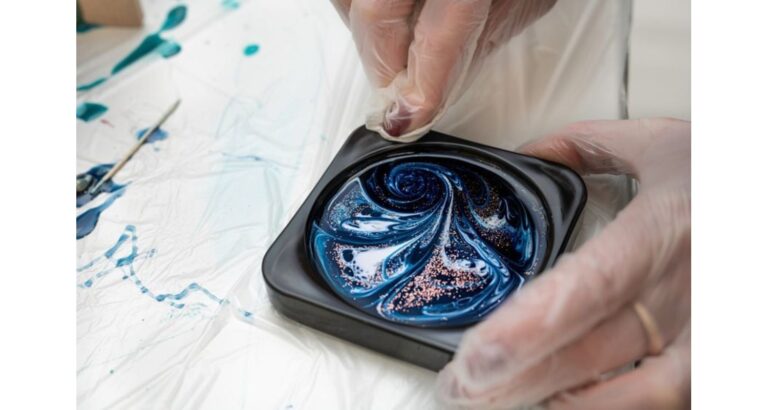
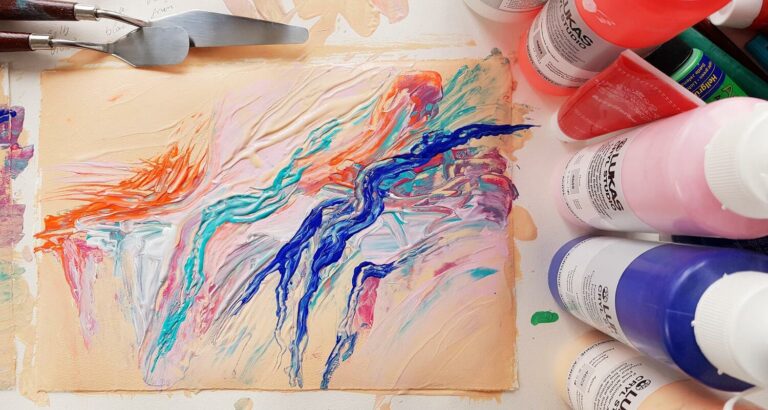
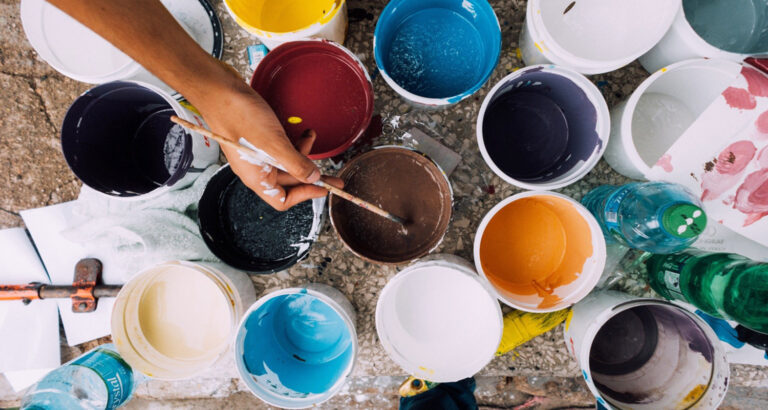
Crafting can unleash a spectrum of creativity, but a disorganized paint collection can quickly dampen that spirit. “How to store craft paint” efficiently preserves its quality and keeps your creative flow unimpeded. This article is your ultimate guide to transforming clutter into order, ensuring your paints are always ready when inspiration strikes. From DIY solutions to innovative storage hacks, we’ve got you covered.
The best way to store craft paint is by using transparent, airtight containers organized by color or type, kept in a cool, dry place away from direct sunlight.
Key Takeaways for Storing Craft Paint
Storing craft paint correctly is crucial for both preserving its quality and enhancing your crafting experience.
- Use the Right Containers: Opt for transparent, airtight containers to prevent your paints from drying out. This also allows for easy identification of colors.
- Organization is Key: Organizing your paints by color or type not only saves time but also streamlines your creative process.
- Avoid Direct Sunlight: Store your craft paint in a cool, dry place away from sunlight to protect the paint’s consistency and color.
- Label Everything: Labeling containers with paint type, color, and date of purchase helps in managing your inventory and avoiding waste.
- DIY Storage Solutions: Consider building or repurposing items for storage, such as shelves, racks, or drawers, to suit your specific space and needs.
- Maximize Space: Utilize wall-mounted racks or pegboards for those with limited space, making use of vertical storage solutions.
- Regularly Check and Clean: Keep your storage area clean and regularly check your paints to ensure they haven’t dried out or expired.
By following these tips, you’ll ensure your paints are preserved in the best condition, ready for whenever creativity strikes.
Storage Ideas and Tips for Craft Paint
Craft paint storage can be both functional and stylish, turning your crafting area into an inspiring workspace. Here are some ideas and tips to get you started:
- Transparent, Airtight Containers: Opt for clear storage solutions that let you see your paint colors at a glance. This can include jars, bins, or boxes. Keeping them airtight ensures the paint doesn’t dry out.
- Wall-Mounted Racks: Save precious desk space by installing racks on the wall. This can range from simple shelves to custom-built racks designed specifically for paint bottles.
- Pegboards: A versatile option that allows you to hang containers, shelves, or hooks for your paint. It’s a great way to keep everything in sight and within reach.
- Drawer Dividers: If you prefer to store your paint in drawers, use dividers to organize them by color or type. This keeps them from rolling around and mixing up.
- Repurpose Household Items: Look around your home for items that can be repurposed as storage solutions. Old spice racks, CD towers, or even egg cartons can be transformed into unique paint holders.
- Label Everything: Use labels to mark the color, type, and date of purchase on each paint container. This helps in quickly finding what you need and tracking paint freshness.
- DIY Storage Solutions: Get creative with DIY projects, such as turning wooden crates or pallets into paint storage units. This can be a fun craft project in itself!
- Temperature and Light: Ensure your storage area is cool and dry, away from direct sunlight. This preserves the paint’s quality and prevents the colors from fading.
By incorporating these storage ideas and tips, you can create an organized, accessible, and visually appealing crafting area, making it easier to find your paints and focus on creating beautiful projects.
Preparing the Storage Area for Craft Paint
Creating the perfect environment for storing craft paint is essential in ensuring the longevity and quality of your supplies. Here are steps and considerations for preparing your storage area:
- Choose the Right Location: Start by selecting a space that’s cool and dry. Extreme temperatures and humidity can alter the consistency of paint, so avoid basements that tend to get damp or attics that can become very hot.
- Clean and Declutter: Ensure the area is clean and free from dust. A tidy space not only makes it easier to organize your paints but also prevents any contaminants from spoiling them. Declutter the area to make room for your storage solutions.
- Shelving and Furniture: Invest in sturdy shelves and cabinets that can support the weight of your paints and containers. Adjustable shelving is ideal as it allows you to customize the space according to the size of your paint containers.
- Safety Measures: If you have children or pets, ensure that paints and chemicals are stored out of reach. Consider locking cabinets or high shelves to prevent accidental access.
By carefully preparing your storage area with these considerations, you’ll create a space that not only preserves your craft paint but also inspires creativity. An organized and well-maintained area ensures that your paints are always ready when inspiration strikes, helping you to focus more on creating and less on managing your supplies.
Organizing by Type
Different paint types have different uses and requirements for storage. For instance, acrylics, watercolors, enamels, and oil-based paints should be grouped separately. This segregation ensures that you can easily access the specific type of paint you need for a project without having to sift through unrelated items.
- Designate Areas: Assign specific shelves, drawers, or bins to each paint type. Use labels to mark these areas clearly.
- Understand Your Paints: Knowing the properties of each paint type helps in deciding the best storage method. For example, oil paints might require a cooler, ventilated area, while acrylics are more forgiving but still need protection from direct sunlight.
- Accessibility: Place the paints you use most frequently at arm’s reach. Less commonly used types can be stored higher up or in less accessible spots.
Organizing by Color
Color organization not only beautifies your space but also streamlines the selection process during projects. Here’s how to do it:
- Color Coding: Arrange your paints in a spectrum or group similar colors together. This method makes finding the perfect shade easier and faster.
- Use Dividers: For drawer units or bins, use dividers or small containers to separate different colors. This prevents the paints from mixing up and makes them easy to pick up.
- Label with Swatches: Consider adding a dab of paint or a color swatch to the outside of the container. This visual cue helps in quickly identifying the exact shade you need without opening the container.
Tips for Both Methods
- Flexibility: Your organizational system should be adaptable. As your collection grows, be prepared to reorganize to accommodate new additions.
- Regular Maintenance: Periodically go through your paints to check their condition, remove dried-out or empty containers, and update your organization as needed.
- Combine Methods: For the ultimate organization, first, segregate your paints by type and then within each type, organize by color. This hybrid approach offers the best of both worlds, making your crafting area both functional and aesthetically pleasing.
By dedicating time to organize your craft paints by type or color, you’ll not only enhance the appearance of your crafting space but also improve your efficiency and productivity in projects. An organized space leads to a clearer mind, allowing your creativity to flow freely and undisturbed.
Labeling the Paint Bottles or Containers
Labeling the paint bottles or containers is an essential step in maintaining an organized craft area. It not only helps in quickly identifying the right paint for your projects but also plays a crucial role in tracking the paint’s longevity. Here’s how to implement an effective labeling system:
Use Clear, Durable Labels
Opt for labels that can withstand handling and exposure to the elements within your crafting space. Waterproof and smudge-proof labels are ideal, especially if your paints are frequently used or stored in areas prone to moisture.
Information to Include
On each label, include the following information for maximum efficiency:
- Color Name: Clearly write the color name or number. This is particularly helpful when you need to repurchase the same shade.
- Date of Purchase: Knowing when you bought the paint can help you track its age and prevent using expired materials.
- Paint Type: Especially important if you’re using a variety of paint types (acrylic, oil, watercolor, etc.). This helps in choosing the right paint for different projects.
- Special Notes: Any specific mixing instructions or notes about the paint’s use can be added here.
Color Swatches
Adding a small dab of paint onto the label or the container’s top allows for visual identification. This is incredibly useful when you’re looking for the perfect shade among similarly colored containers.
Regular Updates
Make sure to update the labels if any information changes or if you add more paint to a partially used container. Keeping labels current ensures that you always know what’s in your collection.
Organizational Consistency
Maintain a consistent labeling system throughout your entire craft paint collection. Consistency makes it easier to find what you need quickly, reducing frustration and increasing the time you can spend on your actual projects.
By effectively labeling your paint bottles or containers, you’ll streamline your creative process, reduce waste, and enhance your overall crafting experience. An organized space leads to a more productive and enjoyable crafting journey.
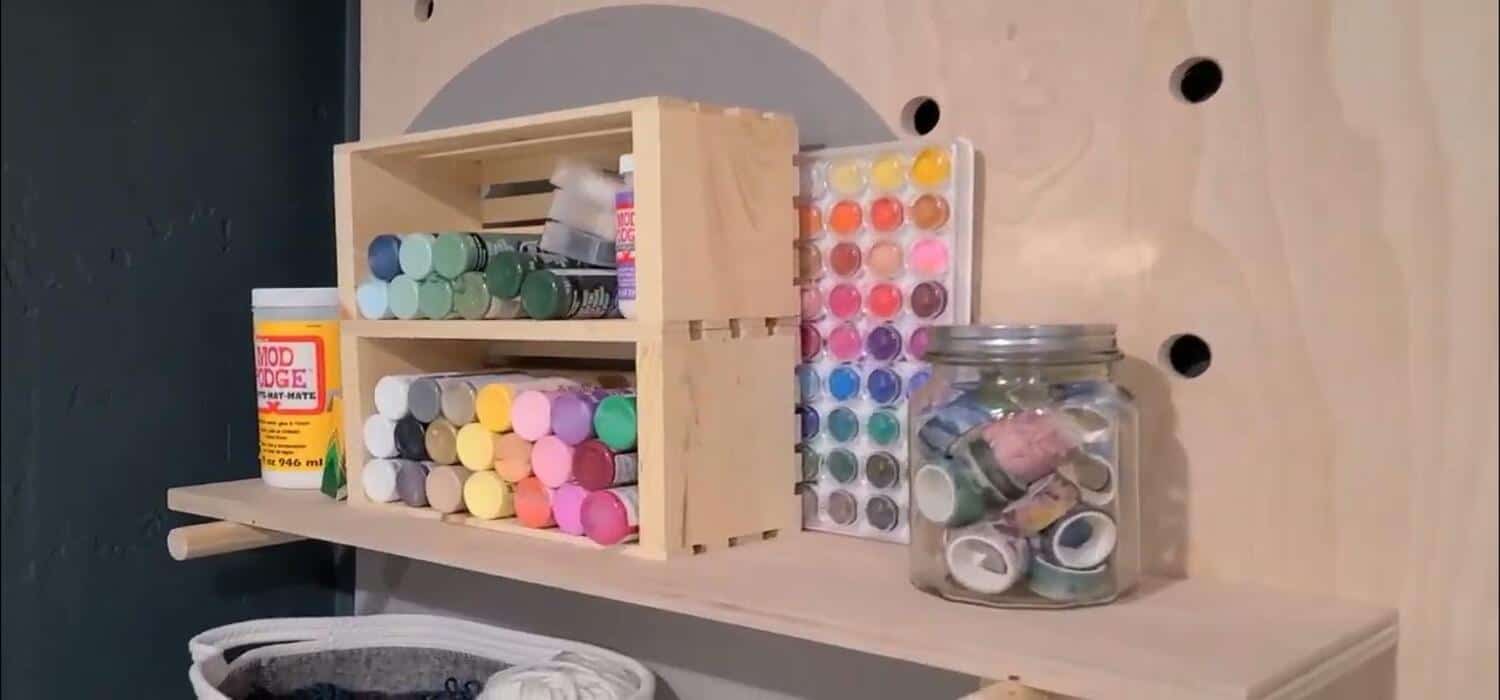
Innovative Storage Ideas and DIY Solutions
Innovative storage solutions and DIY projects can turn your craft paint organization into a functional work of art. Here are some creative ideas to inspire your own storage solutions:
Repurpose Household Items
Look around your home for items you can creatively repurpose. Transform an old spice rack into a wall-mounted display for small paint bottles. Decorate empty coffee cans or mason jars to use as containers for brushes or mixed paints. You can easily adapt these everyday items to fit your crafting needs, adding a personal touch to your space.
Custom Shelving Units
Building custom shelves tailored to the size of your paint collection allows for a perfectly organized workspace. Use reclaimed wood for a rustic look or painted plywood for a more modern aesthetic. Design the shelves with varying heights to accommodate different bottle sizes, ensuring that each paint is visible and accessible.
Magnetic Boards
A magnetic board with small containers equipped with magnetic bottoms creates a flexible and space-saving storage system. You can rearrange the containers as your collection grows and easily take down individual pots when needed. This method is especially useful for keeping your work area clutter-free.
Pegboards
Pegboards offer ultimate customization in craft paint storage. Attach hooks, shelves, and baskets to store not just paint, but also brushes and other art supplies. The beauty of a pegboard system lies in its adaptability; you can rearrange the layout as your storage needs change.
PVC Pipe Organizers
For a DIY project, cut PVC pipes into sections to create holders for paint tubes and bottles. These can be mounted onto a board and hung on the wall, offering a neat and visually appealing storage solution. Paint the PVC pipes in bright colors or patterns for an extra decorative touch.
By implementing these innovative storage ideas and DIY solutions, you’ll not only organize your craft paint efficiently but also add a unique flair to your crafting area. These creative approaches to storage ensure that your paints and supplies are always ready when inspiration strikes, making the creative process smoother and more enjoyable.
Conclusion
Crafting is not just about creating art; it’s about creating a space where art can happen spontaneously and joyfully. Properly storing craft paint is more than a mere organizational task; it’s about respecting the tools of your creativity, ensuring they’re preserved and ready whenever inspiration strikes. By employing the innovative storage ideas and DIY solutions we’ve explored, from repurposing household items to building custom shelving units, you can transform your crafting area into a well-organized, inspiring workspace. These solutions not only make your paints accessible and extend their lifespan but also turn your storage system into a visually appealing aspect of your creative space. Remember, the key to a productive crafting experience lies in a clean, orderly environment where every item has its place. So, take these ideas, adapt them to your needs, and watch as your crafting area becomes a reflection of your creativity and organizational skills. Happy crafting!
FAQ’s
How do you prevent craft paint from drying out?
Store craft paint in airtight containers and ensure they're sealed tightly after each use. Keeping them in a cool, dry place away from direct sunlight helps preserve their consistency and prevents drying.
Can I store acrylic paint in plastic containers?
Yes, acrylic paint can be stored in plastic containers, provided they are airtight. Label each container with the paint color and date to maintain organization and efficiency in your craft space.
What’s the best way to organize craft paint by color?
Using transparent bins or shelves, organize paint bottles in a rainbow order or by shade gradients. This visual arrangement enhances accessibility and inspires creativity during projects.
How long can I store craft paint before it goes bad?
Properly stored craft paint can last 5-10 years. Factors that extend shelf life include storing in airtight containers, away from extreme temperatures, and minimizing exposure to air by keeping containers full and tightly sealed.

I am Sammy and I blog at Live it. Love it. Make it. It is creative lifestyle blog run by best friends H and Sammy. Head over and follow our crafty adventures!