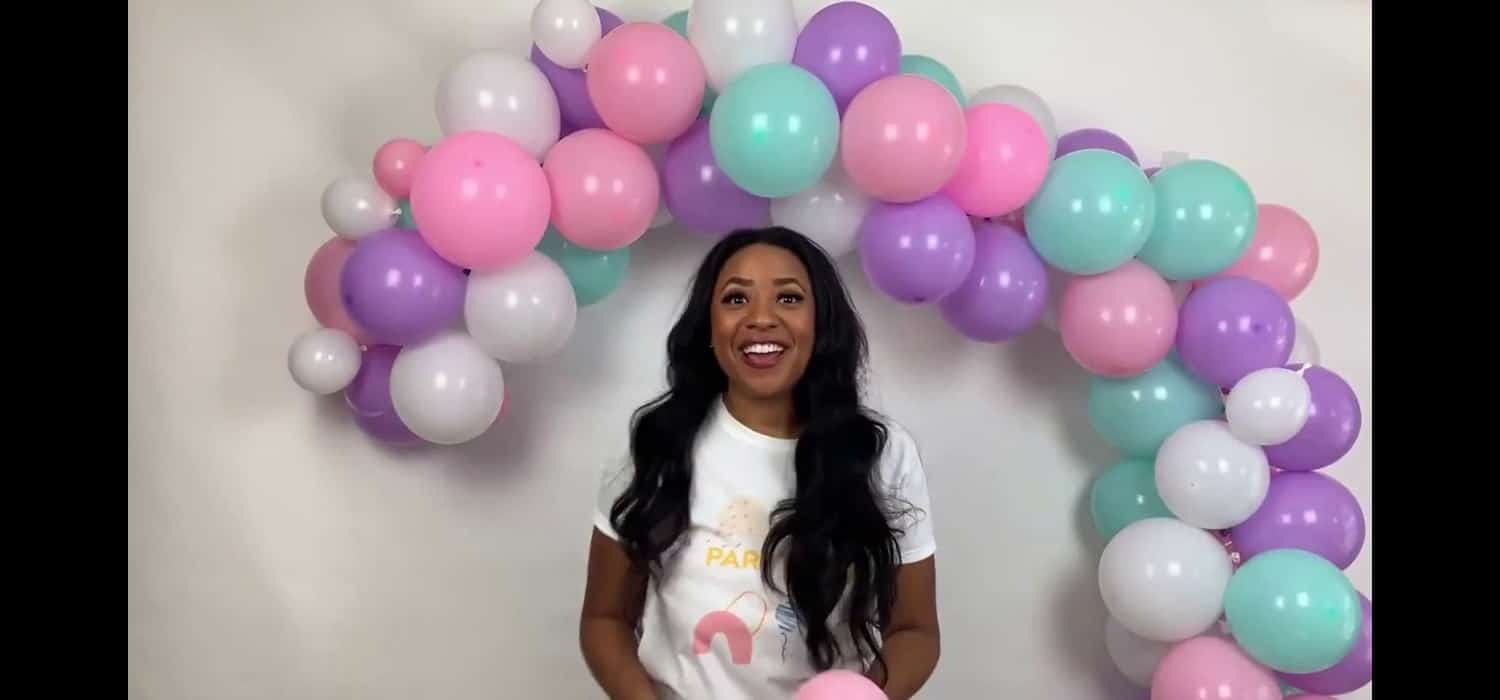
Are you tired of boring party decorations? Want to add a pop of color and excitement to your next event? Look no further! In this article, we’ll show you how to make a stunning balloon arch that will impress your guests and elevate your party atmosphere.
To make a balloon arch, inflate balloons and tie them in pairs. Connect pairs with fishing line, forming an arch shape. Secure ends to sturdy bases. Adjust for desired fullness.
Also Read: How To Make DIY Nail Polish
Materials Needed
- Balloons (assorted colors)
- Balloon pump
- Fishing line or balloon decorating strip
- Scissors
- Two sturdy bases (e.g., heavy pots or buckets)
- Weights or sandbags (optional)
- Balloon tying tool (optional)
- Adhesive tape or glue dots (optional)
Also read: How to Make a Birds Nest
Key Takeaways
- Plan Ahead: Choose your color scheme and balloon sizes for a cohesive look.
- Use Quality Balloons: Durable balloons ensure a longer-lasting arch.
- Secure Your Bases: Ensure your arch is stable with weighted bases.
- Adjust for Fullness: Add or remove balloons to achieve your desired shape.
- Practice Makes Perfect: Don’t be discouraged if your first attempt isn’t perfect. Practice and patience will lead to improvement.
Also read: How To Make DIY Jewelry
Step-by-Step Guide
- Prepare Your Materials: Gather all the materials listed above.
- Inflate Balloons: Use a balloon pump to inflate your balloons to the desired size. It’s helpful to have balloons of various sizes for a more dynamic look.
- Tie Balloons in Pairs: Tie two balloons together at their necks to form a pair. Repeat until you have enough pairs to build your arch.
- Create Balloon Clusters: Take two pairs of balloons and twist them together at the center to form a cluster of four balloons. Continue making clusters until you have enough for your arch.
- Assemble the Arch: If using a balloon decorating strip, pull the knots of the balloon clusters through the holes in the strip, spacing them evenly. If using fishing line, tie the clusters to the line, keeping them close together.
- Shape the Arch: Gently bend the balloon strip or fishing line to form an arch shape. Adjust the balloons as needed to fill in any gaps and create a smooth curve.
- Secure the Ends: Attach the ends of the balloon arch to your sturdy bases. Use adhesive tape or glue dots if necessary to keep the balloons in place.
- Add Finishing Touches: Fill in any sparse areas with additional balloons or decorations, such as flowers or ribbons, to enhance the overall look of your arch.
Remember to take your time and adjust the balloons as you go to achieve the desired shape and fullness.
Also read: How To Make A DIY Scrapbook
Conclusion
Creating a balloon arch may seem daunting at first, but with the right materials and a bit of practice, it’s a manageable and rewarding DIY project. Whether you’re decorating for a birthday party, wedding, or any other special event, a balloon arch adds a vibrant and festive touch to your decor. Follow this step-by-step guide, experiment with colors and sizes, and don’t be afraid to add your personal flair. With each balloon you tie, you’re one step closer to mastering the art of balloon arches and impressing your guests with your creativity. Happy decorating!
Also read: How To Make A Diy Color On Led Lights
FAQ’s
What materials are needed for a balloon arch?
You'll need balloons, a balloon pump, fishing line or a balloon decorating strip, scissors, sturdy bases, weights or sandbags, a balloon tying tool, and adhesive tape or glue dots.
How long does it take to make a balloon arch?
The time varies based on the size and complexity of the arch, but it typically takes 1-3 hours to assemble a basic balloon arch.
Can a balloon arch be made the day before an event?
Yes, you can make a balloon arch a day in advance. Use high-quality balloons and store the arch in a cool, dry place to maintain its appearance.
How do you attach balloons to an arch?
Balloons are attached to the arch by tying them in pairs, forming clusters, and then securing the clusters to a balloon decorating strip or fishing line.

I am Sammy and I blog at Live it. Love it. Make it. It is creative lifestyle blog run by best friends H and Sammy. Head over and follow our crafty adventures!

