Transform your space into a serene oasis with moss wall art. This article will guide you through creating a stunning, living piece of decor that brings nature indoors. With easy steps and expert tips, you’ll unlock the secrets to a vibrant, maintenance-free green wall.
To make moss wall art, select your moss type, prepare the frame, apply glue evenly, and carefully place the moss. Secure with additional adhesives if needed.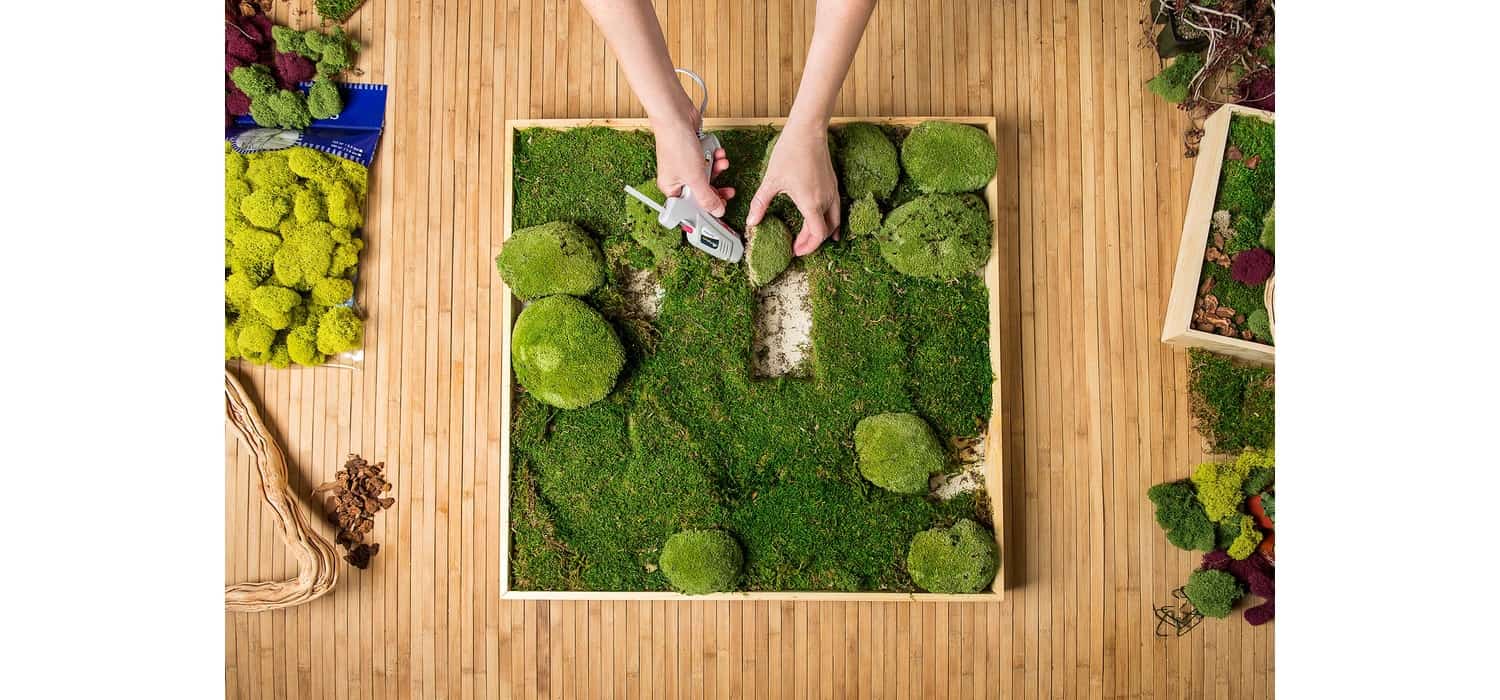
Don’t stop here! Dive deeper into the world of moss art with us. Discover tips, tricks, and inspiration that will elevate your crafting game to the next level. Keep reading to become a moss art maestro.
Preparation and Materials
Moss wall art is not just a decoration; it’s a piece of nature that you bring inside. It adds tranquility and a splash of green to any room. Perfect for both beginners and seasoned DIY enthusiasts, creating moss wall art is simple and rewarding.
Materials Needed
To start, you’ll need:
- Moss: Reindeer, sheet, or pincushion varieties are great choices.
- Frame: Any size, depending on your space.
- Glue Gun and Sticks: For securing moss.
- Cutting Tools: Box cutter or Exacto knife.
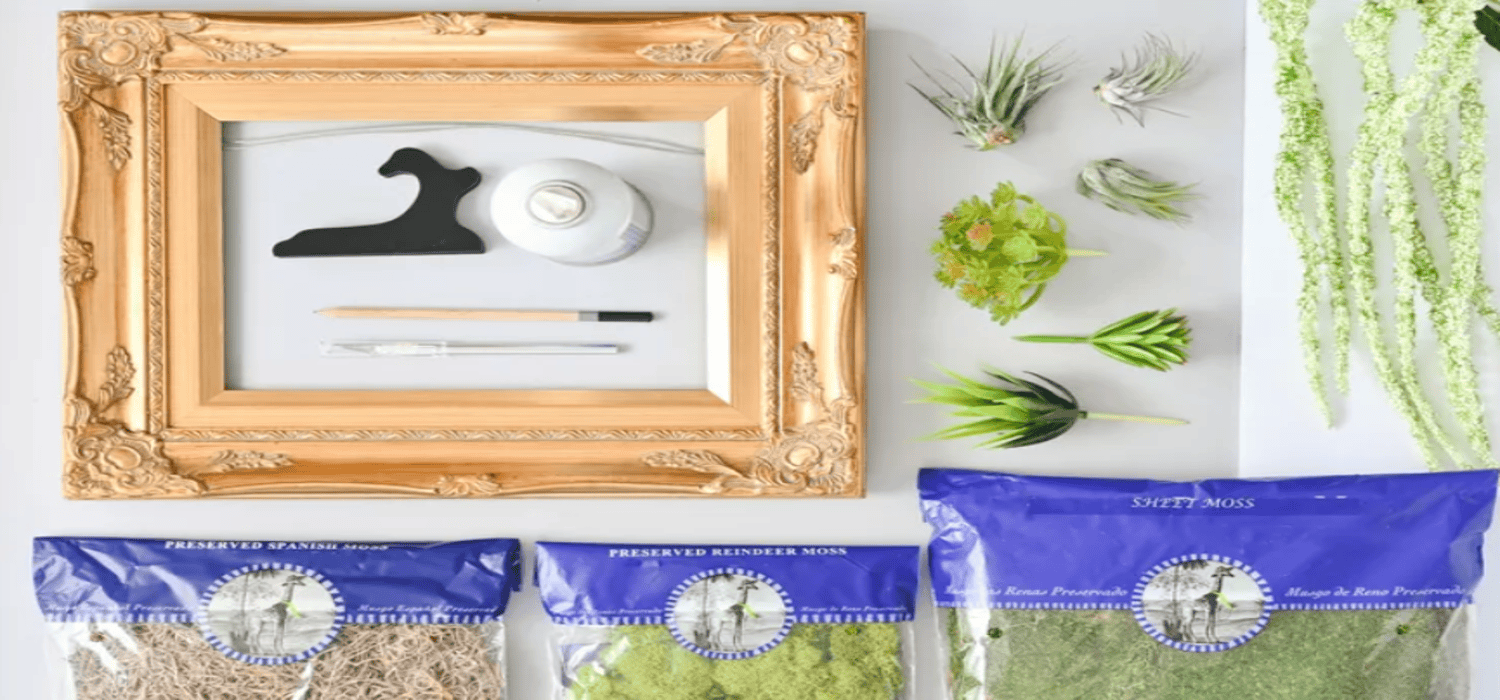
- Sketching Tools: Pencil or pen.
- Scissors: For trimming edges.
- Hanging Materials: Picture wire and hangers.
- Protective Gear: Gloves and a cutting board.
Selecting Your Moss
Choosing the right moss is crucial. Reindeer moss is popular for its fluffy texture and vibrant color. Sheet moss offers a classic look. Pincushion moss adds depth with its unique shape. Consider the room’s humidity and light when selecting your moss, as these factors can affect its longevity.
Frame Preparation
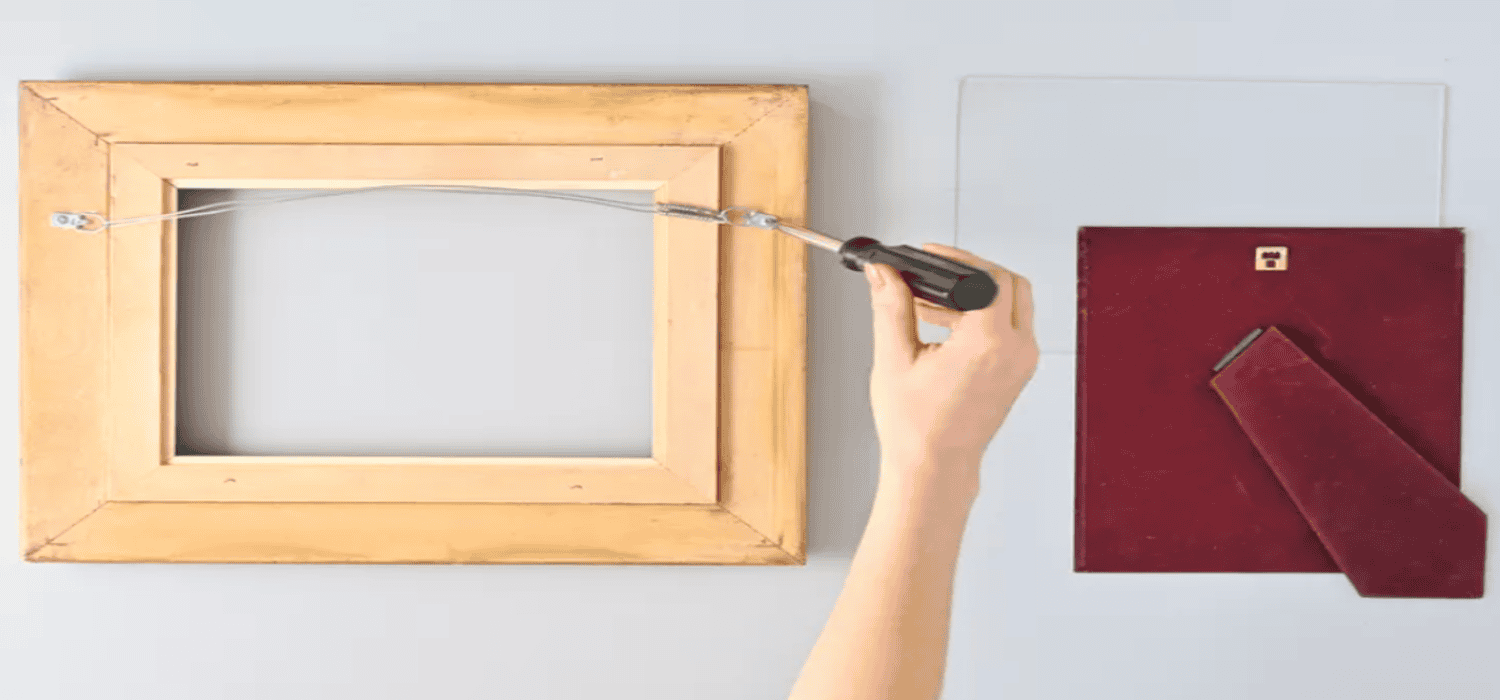
Your frame serves as the canvas. Pick one that complements your space. Ensure it has a sturdy backing to support the moss. If it comes with glass, remove it. The frame’s size dictates the project’s scale. Larger frames make a bold statement, while smaller ones are perfect for subtle touches.
- Each section of this part is designed to ensure a seamless start to your moss wall art project, laying the groundwork for a successful and enjoyable crafting experience.
 By carefully selecting your materials and preparing your frame.
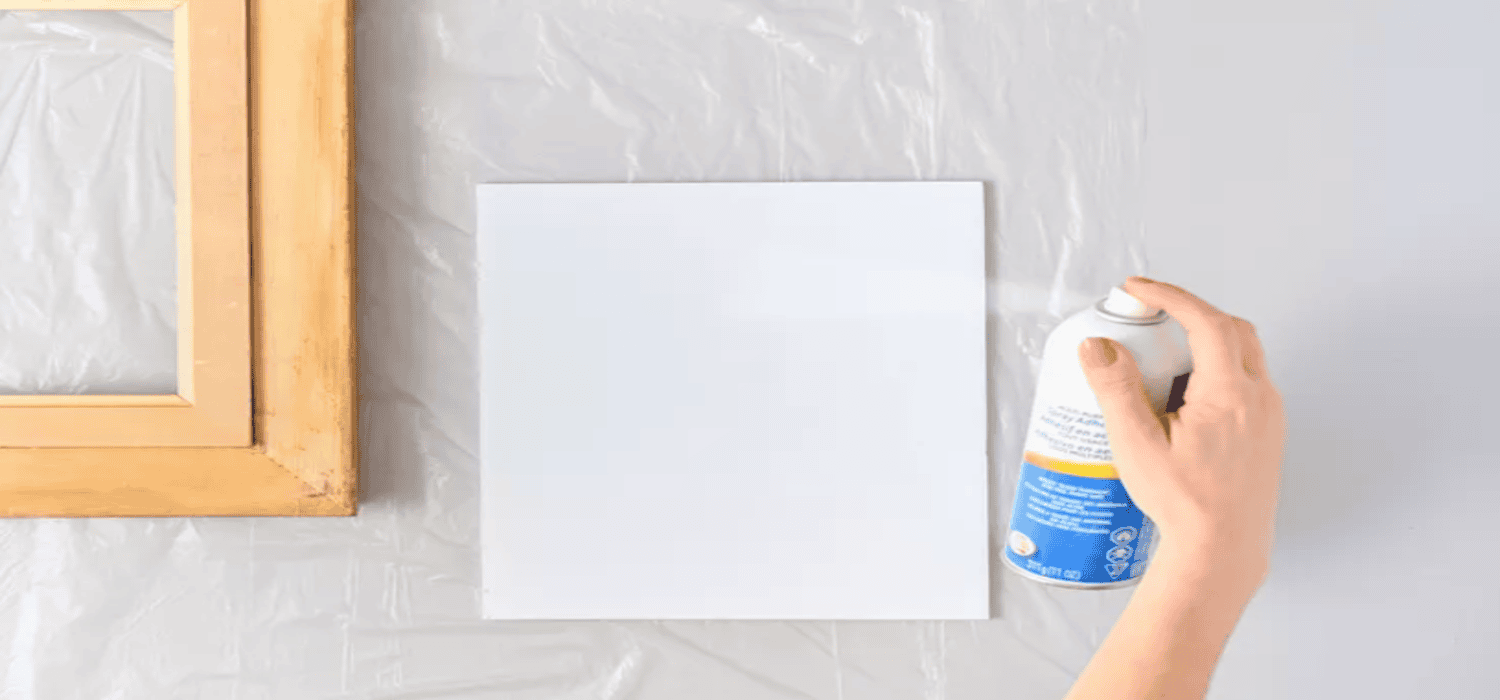 You’re on your way to creating a beautiful, living piece of art that will bring a sense of calm and natural beauty to your indoor space.
Assembly and Care
Creating and maintaining moss wall art involves a straightforward process that significantly enhances your indoor spaces with a touch of nature.
Designing Your Moss Art
- Start with a vision. Sketch your design on paper before moving to the frame. Think about the texture and color of the moss.
 Mix different types for depth. Use your sketch as a guide but allow room for creativity as you work.
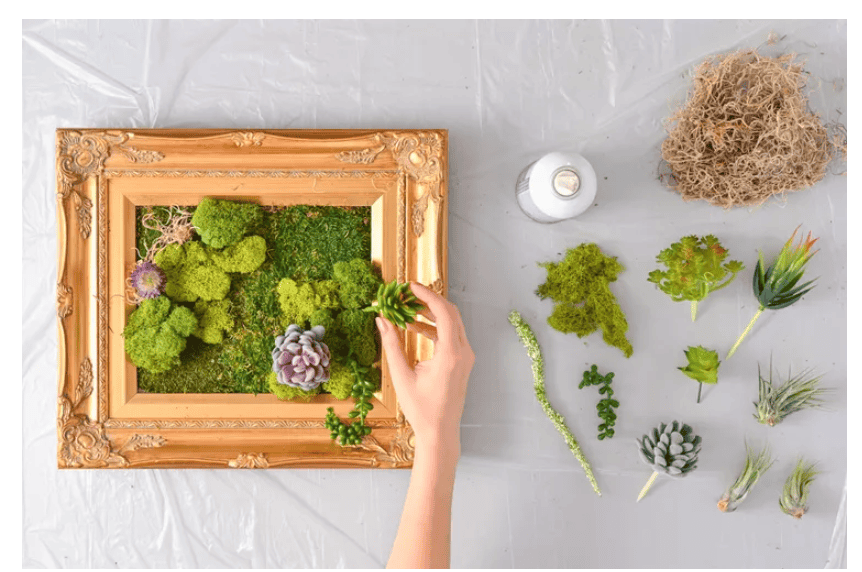
Arranging Moss and Elements
- Lay out your moss and additional elements (like driftwood or stones) on the frame before gluing. This step lets you visualize the final piece and make adjustments. Arrange moss for a natural look, varying the types and colors. Remember, there’s no wrong way to create art.
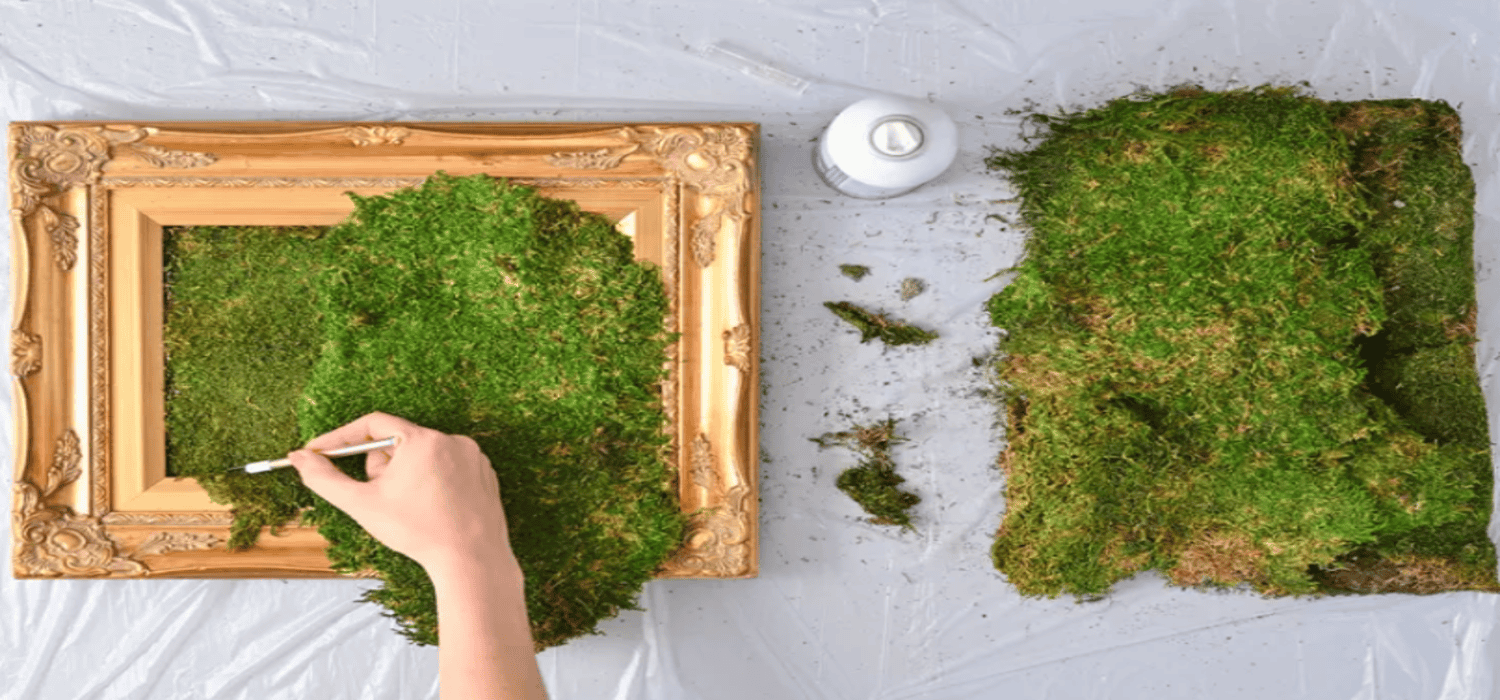
Securing the Moss
- Now, glue time. Heat up your glue gun. Start at one corner and work your way across. Press each piece of moss firmly to ensure it sticks. If you’re using other elements, secure them after the moss. This might require stronger adhesive depending on their weight.
Maintenance Tips
- Moss wall art is low maintenance. No need for water or sunlight. If it looks dusty, a gentle blow or soft brush does the trick. If your moss feels dry, a light mist with water can refresh it. Avoid direct sunlight to maintain vibrant colors.
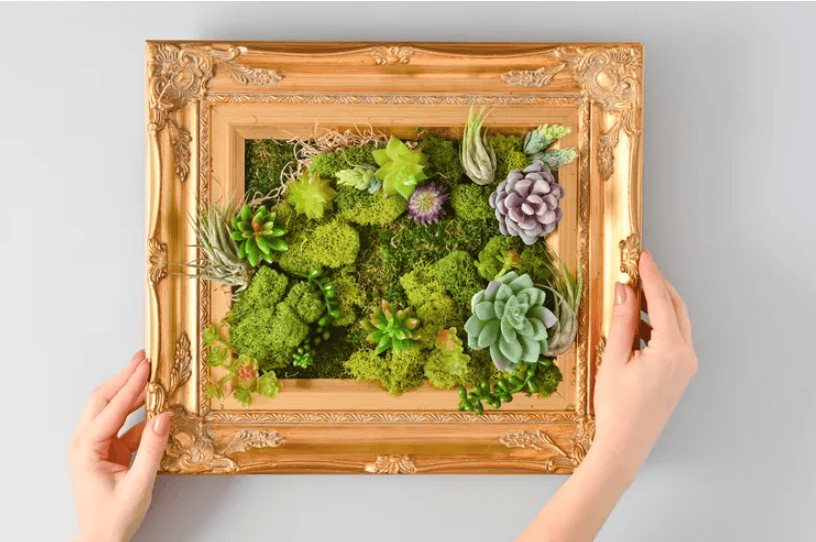
Creating moss wall art is about bringing the outside in, creating a serene spot in your home. With these steps, you can assemble and care for a piece that’ll last for years, adding a natural touch to your decor.
Conclusion
Creating moss wall art is a rewarding project that brings a piece of the serene outdoors into your home. From selecting vibrant moss types to designing and arranging your masterpiece, this guide has equipped you with the knowledge to create a stunning, maintenance-free piece of nature. Share your moss wall art experiences and tips in the comments to inspire and learn from the crafting community!
FAQs on Making Moss Wall Art
1. Can moss wall art thrive in low light?
Yes, moss wall art is ideal for low-light conditions, making it perfect for indoor spaces. Moss naturally thrives in shaded forests, making it a low-light loving plant perfect for home decor.
2. How often should moss wall art be watered?
Moss wall art, especially if using preserved moss, requires no watering, making it a maintenance-free addition to your space. For living moss, a light misting once a month suffices.
3. What types of moss are best for wall art?
Reindeer, sheet, and pincushion moss are popular choices for their varied textures and ease of care, offering a lush, green aesthetic all year round.
4. Is moss wall art suitable for bathrooms?
Absolutely. The high humidity of bathrooms mimics the natural habitat of moss, making it a perfect match for moss wall art, enhancing the spa-like feel with a touch of nature.

I am Sammy and I blog at Live it. Love it. Make it. It is creative lifestyle blog run by best friends H and Sammy. Head over and follow our crafty adventures!