Ever struggled with painting craft foam, only to end up with a mess? Fear not! This article “How to Paint Craft Foam: Step-by-Step Guide ” is your lifesaver, packed with simple, foolproof steps to turn your craft foam into a masterpiece. Whether you’re a seasoned crafter or a newbie, we’ve got you covered. Get ready to unleash your creativity with ease and confidence!
To paint craft foam, start by applying a primer to ensure the paint adheres properly. Then, use acrylic paint for vibrant colors, applying in thin, even layers to avoid soaking the foam. Seal with a protective finish for durability.
Key Takeaways for “How to Paint Craft Foam”
- Preparation is Key: Before painting, always prime your craft foam to ensure paint adheres well and stays vibrant.
- Choose the Right Paint: Acrylic paint is best for craft foam, offering a wide range of colors and easy application.
- Apply Thin Layers: To avoid saturating the foam, apply paint in thin, even layers, allowing each to dry completely.
- Seal for Durability: Finish your project with a sealer to protect against damage and extend the life of your craft.
- Experiment with Textures: Utilize sponges, brushes, and dry brushing techniques to add depth and detail to your craft foam pieces.
These points aim to guide you through the process of painting craft foam efficiently, ensuring a professional finish even for beginners. Remember, patience and attention to detail can transform a simple piece of foam into an artistic creation.
Essential Supplies for “How to Paint Craft Foam”
Painting craft foam can be a fun and creative activity, whether you’re making cosplay props, decorations, or other craft projects. To get started, you’ll need some essential supplies for painting craft foam. Here’s a list of what you’ll typically require:
Craft Foam Sheets
- These are the base material for your project. Craft foam comes in various thicknesses and colors, so choose the one that suits your needs.
Acrylic Paints
- Acrylic paints are versatile and adhere well to craft foam. They come in a wide range of colors and are available in both matte and glossy finishes.
Paintbrushes
- You’ll need various brushes for different painting techniques and details. A mix of flat, round, and detail brushes should cover most of your needs.
Water and Palette
- To mix and dilute your acrylic paints, you’ll need a palette (a plastic or disposable one works well) and some water for cleaning brushes and adjusting paint consistency.
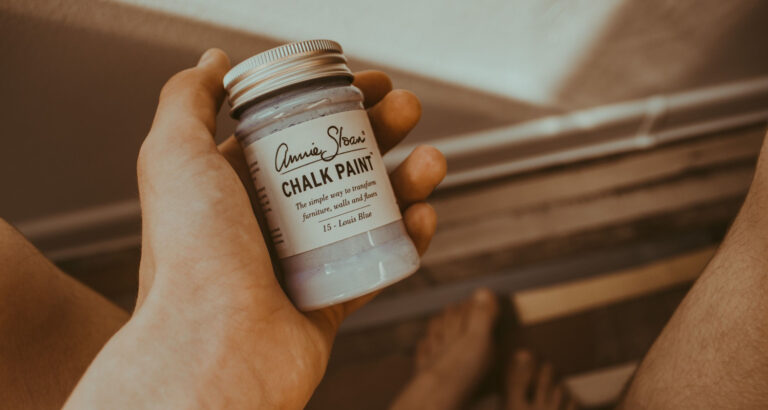
Primer
- Applying a primer designed for foam can help create a smooth and even surface for your paint to adhere to. Some people use gesso or acrylic primer.
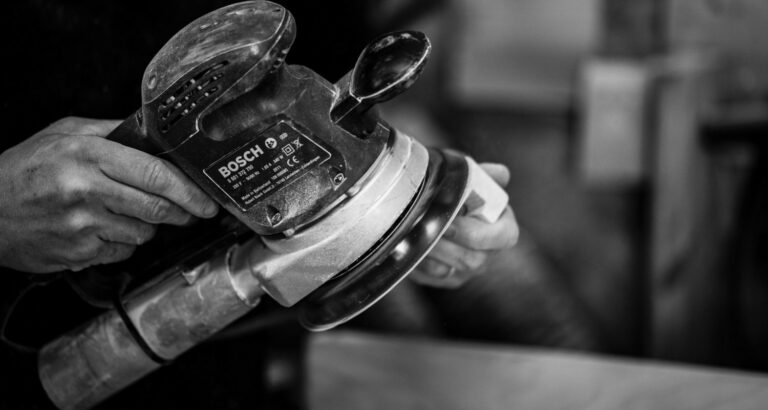
Sandpaper
- Fine-grit sandpaper (e.g., 220-grit) can be used to smooth out any rough edges or imperfections on the foam surface.
Masking Tape or Painter’s Tape
- Use tape to mask off areas you don’t want to paint or to create clean lines and sharp edges in your designs.
Stencils and Stamps
- These can help you create intricate designs or patterns on your craft foam projects.
Sealant or Clear Coat
- Applying a clear sealant or varnish can protect your painted craft foam from wear and tear, moisture, and UV damage. It also gives a glossy finish if desired.
Craft Knife or Scissors
- You’ll need these for cutting and shaping your craft foam sheets before and after painting.
Workspace and Covering
- Protect your work area with a drop cloth or disposable surface, as acrylic paint can be messy.
Ventilation
- Ensure good ventilation in your workspace, especially if you’re using sealants or primers that emit fumes.
Disposable Gloves
- Gloves can help keep your hands clean and prevent paint from sticking to your skin.
Optional items might include sponges for texture, various types of specialty paints (like metallic or glitter paints), and heat guns for shaping or sealing foam.
Always follow safety precautions, including proper ventilation and using protective gear as needed, especially when working with paints and sealants. Additionally, remember to experiment and have fun with your craft foam painting projects.
Preparing the Craft Foam for Painting
Properly preparing craft foam for painting is essential to ensure that your paint adheres well, and your finished project looks its best. Here are the steps to prepare craft foam for painting:
Clean the Foam
Before you start, make sure your craft foam is clean and free from any dust, dirt, or debris. Wipe the foam surface gently with a damp cloth or sponge to remove any contaminants. Allow it to dry completely before proceeding.
Smooth Any Imperfections
- Use fine-grit sandpaper (around 220-grit) to smooth out any rough edges or imperfections on the foam’s surface. This step will help create a more even and polished painting surface.
Cut and Shape the Foam
- If you need to cut or shape your craft foam for your project, do this before painting. Use a craft knife or scissors to cut the foam to your desired shape and size. Be careful not to damage the foam’s surface during cutting.
Mask Off Areas
- If your project requires specific areas to remain unpainted or if you want to create clean lines and edges, use masking tape or painter’s tape to cover those areas. Ensure that the tape adheres firmly to prevent paint bleed.
Choose the Right Paint
- Use acrylic paints, as they adhere well to craft foam and are available in a wide range of colors and finishes. Shake or stir the paint thoroughly before using to ensure an even consistency.
Start Painting
- Apply the paint using a paintbrush or sponge, depending on your desired technique. Begin with thin, even coats and allow each layer to dry before applying additional coats. This approach helps prevent paint from pooling or streaking. If you want to create a smooth finish, you can lightly sand between coats.
Remove Tape
- Once your paint has dried and you’re satisfied with the results, carefully remove any masking or painter’s tape to reveal clean edges and lines.
By following these steps, you’ll ensure that your craft foam project is well-prepared for painting, resulting in a professional-looking and long-lasting finish.
Applying Paint to Craft Foam
Applying paint to craft foam requires some technique and care to achieve the best results. Here’s a step-by-step guide on how to paint craft foam effectively:
Prepare Your Workspace:
- Cover your work surface with a drop cloth or disposable materials to protect it from paint spills and splatters.
- Ensure proper ventilation, especially if you’re using spray paint or sealants.
Gather Your Supplies:
- Have your craft foam, acrylic paints, paintbrushes, water, palette, and any other necessary tools ready.
Choose Your Painting Technique:
- Decide on the painting technique you want to use. You can paint craft foam using brushes, sponges, airbrushes, or even spray paint, depending on your project and the desired finish.
Mix Paint Colors (If Needed):
- If you need custom colors, mix them on your palette by combining acrylic paints and a little water to achieve the desired consistency.
Painting:
- Start with a clean brush and dip it into the paint.
- Apply the paint to the craft foam using even strokes. It’s often better to start with a light layer and gradually build up the color to avoid drips or streaks.
- If you’re using a sponge or airbrush, apply the paint in a gentle, even manner. Experiment with different techniques to achieve the desired effect.
Blend Colors (If Needed):
- To create gradients or blends, work quickly while the paint is still wet. You can blend colors by overlapping them and using a clean brush to softly feather the edges.
Allow to Dry:
- Let each layer of paint dry completely before adding more coats or details. Acrylic paint dries relatively quickly, usually within 15-30 minutes, but drying times may vary based on the thickness of the paint and environmental conditions.
Add Details:
- Use smaller brushes or fine-tipped markers for adding intricate details or lines to your craft foam project.
Inspect and Touch Up:
- After sealing, inspect your craft foam project for any areas that may need touch-ups or additional details. Make necessary corrections before considering your project complete.
Remove Masking (If Applied):
- If you used masking or painter’s tape to create clean lines or protect certain areas, carefully remove the tape after the paint has dried to reveal sharp edges.
Final Touches:
- Once your craft foam project is fully dry and you’re satisfied with the results, you can add any additional embellishments, such as rhinestones, stickers, or other decorations.
With patience and practice, you can achieve beautiful and professional-looking paintwork on craft foam. Experiment with different techniques, colors, and styles to bring your creative vision to life.
Special Techniques for Texturing and Detailing
Texturing and detailing are essential aspects of crafting with foam, as they can add depth and realism to your projects. Here are some special techniques for texturing and detailing craft foam:
Heat Shaping
- Use a heat gun or hairdryer to heat the foam gently. When it becomes pliable, you can shape it by hand, creating curves, bends, or three-dimensional effects. Be cautious not to overheat and melt the foam. Heat shaping is particularly useful for creating armor, masks, or sculptures.
Embossing
- You can achieve raised patterns or designs on craft foam by using embossing tools or stamps. Simply press the tool onto the foam, and it will leave an impression. For even more depth, you can paint over the embossed areas with a contrasting color.
Engraving
- To create engraved or recessed details, use a dull, rounded tool like the back of a spoon or a stylus. Press the tool into the foam to create grooves or lines. You can also heat the tool for a smoother result.
Sanding and Distressing
- Sandpaper can be used not only for smoothing but also for distressing craft foam. Rub sandpaper on the surface to create a weathered or worn appearance. Concentrate on edges and corners to mimic natural wear.
Dry Brushing
- Dry brushing involves using a nearly dry brush with a small amount of paint. Apply the paint lightly over raised areas, edges, or textures on your foam to create highlights and enhance details.
Sponging
- Dip a sponge or a piece of foam into your paint and then lightly dab it onto your project. This technique can add texture and depth, especially when used with multiple colors or layers.
Stenciling
- Use stencils to add intricate designs or patterns to your craft foam. Secure the stencil in place and apply paint with a sponge or brush. Make sure to lift the stencil carefully to avoid smudging.
Weathering and Aging
- Create a weathered look by adding darker paint washes to recessed areas and lighter highlights to raised surfaces. This technique can make your craft foam look aged, as if it has been exposed to the elements.
Texture Paste
- Texture paste or modeling paste can be applied to the foam with a palette knife or spatula to create raised textures. Once dried, you can paint over it to achieve various effects.
Gluing Textured Materials
- You can attach textured materials like fabric, sandpaper, or small beads to your craft foam to create unique textures. Use a strong adhesive, such as E6000, for a secure bond.
Add Faux Rivets and Studs
- Create faux rivets or studs by applying small beads or rounded objects to your craft foam using adhesive. Paint them to match your project or add metallic accents.
Layering
- Build up layers of foam to create depth and dimension in your projects. Glue smaller pieces on top of larger ones to add intricate details or create raised surfaces.
Remember to practice these techniques on spare pieces of craft foam before applying them to your main project. Experiment with different tools, paints, and methods to achieve the desired texture and detailing effects for your craft foam creations.
Sealing and Protecting Your Craft Foam Project
Sealing and protecting your craft foam project is essential to preserve your hard work and ensure its longevity. Proper sealing helps protect the paint, prevent damage from moisture, and maintain the integrity of your creation. Here are steps to seal and protect your craft foam project:
Ensure Your Project is Completely Dry
- Before sealing, make sure that all paint layers and any other applied materials (such as glues or embellishments) are thoroughly dry. This can take several hours or even overnight, depending on the thickness of the layers and environmental conditions.
Choose the Right Sealant:
- Select a sealant that is compatible with acrylic paints and suitable for foam materials. Common choices include clear acrylic sealer, clear varnish, or clear polyurethane spray.
- Decide whether you want a matte or glossy finish for your project, as sealants come in both options. Choose the one that suits your desired look.
Ventilation and Safety
- Work in a well-ventilated area, preferably outdoors or in a properly ventilated workspace, as sealants can emit fumes.
- Wear protective gear such as gloves and a mask to prevent inhalation of fumes or skin contact with the sealant.
Test on a Scrap Piece
- Always test the sealant on a small, inconspicuous part of your craft foam project or a scrap piece to ensure it doesn’t react adversely with the paint or foam.
Apply the Sealant:
- Shake the sealant can or mix it as per the manufacturer’s instructions.
- Hold the can or brush at a distance (usually 6-12 inches) from your project to avoid creating drips or uneven application.
- Apply a thin, even coat of sealant, starting from one edge and moving across the entire surface. Be mindful of not saturating the foam or causing paint to run.
- Let the first coat dry completely. Drying times vary depending on the product and environmental conditions, but it typically takes a few hours.
Inspect and Touch Up:
- After the final coat has dried, inspect your project for any imperfections or areas that may need touch-ups. You can lightly sand rough spots and reapply sealant if necessary.
Curing Time:
Even though the sealant may dry to the touch relatively quickly, it can take up to several days or weeks to fully cure and harden, depending on the product. Be gentle with your project during this curing period to avoid damage. Properly sealing your craft foam project will help ensure its durability, protect the paint, and maintain its appearance over time. Follow the manufacturer’s instructions on the sealant product you choose for the best results.
Conclusion
Our article “How to Paint Craft Foam: Step-by-Step Guide ” works with craft foam offers endless creative possibilities. To ensure success, prepare the foam by cleaning and optionally priming it, then carefully apply acrylic paint using various techniques such as brushing, sponging, and masking. Experiment with texturing methods like heat shaping, embossing, or sanding for added depth and detail. Protect your work by sealing it with a suitable clear sealant, following safety guidelines and allowing for proper curing time.
Craft foam projects can range from cosplay props and decorations to unique artworks. By mastering these techniques, you can enhance the visual appeal and longevity of your craft foam creations, allowing them to shine in various DIY projects. The key to success is patience and practice, as you develop your skills in crafting and designing with this versatile material.
FAQ’s
How do you paint craft foam?
To paint craft foam, start by cleaning and priming the foam if desired. Use acrylic paints and apply them in thin, even coats, allowing each layer to dry. Seal with a clear sealant for protection.
Can you use spray paint on craft foam?
Yes, you can use spray paint on craft foam. Ensure it's designed for use with foam materials. Apply in light, even sprays, and let it dry thoroughly.
Do you need to seal painted craft foam?
Yes, sealing painted craft foam is recommended. Use a clear sealant to protect against moisture, wear, and UV damage, ensuring longevity.
What kind of paint is best for craft foam?
Acrylic paints work well on craft foam due to their adhesion and versatility. They come in various colors and finishes, making them ideal for craft projects.

I am Sammy and I blog at Live it. Love it. Make it. It is creative lifestyle blog run by best friends H and Sammy. Head over and follow our crafty adventures!