Welcome to your next DIY project! Are you ready to transform your room with simple, budget-friendly crafts? This article is your ultimate guide to DIY room decor. Whether you’re aiming for a cozy aesthetic or something bold and new, we have the ideas and tips you need.
How to make DIY for your room: Start by choosing a theme, gather affordable materials, and focus on small projects like handmade wall art, upcycled furniture, or decorative storage solutions. Simple changes can make a big impact!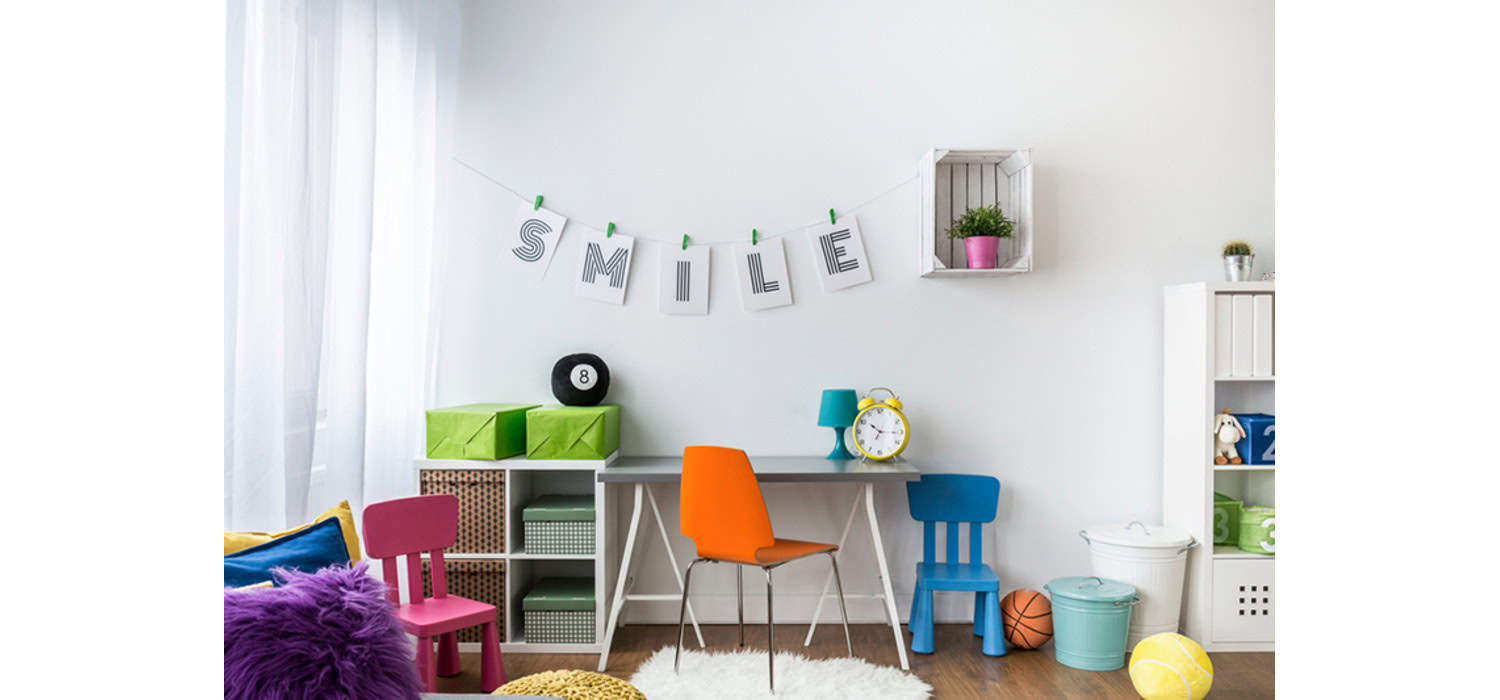
Don’t stop here! Continue reading to uncover detailed, easy-to-follow DIY projects that will revitalize your living space. Transform your room today with creativity and little expense!
DIY Room Decor Projects
Looking for a way to refresh your room without breaking the bank? DIY decor is your answer. These projects are not just easy and affordable but also allow you to infuse your personal style into your living space. Let’s dive into some creative DIY ideas that anyone can try!
Photo Wall Hanging
Creating a Personal Memory Lane (DIY Crafts)
Gather your favorite photos! This DIY photo wall hanging is a charming way to display your memories. Here’s how to do it:
- Choose Your Photos: Pick a selection of photos that mean the most to you.
- Get the Materials: All you need is some string, a wooden stick or dowel, and small clips or clothespins.
- Attach the String: Tie the string across the stick at different lengths.
- Clip Your Photos: Attach each photo using the clips or clothespins.
- Hang It Up: Secure the stick to your wall using nails or hooks.
This project not only personalizes your room but also keeps your cherished moments in view.
Custom Canvas Prints
How to Make Personalized Artwork for Your Walls (Shutterfly)
Turn your photos into art. Custom canvas prints can make any room feel more personal and designed. Here’s a simple way to create your own:
- Select Your Image: Choose a high-resolution photo that captures a favorite memory or scene.
- Edit for Perfection: Use photo editing software to adjust the colors and contrast to your liking.
- Choose a Canvas Size: Decide on the dimensions that best fit your wall space.
- Order Online: Upload your photo to a service like Shutterfly and select your canvas style.
- Receive and Hang: Once your canvas arrives, hang it on your wall to add a personal touch to your room.
These DIY projects are not just fun and fulfilling to make but also add a unique, personal touch to your living space, making it truly yours. Keep reading to find more exciting DIY decor ideas!
Functional DIY Projects
Looking to maximize both style and function in your room? These DIY projects focus on adding practical elements to your decor while maintaining a touch of creativity. Let’s explore some functional DIY ideas that will elevate your space!
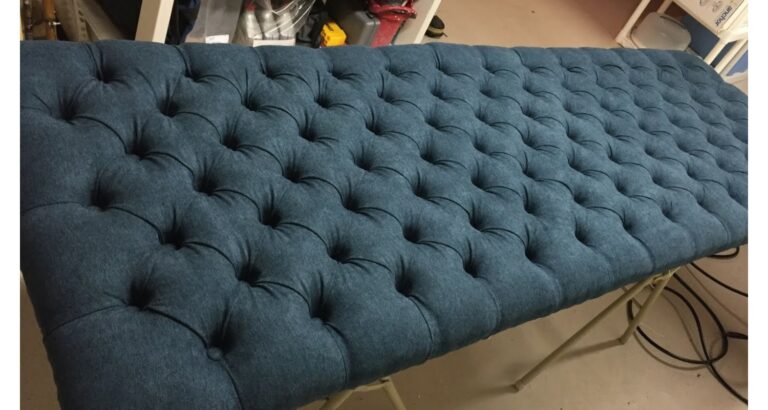
Ottoman with Storage
Adding Functional Storage Space with a DIY Ottoman (DIY to Make)
Need extra storage? This DIY ottoman not only provides a comfortable place to sit but also offers hidden storage for blankets, pillows, or any other items you need to tuck away. Here’s how to create your own:
- Gather Materials: You’ll need plywood, foam padding, fabric, hinges, and a staple gun.
- Build the Frame: Cut the plywood to size and assemble it into a box shape, leaving one side open.
- Add Padding: Attach foam padding to the top of the plywood for comfort.
- Upholster the Ottoman: Wrap the fabric around the padded top and staple it to the plywood.
- Attach Hinges: Install hinges on the open side to create a lid that opens for storage access.
This DIY ottoman is not only functional but also adds a touch of elegance to your room decor.
DIY Pouf
Create Additional Seating with Stylish and Easy-to-Make Poufs (DIY Joy)
Need extra seating for guests? These DIY poufs are both practical and stylish, adding a cozy touch to any room. Here’s how to make them:
- Choose Your Fabric: Select a durable fabric that matches your room’s decor.
- Cut and Sew: Cut the fabric into two identical circles and a long strip for the sides. Sew the sides to the circles, leaving an opening to fill with stuffing.
- Stuff It: Fill the pouf with stuffing or old blankets until it reaches your desired firmness.
- Close It Up: Sew the opening shut, and your pouf is ready to use!
These DIY poufs are versatile additions to any room, providing extra seating or serving as footrests. Get ready to impress your guests with your stylish and functional decor!
Personalized Projects for Room
Make your room truly yours with these personalized DIY projects. Whether you’re looking to add a unique touch to your bedroom door or give new life to old furniture, these ideas will help you infuse your personality into your living space. Let’s get started!
Name Sign for Bedroom Door
A Quick Project Perfect for Personalizing Your Space, Especially for Kids (DIY Crafts)
Want to make your room stand out? This DIY name sign adds a personal touch to your bedroom door, making it uniquely yours. Here’s how to create your own:
- Choose Your Materials: You’ll need wood, paint, stencils or letter stickers, and hanging hardware.
- Design Your Sign: Decide on the font and layout for your name or message.
- Paint or Stencil: Use paint or stencils to add your name or message to the wood.
- Add Finishing Touches: Decorate your sign with embellishments like glitter, stickers, or ribbon.
- Hang It Up: Attach hanging hardware to the back of the sign and hang it on your bedroom door.
This simple project is a fun way to personalize your space, especially for kids who love seeing their name displayed proudly.
Ombre Dresser
Revamp an Old Dresser with a Fresh Ombre Paint Job (DIY Crafts)
Ready to give your old dresser a makeover? This ombre paint job adds a modern, stylish touch to any piece of furniture. Here’s how to do it:
- Prepare the Dresser: Clean and sand the dresser to ensure a smooth surface for painting.
- Choose Your Colors: Select two or three paint colors that blend well together for the ombre effect.
- Paint the Base: Start with the lightest color as the base coat and allow it to dry completely.
- Create the Ombre Effect: Apply the next color in the middle of the dresser and blend it into the base color while it’s still wet.
- Finish with Darker Shades: Repeat the process with darker shades, gradually blending them into the previous colors.
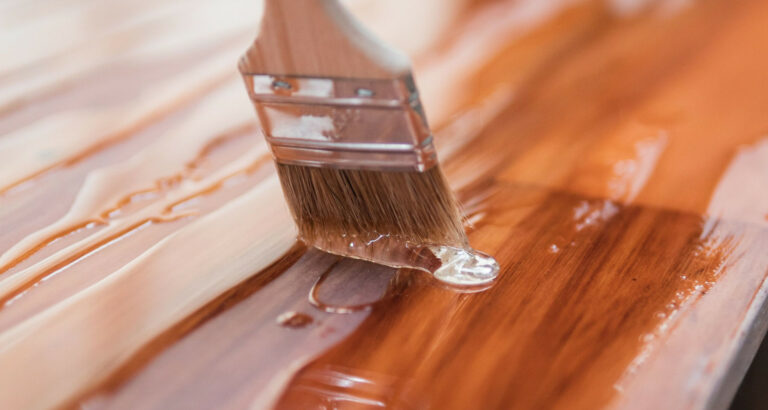
- Seal and Protect: Once the paint is dry, seal the dresser with a clear coat to protect the finish.
This DIY project breathes new life into old furniture, adding a personalized touch to your room decor. Get ready to enjoy your refreshed space!
Creative Lighting Solutions
Brighten up your room with these creative lighting solutions that add both style and ambiance to your space. From handmade scented candles to chic wall art, these DIY projects will illuminate your room in a unique and charming way. Let’s explore!
Tea Infused Scented Candles
Enhance the Ambiance of Your Room with Homemade Scented Candles (DIY to Make)
Looking for a cozy atmosphere? These DIY tea-infused scented candles not only provide warm, flickering light but also fill your room with delightful aromas. Here’s how to make them:
- Gather Your Materials: You’ll need candle wax, wicks, tea leaves or herbs, essential oils, and heat-resistant containers.
- Melt the Wax: Melt the candle wax in a double boiler until it’s completely liquid.
- Add Scent and Color: Stir in your chosen tea leaves or herbs and a few drops of essential oil for fragrance and color.
- Pour into Containers: Place the wicks in your containers and carefully pour the scented wax mixture into them.
- Let Them Set: Allow the candles to cool and harden completely before trimming the wicks and lighting them.
These homemade scented candles are not only easy to make but also make beautiful additions to your room decor, creating a cozy and inviting atmosphere.
DIY Chic Hoops
Decorative Wall Art that Doubles as Ambient Lighting (DIY Joy)
Want to add a touch of elegance to your walls? These DIY chic hoops are both decorative and functional, providing ambient lighting that enhances the atmosphere of any room. Here’s how to create your own:
- Gather Your Materials: You’ll need embroidery hoops, sheer fabric, LED fairy lights, and adhesive hooks.
- Prepare the Hoops: Stretch the fabric over the embroidery hoops and secure it in place.
- Attach the Lights: Wrap the LED fairy lights around the hoops, spacing them evenly for a balanced look.
- Hang Them Up: Use adhesive hooks to hang the hoops on your wall, arranging them in a pleasing pattern.
These chic hoop lights add a soft, diffused glow to your room, creating a cozy and inviting ambiance that’s perfect for relaxing or entertaining. Get ready to bask in the warm glow of your DIY lighting creations!
DIY Projects for Organizing
Get your space in order with these practical DIY projects designed to help you organize your belongings effectively. From crafting supplies to makeup tools, these creative solutions will streamline your storage and keep everything neat and tidy. Let’s dive into some organizing inspiration!
Ribbon Organization Cart
A Crafty Solution for Organizing Supplies (DIY to Make)
Tired of tangled ribbons? This DIY ribbon organization cart is the perfect solution for keeping your crafting supplies tidy and accessible. Here’s how to create your own:
- Choose Your Cart: Start with a rolling cart with multiple tiers for ample storage space.
- Gather Your Supplies: You’ll need dowel rods, hooks, and containers to hold your ribbon rolls.
- Install the Dowels: Attach dowel rods to the sides of the cart at varying heights to hold your ribbon rolls.
- Add Hooks and Containers: Use hooks and containers to store smaller crafting supplies like scissors, tape, and embellishments.
- Organize Your Ribbons: Thread your ribbon rolls onto the dowels, organizing them by color or type for easy access.
This DIY organization cart not only keeps your ribbons tidy but also makes crafting more enjoyable and efficient.
Makeup Magnet Board
A Creative and Neat Way to Organize Makeup Tools (DIY Crafts)
Struggling to find your favorite lipstick? This DIY makeup magnet board is a stylish and practical solution for keeping your makeup tools organized and easily accessible. Here’s how to make it:
- Choose Your Frame: Start with a decorative frame that matches your room decor.
- Prepare the Board: Cut a piece of sheet metal to fit inside the frame and paint it to match your style.
- Attach Magnets: Glue small magnets to the back of your makeup tools, such as eyeshadow palettes, brushes, and compact mirrors.
- Hang It Up: Place the sheet metal inside the frame and hang it on your wall using picture-hanging hardware.
This magnetic makeup board not only keeps your beauty essentials organized but also adds a touch of elegance to your vanity or bathroom. Get ready to say goodbye to clutter and hello to effortless beauty routines!
Conclusion
In conclusion, crafting DIY projects for your room can elevate its ambiance and reflect your personality. Remember to choose projects that align with your style, budget, and skill level. Experiment, have fun, and don’t be afraid to get creative!
FAQ Section
What are some easy DIY projects for my room?
Easy DIY projects for your room include creating wall art, organizing shelves with decorative baskets, and crafting personalized photo frames using recycled materials.
How can I make my room look bigger with DIY projects?
To make your room appear larger, consider painting walls with light colors, hanging mirrors strategically to reflect light, and incorporating multifunctional furniture like storage ottomans or loft beds.
What materials do I need for DIY room decor?
Essential materials for DIY room decor include adhesive hooks, paint or wallpaper, fabric, basic tools like scissors and glue guns, and recyclable items like mason jars or cardboard.
Are there DIY projects for organizing a small room?
Yes, you can organize a small room with DIY projects such as installing floating shelves, utilizing under-bed storage bins, and creating a pegboard organizer for accessories and small items.
How can I personalize my room with DIY decor?
Personalize your room by crafting DIY decor items like custom throw pillow covers, wall collages with meaningful photographs, and DIY lampshades decorated with your favorite patterns or quotes.

I am Sammy and I blog at Live it. Love it. Make it. It is creative lifestyle blog run by best friends H and Sammy. Head over and follow our crafty adventures!

