Ever wondered how to bring a touch of magic to your costume? DIY fairy wings are your answer! Simple, affordable, and utterly enchanting, this article guides you through the steps to create your very own wings. Get ready to spread your wings and soar at your next party!
How to Make DIY Fairy Wings: To make DIY fairy wings, you need wire, nylon stockings, scissors, and colorful paints. Shape the wire into wings, stretch the stockings over them, then decorate with paints. It’s quick, fun, and easy!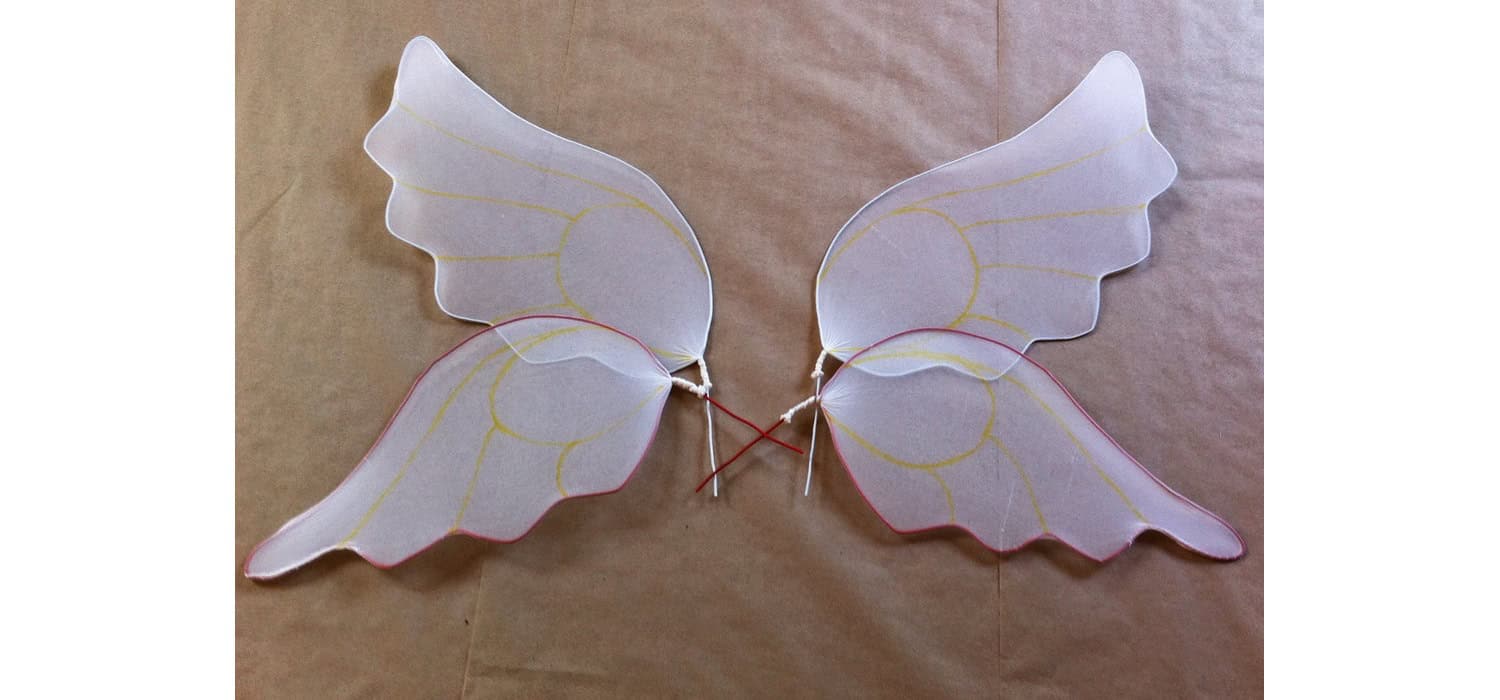
Don’t stop here! Discover more tips on customizing your wings to match any outfit. Learn how to add that perfect sparkle and flair. Continue reading for creative ideas and practical advice to enhance your magical creation!
Choosing Your Materials
Selecting the right materials is key to creating enchanting and durable DIY fairy wings. Here’s how to make the best choices:
Wire Frames: Choosing the Right Type
- Aluminum wire: Highly recommended for its flexibility and strength. It’s easy to manipulate into various shapes yet sturdy enough to maintain form.
- Copper wire: Softer and easier to bend than aluminum, but also heavier. Best for smaller wings to avoid sagging.
Fabrics and Cellophane: Selecting the Wing Material
- Nylon stockings: Affordable and widely available, nylon is great for a sheer, delicate look. It stretches well over wire frames.
- Cellophane: Offers a glossy, reflective appearance that mimics the iridescent quality of real insect wings. Excellent for creating a magical, sparkling effect.
- Polyester film: Durable and weather-resistant, ideal for outdoor use or more robust fairy wings.
Tips on Selecting Materials
- Durability vs. Appearance: Consider the environment where the wings will be worn. Outdoor or rugged use requires more durable materials like polyester film, while indoor or gentle use can lean towards nylon or cellophane.
- Weight and Comfort: Ensure the materials chosen are not too heavy for comfortable wear, especially for children or extended use.
- Color and Texture: Select materials that can be easily painted or decorated. Lighter colors and smoother textures are generally easier to customize.
Essential Supplies for Assembly
- Scissors: For cutting wire and fabric.
- Pliers: Essential for bending and cutting wire to the desired shape.
- Adhesive: Strong glue or tape to secure the fabric or cellophane to the wire frame.
- Decorative elements: Glitters, paints, and ribbons to embellish your wings after assembly.
By carefully choosing your materials and preparing adequately, you can create beautiful, durable fairy wings that will be the highlight of any costume.
Preparing the Wire Frame
Creating a solid and safe wire frame is the foundation of your DIY fairy wings. Follow these detailed steps to ensure your wings are both enchanting and secure.
Gathering Your Tools and Materials
- Before starting, ensure you have all necessary tools: aluminum or copper wire, wire cutters, and pliers.
Measuring and Cutting the Wire
- Measure the wire based on the desired wing span. A typical adult fairy wing might span from 24 to 36 inches per wing.
- Use wire cutters to cut two pieces of wire, one for each wing.
Shaping the Wire
- Begin by shaping each piece of wire into a wing shape. Common designs include oval, pointed oval, or a more natural butterfly shape.
- Use pliers to help bend the wire accurately, especially at intricate curves or angles.
Creating Details and Symmetry
- For more detailed wings, add smaller wire loops inside the main frame to mimic the veining of real wings.
- Ensure both wings are symmetrical by laying them side by side and adjusting as necessary.
Securing the Wire Ends
- Once the shape is finalized, carefully bend back any sharp wire ends.
- Use pliers to curl these ends into small loops, eliminating any sharp points that could catch on fabric or skin.
Reinforcing the Frame Structure
- For larger wings, consider adding a second layer of wire following the same shape for added strength.
- Use smaller wire pieces to tie the main frame and any additional structural wires together, ensuring they don’t shift or bend easily.
Importance of Safety
- Securing the wire ends is crucial to prevent injuries. Covered wire ends ensure that the wings are safe to wear, especially important for children’s costumes.
- Double-check all connections and secured ends by gently pulling to make sure everything is tightly fastened and safe.
By following these steps, you can create a reliable and stunning wire frame, ready to be adorned with fabrics or cellophane to complete your magical DIY fairy wings. Remember, the durability and safety of your wings depend on the care taken in this foundational step.
Constructing and Decorating Your Wings
Attaching the Fabric or Cellophane
Once your wire frame is ready, it’s time to bring your DIY fairy wings to life with fabric or cellophane. Here’s how to do it effectively and artistically.
Preparing Your Covering Material
- Fabric: Choose nylon, lightweight polyester, or other sheer fabrics. Cut the fabric slightly larger than the wire frame to allow for secure attachment.
- Cellophane: Select high-quality cellophane for a glossy, reflective finish. Cut in a similar size as fabric, ensuring extra for adjustments.
Techniques for Attaching Fabric Using Adhesives
- Lay the fabric over the wire frame on a flat surface. Trim any excess material, leaving enough to wrap slightly around the edges of the wire.
- Apply hot glue carefully along the wire. Press the fabric into the glue, starting from one end and gradually moving to the other to avoid wrinkles and ensure a tight fit.
- Use a low-temperature glue gun to prevent the fabric from melting or burning.
Applying Cellophane for a Shimmering Effect
- Place the cellophane over the frame, smoothing out as much as possible before gluing.
- Similar to fabric, apply hot glue along the wire. Gently press the cellophane into the glue, working slowly to avoid tearing.
- For a multi-dimensional shimmer, layer different colors of cellophane, using lighter colors on top.
Tips for Smoothing Out Cellophane
- If wrinkles appear, gently heat them with a hair dryer set on low heat. Keep the dryer moving to avoid melting the cellophane.
- Use your hands or a soft brush to smooth the cellophane as it softens, attaching it more securely to the wire.
Adding Decorations
- Once your wings are covered, it’s time to decorate. Use glitter, fabric paint, or stick-on gems to add magical details.
- Apply decorations while the adhesive is still slightly tacky to ensure they adhere well.
Final Touches
- Check all edges to ensure the fabric or cellophane is securely attached and not likely to peel off.
- Add a final layer of clear spray adhesive over the wings to seal decorations and provide extra hold for the covering material.
By following these detailed steps, you can create stunning, durable fairy wings that capture the light beautifully and stand out at any event. Whether fluttering at a party or displayed as a costume piece, your fairy wings will be a testament to your creativity and craftsmanship.
Adding Decorations and Personal Touches
Now that your DIY fairy wings are shaped and covered, it’s time to personalize them with decorations that reflect your unique style.
Painting Designs on Your Wings
- Choose acrylic or fabric paints for durability and vibrant colors.
- Paint simple patterns like swirls, stars, or floral designs directly onto the fabric or cellophane.
- For a more intricate design, sketch your pattern with a pencil first, then fill in with paint. Allow the paint to dry completely.
Using Glitter for Sparkle
- Apply a thin layer of clear craft glue or spray adhesive over the area where you want glitter.
- Sprinkle glitter over the glue. Tap off the excess and let it set.
- For a more controlled application, mix glitter into the glue and paint it on to create specific shapes or accents.
Attaching Embellishments Like Flowers
- Fabric flowers, faux gems, and ribbons can add depth and interest to your wings.
- Attach these embellishments using hot glue or strong fabric adhesive to ensure they stay in place.
- Arrange larger embellishments along the wing edges or at key focal points, such as the center where the wings meet.
Ensuring Adhesion and Durability of Decorations
- Make sure the surface is clean and dry before applying decorations.
- Use adhesives that are suitable for your wing’s material. For instance, hot glue works well for heavier items on cellophane but use fabric glue for delicate fabrics.
- After decorating, spray a light coat of clear acrylic sealer over the wings. This step will protect the paint, glitter, and embellishments from flaking off and enhance durability.
Creative Tips for Extra Flair
- Layer different materials and textures for a dynamic look. For example, overlay sheer fabric over painted areas for a muted, elegant effect.
- Incorporate LED lights along the frame for wings that glow. Ensure wires and batteries are well-secured and hidden.
By incorporating these decorative techniques, you can transform your fairy wings into a magical accessory that’s not only beautiful but also expresses your personality and creativity. Whether for a costume party or a festive event, your uniquely decorated fairy wings will surely stand out and captivate everyone’s imagination.
FAQ Section
How do you make fairy wings for a child?
Secure a smaller wire frame for child-sized wings. Use lightweight materials like nylon for safety and comfort. Ensure all edges are smoothly covered.
What materials are used to make fairy wings?
Popular choices include aluminum wire, nylon stockings, and cellophane. These materials are praised for their flexibility, durability, and aesthetic appeal.
Can you make fairy wings without wire?
Yes, you can use heavy-duty coat hangers as a substitute for wire. They provide a sturdy frame but require proper shaping and padding for safety.
How do you attach fairy wings?
Attach wings using adjustable straps or a harness that fits comfortably over the shoulders. Ensure straps are secure and evenly balanced.
What is the best way to color fairy wings?
Use acrylic paints for vibrant and lasting color. Apply in layers, allowing each layer to dry completely for best results.
Conclusion
Creating your own DIY fairy wings is an enchanting experience, perfect for costumes or play. Start with a sturdy wire frame, choose your materials, and personalize with paint and embellishments. We invite you to share your creations and tips with our community. Spread your wings and let your imagination soar!

I am Sammy and I blog at Live it. Love it. Make it. It is creative lifestyle blog run by best friends H and Sammy. Head over and follow our crafty adventures!