Explore the art of crafting beautiful braided rugs in this “How to make a braided rug without sewing” DIY tutorial. Discover how to transform old fabrics into unique, eco-friendly rugs that add warmth and character to your living spaces. Follow this step-by-step DIY braided rug no-sew guide to embark on a creative rug-making journey.
Create a no-sew braided rug by cutting fabric into strips, folding them, and braiding them without needing a needle and thread. Add more strips as necessary to increase length shape as desired, and secure the ends with knots or fabric adhesive. This DIY rug project offers a fun and eco-friendly way to enhance your home decor.
Reading an article on “How to Make a Braided Rug Without Sewing: DIY Tutorial” is essential for those seeking a creative and eco-friendly way to enhance their home decor. Learn to transform old fabrics into charming DIY t-shirt rugs or DIY braided rugs with step-by-step guidance, enabling you to embark on an enjoyable and sustainable crafting journey.
Why Pick No-Sew Braided rugs?
Braided rugs have been a well-known decision for adding warmth, surface, and style to homes for quite some time. Customarily, creating these rugs included sewing or binding together texture segments, yet there’s a more open and eco-friendly elective: no sew-braided rugs. In this aide, we’ll investigate why selecting no sew-braided floor coverings is a brilliant decision, and we’ll dive into the materials and devices you want to make them. 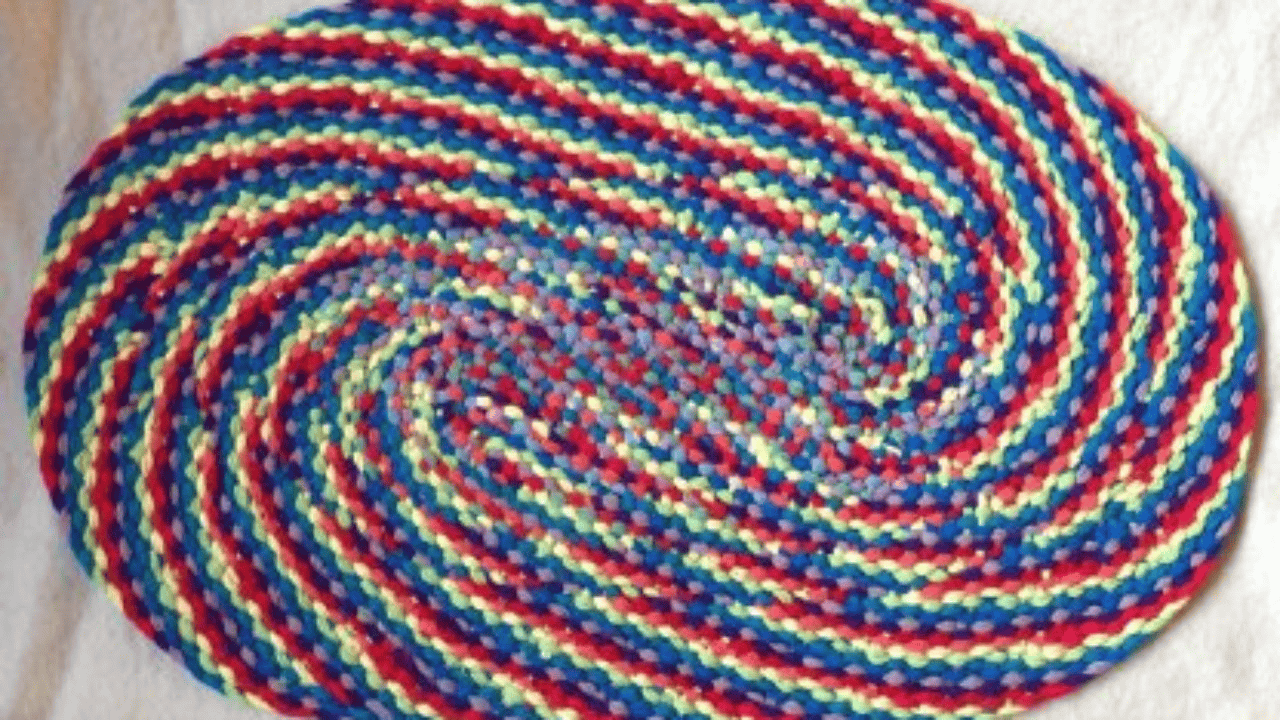
Cost Effective
One of the essential motivations for picking no sew-interlaced rugs is their cost-effectiveness. Conventional twisted rugs frequently require sewing machines or talented work for gathering, which can cause extra costs. Conversely, no-sew Braided floor coverings are made by interlacing or hitching texture portions together, dispensing with the requirement for costly hardware or expert administrations.
Besides, you can make these floor coverings utilizing materials you may as of now have at home, for example, old Shirts, bed sheets, towels, or texture remainders. Reusing these things diminishes squandering and getting a good deal on buying new materials.
Harmless to the ecosystem
No, sew-braided rugs are an eco-conscious decision. By upcycling old textures that could, in some way or another, end up in landfills, you add to decreasing material waste and bringing down your carbon impression. This ecofriendly approach aligns with feasible living practices and advances genius in creating.
Also, the shortfall of sewing or sticking means no possibly hurtful synthetics or cement engaged with the rug-making system. This makes no twisted rugs harmless to the ecosystem and a health-conscious decision for your home.
Adaptability in Plan
No, sew-interlaced floor coverings offer a universe of plan prospects. You can blend and match different textures, varieties, and examples to impeccably make a floor covering that supplements your stylistic theme. Whether you favor a work of art, a provincial look, or something more current and energetic, the flexibility of this strategy permits you to release your inventiveness.
Besides, the shape and size of your rug are adjustable. You can make little complement floor coverings, passage sprinters, or huge region rugs without the impediments of sewing or explicit aspects. This adaptability guarantees that your mat accommodates your space and communicates your novel style.
Materials Required
Making a no-sew interlaced mat is a clear cycle that requires insignificant materials. You’ll need this:
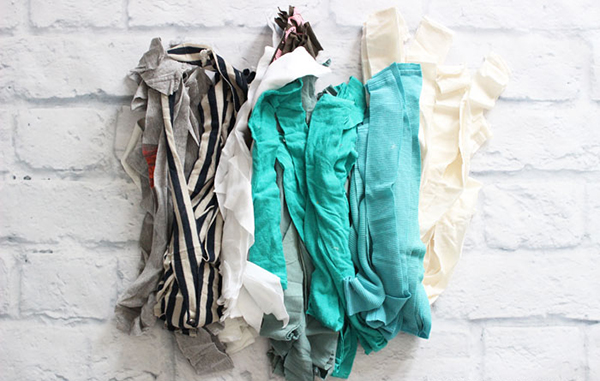
Kinds of Texture Appropriate:
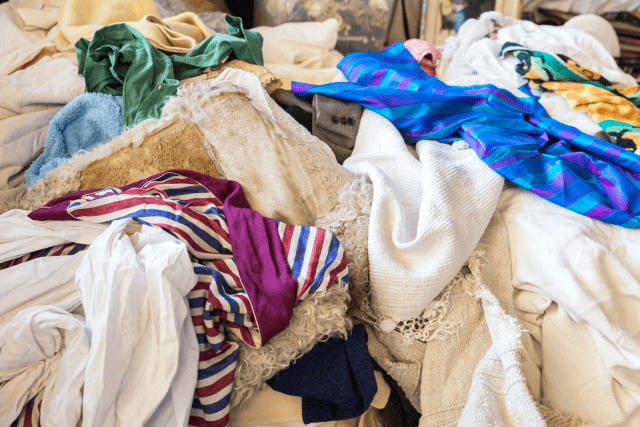
- Shirts: Old Shirts are brilliant decisions for their non-abrasiveness and accessibility in various tones.
- Bedsheets: Utilized bed sheets give more than adequate texture to more extensive floor coverings and come in different examples and varieties.
- Towels: Towels can add thickness and retentiveness to your mat, making it ideal for restroom or kitchen use.
- Texture remainders: Any extra texture scraps from past tasks can be reused to add remarkable surfaces and varieties to your floor covering.
Apparatuses and Frill:
- Scissors: A sharp set of texture scissors is fundamental for cutting texture strips neatly.
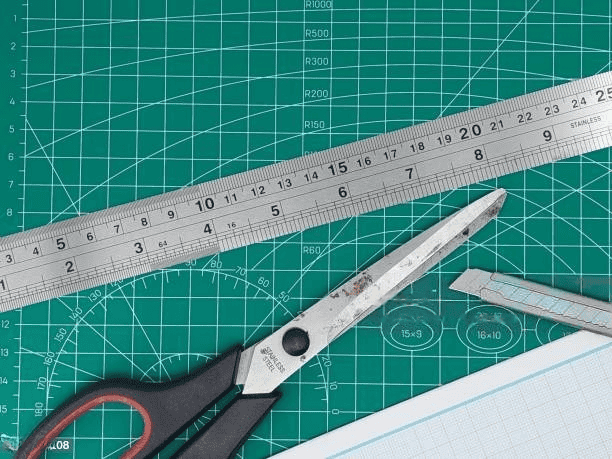
- Ruler or cutting mat: Supportive for estimating and slicing texture strips to a reliable width.
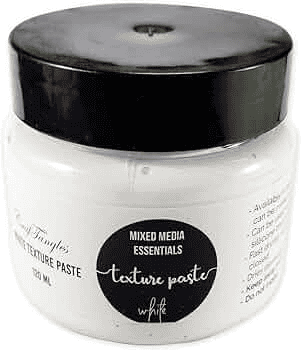
- Discretionary: Texture cement or paste: Albeit a new strategy, you can utilize texture cement or paste sparingly to get the finishes of texture strips if necessary.
- A huge working surface: You’ll require adequate space to spread your floor covering as it develops during the meshing system.
Step-by-Step Guidelines for Causing a No To sew Twisted Floor Covering:
Follow these.
1. Set up the Texture Strips:
- To learn how to make a braided rug without sewing, start by cutting your picked texture into long strips. The width of the strips will decide the thickness of your mat, so make them steady.
- The length of the strips depends upon the size of the mat you need. For most, longer strips permit you to make a more enormous rug.
2. Make Three Equal Length Strands:
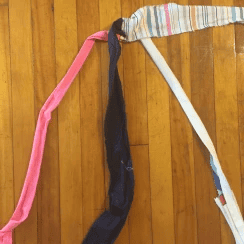
- Select three texture pieces of a similar length and adjust them lined up.
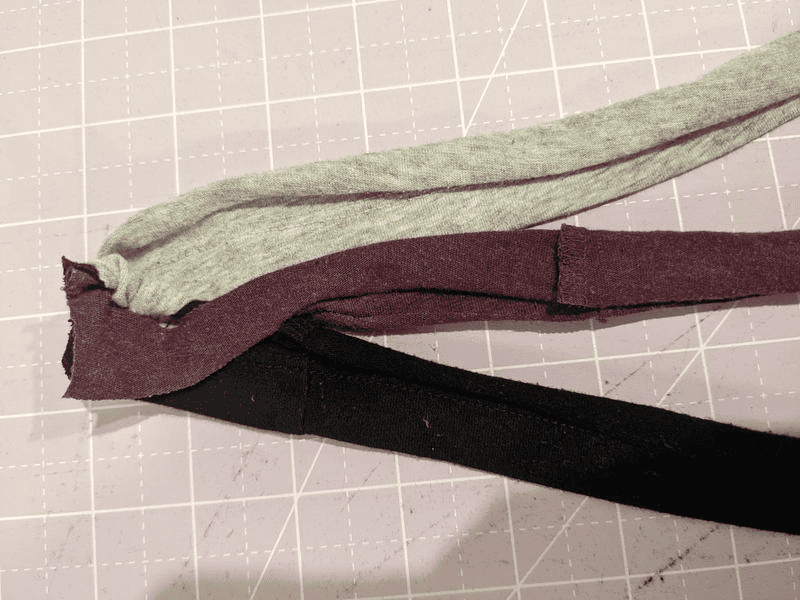
- Hitch the finishes of these strips together, making a solid beginning stage.
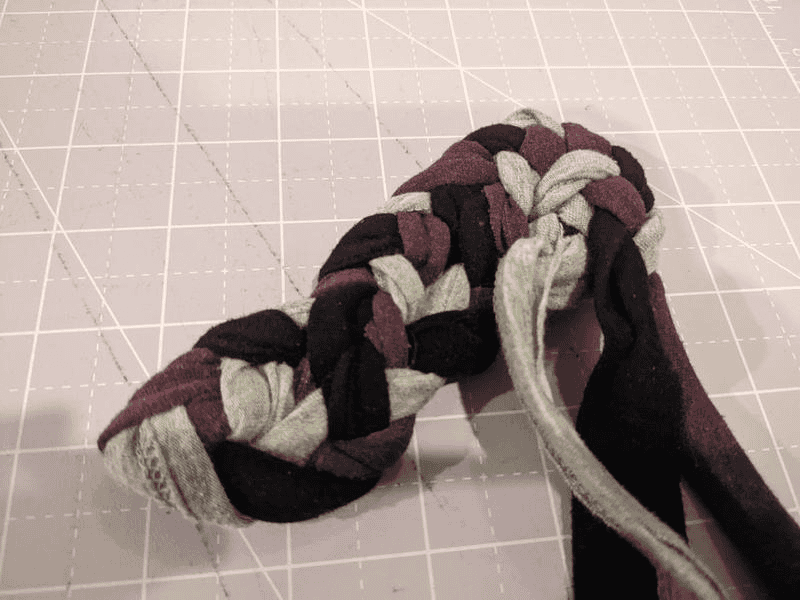
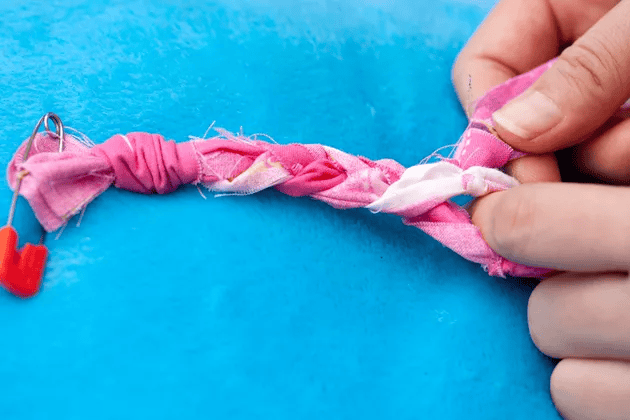
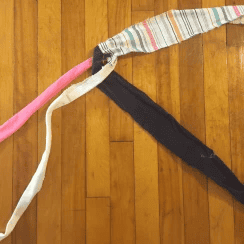
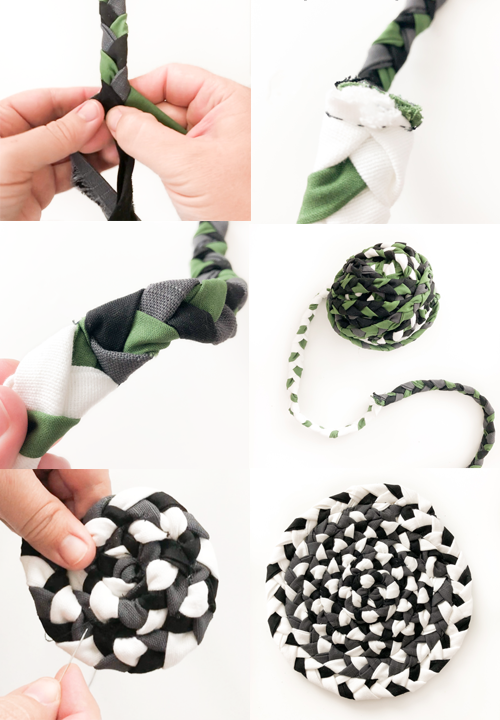
3. Start Meshing:
- Begin meshing the three strands together, as you would plait hair.
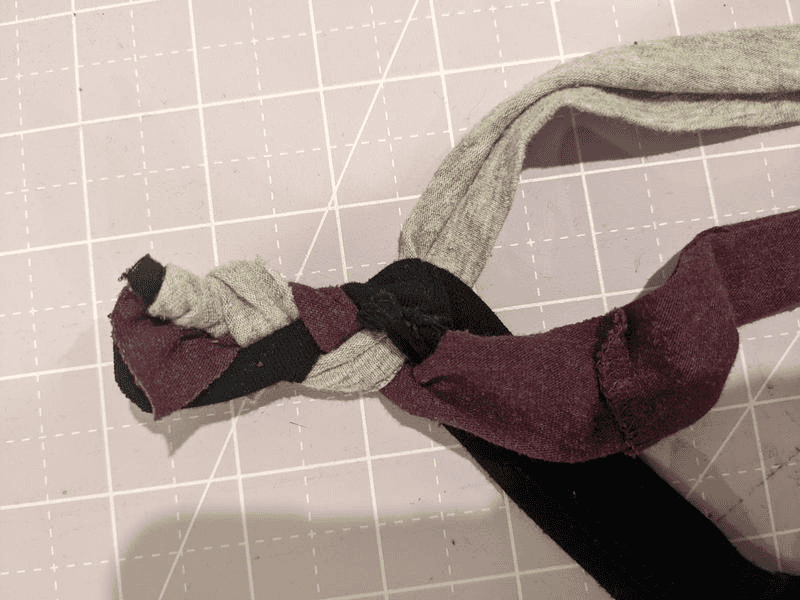
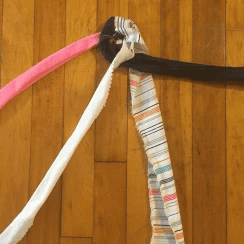
- Get the right strand over the middle strand, then the left over the central strand. Proceed with this example.
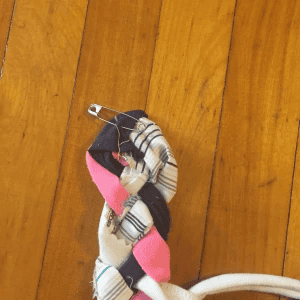
4. Add New Strips depending on the situation:
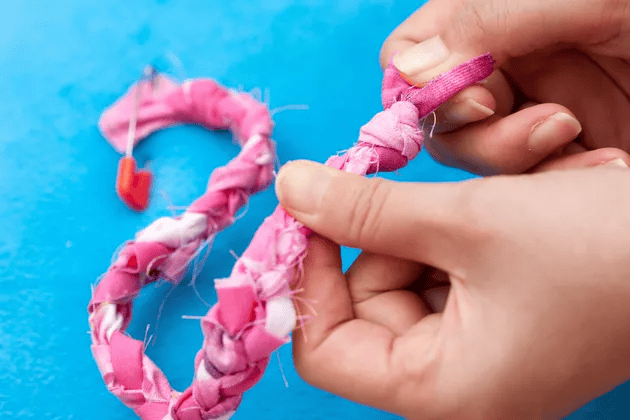
- As you mesh, you’ll ultimately run out of texture. Add new strips by tying them onto the finish of your strands.
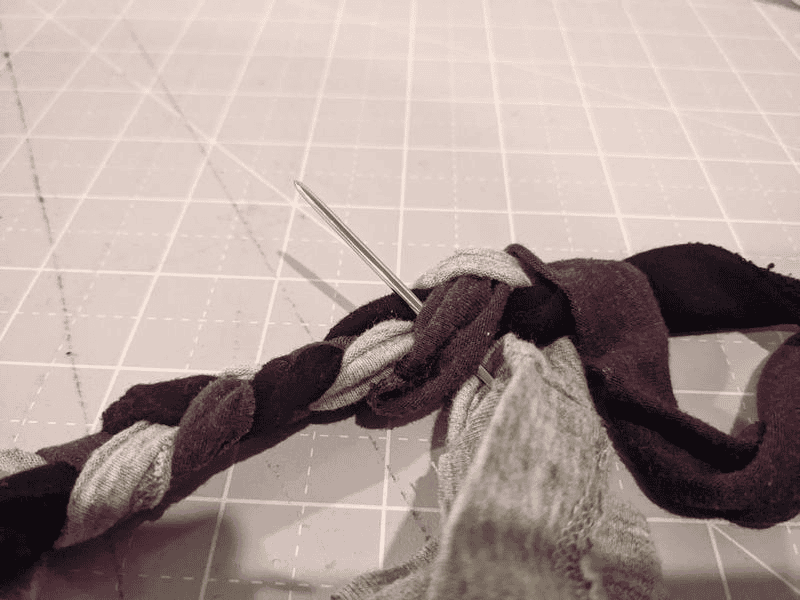
- Try to cover the finishes of the old and new strips and bunch them safely to forestall disentangling.
5. Keep Twisting and Growing:
- Continue plaiting and adding new strips until your rug reaches the ideal size.
- Guarantee that your rug keeps a level shape as you work. It’s fundamental to keep the pressure steady for a uniform appearance.
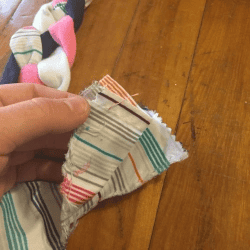
6. Secure the Finishes:
- At the point when you’ve arrived at the ideal size, attach a safe bunch toward the finish to forestall unwinding.
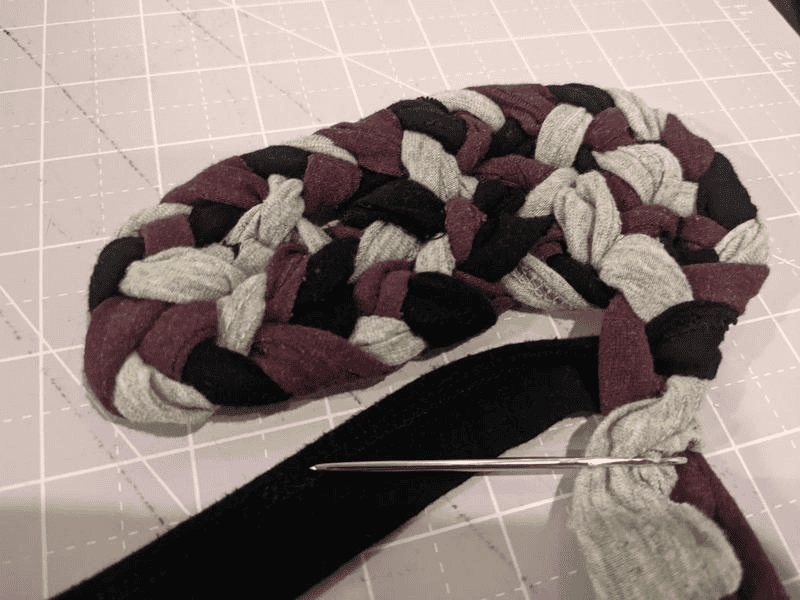
- Alternatively, you can use texture cement or paste to set up the finishes.
7. Trim Overabundance Texture:
- Trim any overabundance of texture from the closures of the strips to accomplish a perfect, completed look.
8. Partake in Your No Sew Braided Mat:
- Now that you have learned how to make a braided rug without sewing, place your hand-tailored mat in the ideal area and enjoy its comfortable, unique appeal in your home.
Setting up Your Texture: Cutting and Tearing Methods
Setting up your texture appropriately is fundamental before leaving on your excursion to make a lovely, no-sew rag rug. Whether you’re utilizing old Shirts, bedsheets, towels, or texture remainders, how you cut and tear your texture strips can affect the result of your task.
Cutting Strategies:
Texture Determination: Start by choosing the texture you plan to use for your mat. Remember that various textures can offer unique surfaces and a variety of varieties. You can involve one texture or blend and match for a different look.
Estimating and Cutting: Utilize a ruler or slicing mat to quantify and cut your texture into long strips. The width of these strips will decide the thickness of your rug. So, it’s vital to make the width predictable for a uniform appearance.
Consistency Matters: Guarantee that you cut the texture strips as equitably as possible. Lopsided stripes might bring about a knotty or sporadic mat. A turning shaper and a straightedge ruler can be convenient devices for accomplishing exact cuts.
Changing Width: Contingent upon your plan inclinations, you can try different things with various strip widths. Restricted strips make a more many-sided look, while more extensive stripes give a bolder appearance.
See Also: Crochet Baby Booties Pattern: A Step-By-Step Guide
Cutting Points: For an extraordinary plan component, consider cutting the texture strips at a point rather than straight across. This can add a dynamic, slanting example to your rug. 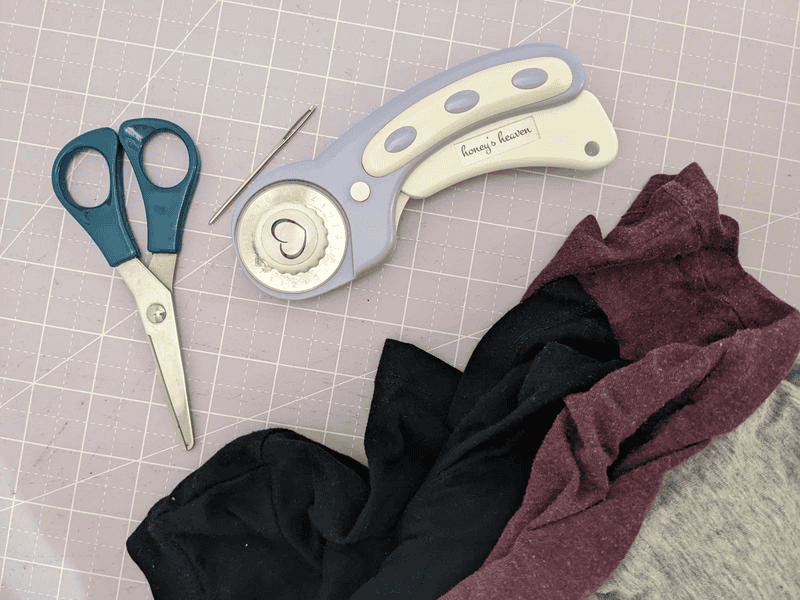
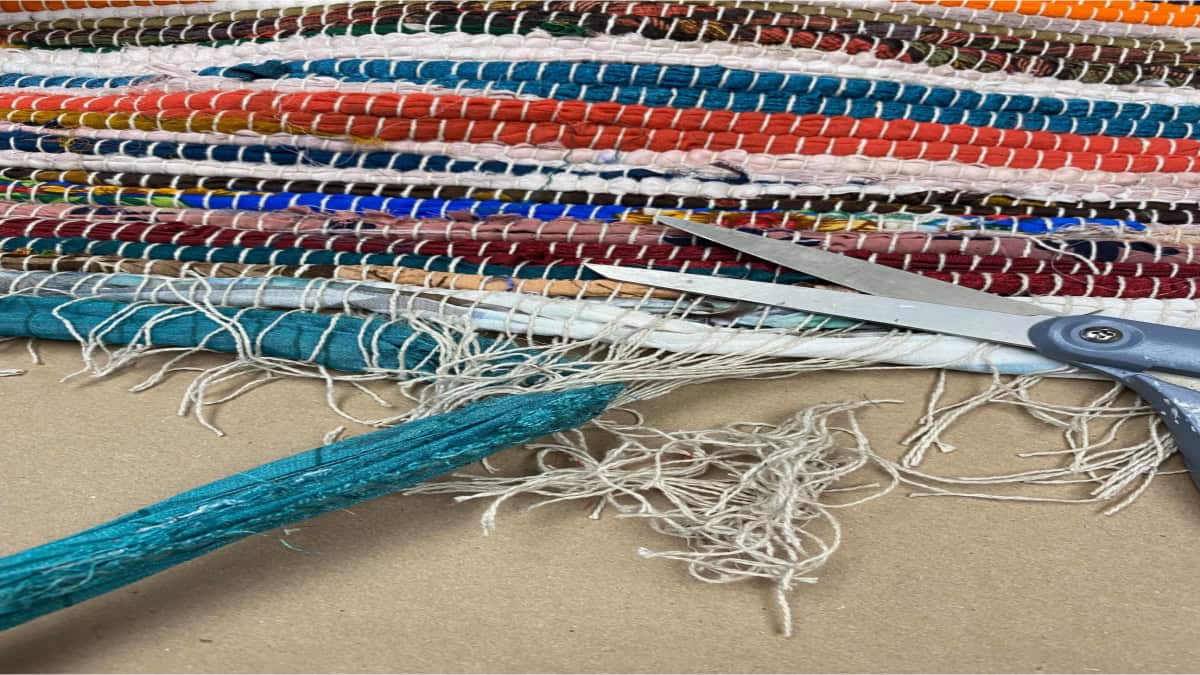
Tearing Methods:
Texture Tearability: A few textures, such as Shirts and bedsheets, tear effectively along their grain. This strategy can make a frayed edge, adding character to your rug.
Checking and Tearing: To tear texture, mark a line where you need to begin the tear. Utilize a ruler or measuring stick to guarantee a straight line. Then, delicately pull the texture separated along this line.
Reliable Tear: Keep the tear as straight as conceivable to keep a uniform width for your texture strips. If you favor a frayed edge, you can softly pull running wild strings to improve the impact.
Tearing Difficulties: Remember that not all textures tear well. Some might oppose pulling, particularly if they have severe areas of strength. In such cases, cutting is a more reasonable choice.
Collapsing and Setting Texture Strips:
After you’ve cut or torn your texture into strips, setting them up for the meshing system is fundamental. 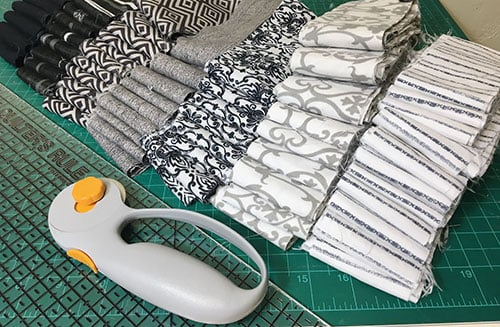
Collapsing: Overlap every texture strip half the way, matching the two long edges. This will make a collapsed edge on one side and two crude edges on the other.
Stacking Strips: When your texture strips are collapsed, stack them conveniently in the request you intend to involve them for twisting. Stacking assists you with keeping a reliable example if you’re working with various tones or texture types.
Coordinating: Keep your collapsed and stacked texture strips in a holder or pack to avoid getting tangled or dusty. This guarantees that your materials stay spotless and prepared for plaiting.
See also: MAKE IT: POLAROID PIN FRAME
Interlacing Methods:
Now that your texture strips are ready, you can investigate different interlacing methods to make your no-sew rag rug. Two famous techniques are customary three-strand meshing and the four-strand twisting with an interlocking strategy.
Customary Three-Strand Plaiting:
This technique frames the establishment for most meshed rugs and is moderately easy to dominate.
Begin with Three Strands:
- Hold three texture strips together, adjusting the collapsed edges.

- These three strips will be the reason for your interlace.
Cross and Twist:
- Take the right strand and get it over the middle strand. Then, take the left strand and get it over the new focus strand.
- Rehash this interaction, substituting sides until you’ve meshed the ideal length.
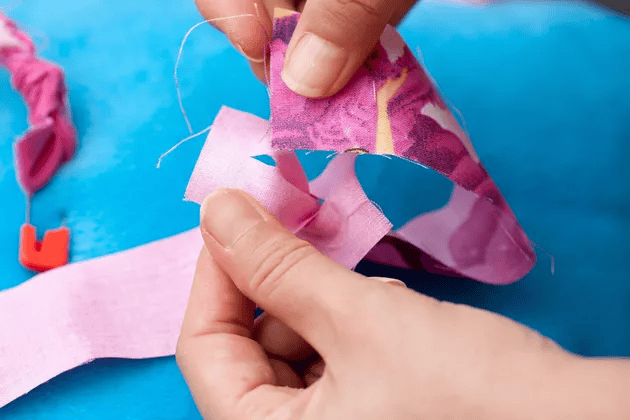
Adding New Strips:
- When you arrive at the finish of a texture strip, join another one by collapsing it fifty and covering it with the finish of the past strip mesh.
Secure the End:
- To complete the interlace, tie a protected bunch toward the end. You can likewise involve texture cement or paste for added security.
And you have learned how to make a braided rug without sewing.
Four-Strand Meshing with Interlocking Strategy:
The four-strand plaiting with an interlocking strategy adds intricacy and visual interest to your mat.
1. Begin with Four Strands:
- Hold four texture strips together, adjusting the collapsed edges. These four strips will make a more many-sided twist.
2. Cross Strands:
- Get the furthest right strand over the neighboring strand on its left side. This strand presently turns into the new focus strand.
3. Interlock the Strands:
- String the furthest left strand under the two center strands and over the most distant right strand.
- Get it through, getting it in the middle.
4. Repeat:
- Proceed with this interaction, substituting sides and interlocking the strands until you’ve braided the ideal length.
5. Adding New Strips:
- Likewise, with the three-strand mesh, add new texture strips when essential by collapsing them into equal parts and covering them with the closures of the past strips.
6. Secure the End:
- Finish the twist by tying a protected bunch or involving texture cement or paste for added dependability.
These plaiting methods offer different plan prospects, permitting you to make one-of-a-kind and extraordinary no-sew twisted rugs. However, you can create customized carpets that supplement your stylistic theme and mirror your imaginative energy by cautiously setting up your texture and dominating these techniques.
Molding Your Floor Covering:
Whenever you’ve excelled at twisting and arranging your texture, now is the ideal time to shape your no-sew meshed mat. The shape you pick relies upon your inclination and the planned utilization of the rug. Here, we’ll investigate making round rugs, planning rectangular sprinters, and offer ways to keep your mat level and well-shaped.
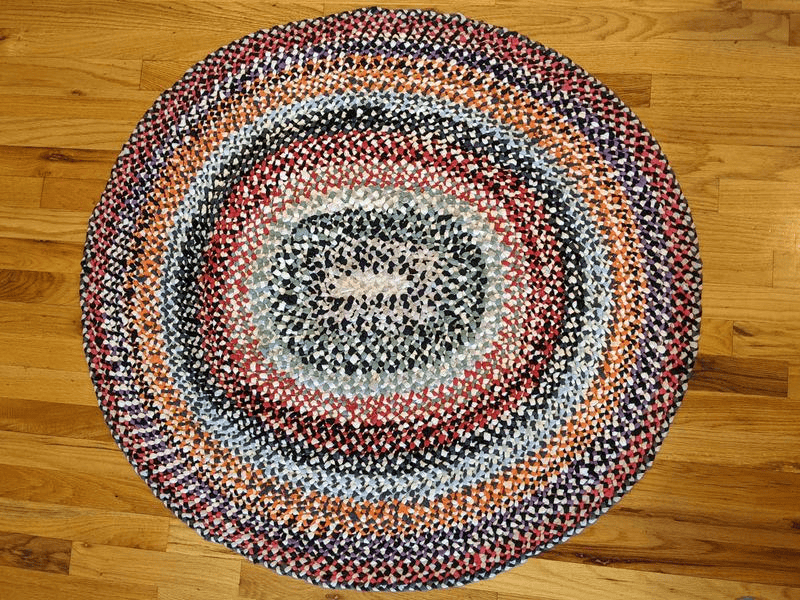
Making Roundabout rugs:
Roundabout rugs are an enchanting expansion to any room, offering a subtle difference from regular rectangular or square shapes. To make a roundabout mat, follow these means:
1. Lay out the Middle:
- Start your roundabout rug by framing a little circle or twisting in the middle.
- You can utilize a standing-out texture or begin from a similar texture as the remainder of the floor covering for a hidden plan.
2. Construct Outward:
- As you twist and grow your mat, keep spiraling outward from the middle.
- Keep the width of your mesh predictable to stay in fair shape.
3. Continuous Increments:
- To keep a smooth, roundabout shape, make progressive expansions in the width of your mesh as you move outward.
- This can be accomplished by integrating more texture strips or making every texture strip more extensive than the past one.
4. Keep up with Pressure:
- It’s pivotal to keep your texture strips rigid while interlacing to forestall the clasping or twisting of the round plan.
Planning Rectangular Sprinters:
Rectangular sprinters are ideally suited for corridors, doorways, or kitchen spaces. To make a rectangular mat, follow these means: 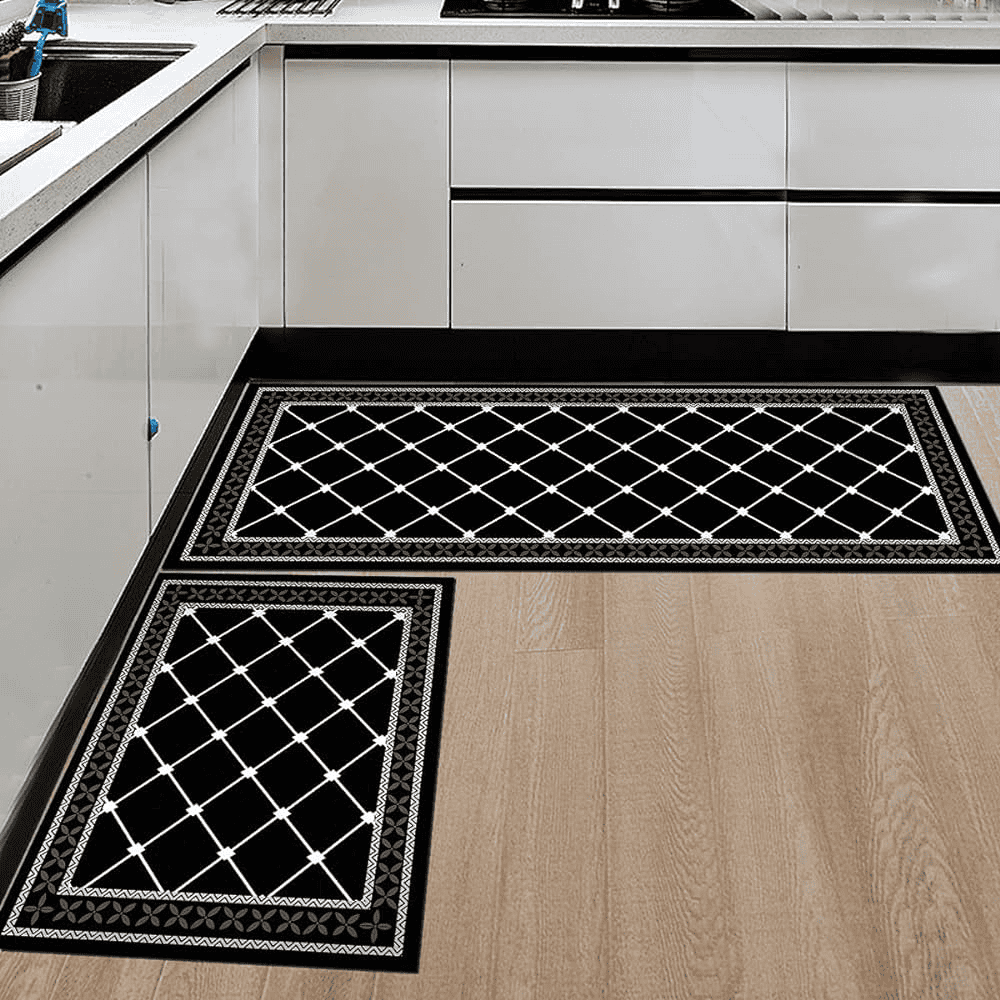
1. Decide Length and Width:
- Settle the ideal length and width of your rectangular sprinter.
- Cut or tear sufficient texture strips to accomplish these aspects.
2. Start the Interlace:
- Begin the plait toward one side of your picked length, guaranteeing that the texture strips are adjusted flawlessly.
3. Straight Twisting:
- In contrast to round rugs, keep a linear plait design as you move along the length of the sprinter.
- This includes getting the right strand over the middle, then the left over the middle, etc.
4. Standard Width:
- Keep the width of your mesh predictable to guarantee a straight, rectangular shape.
- This is especially significant for sprinters, as any lopsidedness might prompt stumbling dangers.
5. Keep up with Pressure:
- Similarly, as with roundabout rugs, keeping up with steady strain in your texture strips is fundamental for keeping the sprinter level and even.
See Also: MAKE IT: EASY COASTERS
Ways to keep the rug Level:
No matter what shape you pick, these tips will assist you with keeping your no-sew twisted mat level and well-shaped: 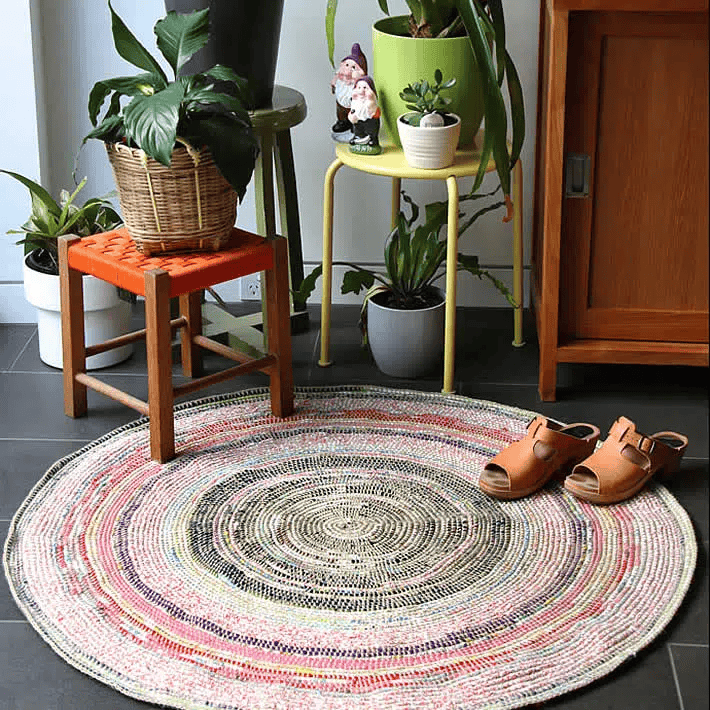
1. Lay It Level:
- After each interlacing meeting, lay your floor covering level on a spotless, level surface.
- This permits the floor covering to sink into its ideal shape and forestall lopsidedness.
2. Burden It:
- Consider setting weighty articles or books along the edges of your rug while it rests.
- This urges the edges to remain level and forestalls twisting.
3. Normal Changes:
- As you work on your rug, occasionally change and smooth out any waves or clasps that might be created.
- Getting and amending these issues early is more straightforward than fixing them later.
Last little details on how to make a braided rug without sewing :
To finish your no-sew meshed rug and guarantee its solidness, focus on these last little details:
Finishing the Twists:
1. Tie or Secure the Finishes: When you’ve arrived at the ideal size for your rug, cautiously tie a safe bunch or use texture cement toward the finish of your mesh to forestall disentangling. Hence, trim any overabundance of texture. 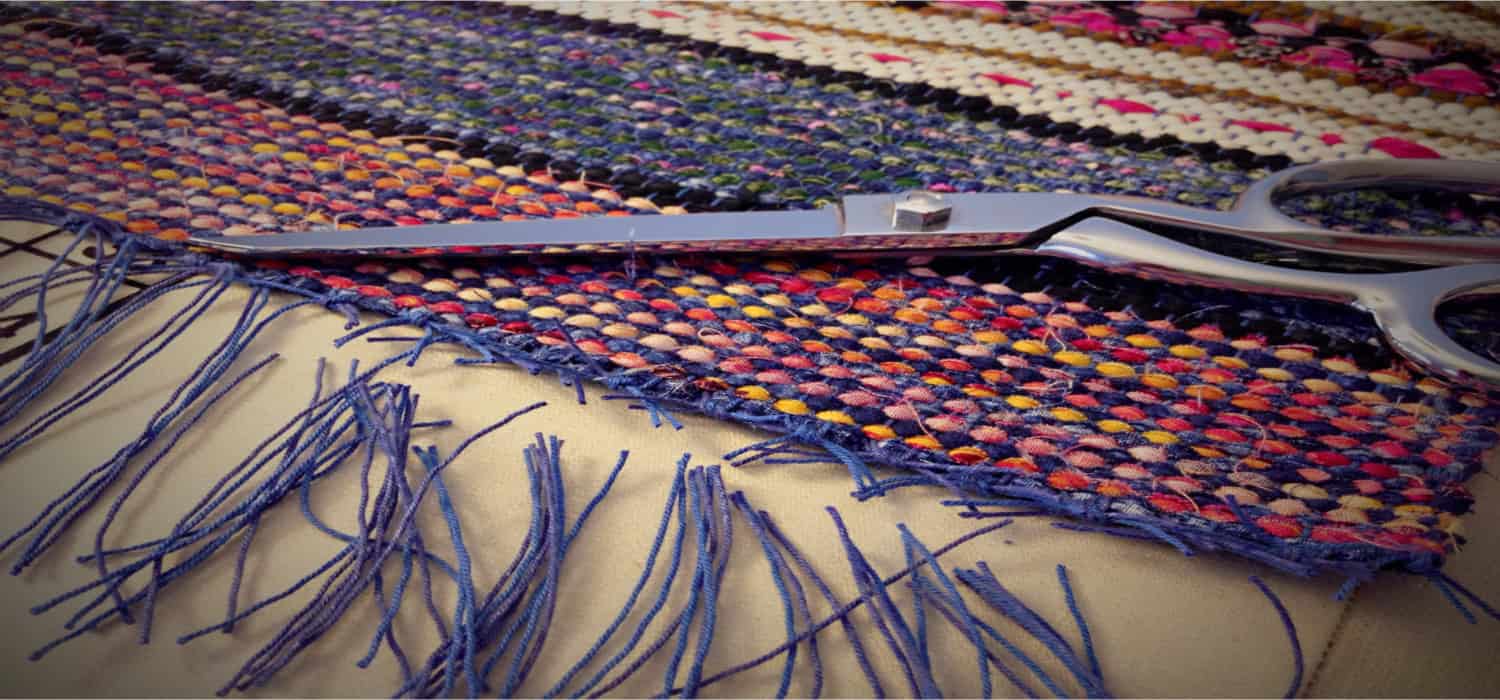
2. Conceal Bunches: On the off chance that you’ve utilized various texture strips all through your plait, conceal the bunches inside the folds of your mat for a clean finish.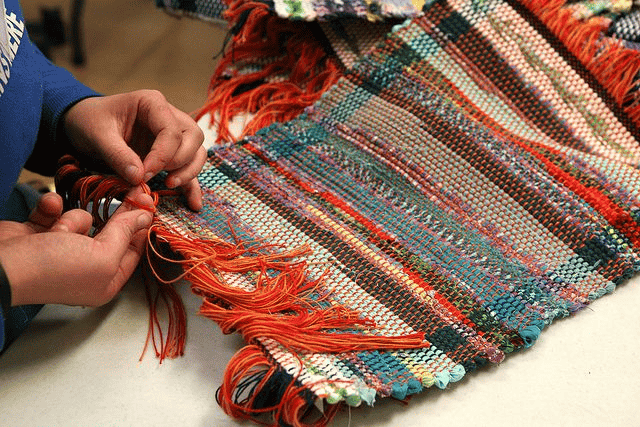
Guaranteeing Sturdiness:
1. Secure with Texture Glue: To upgrade the mat’s solidness, use texture cement or paste sparingly along the rear of the rug. This helps hold the plaits set up and holds them back from moving. 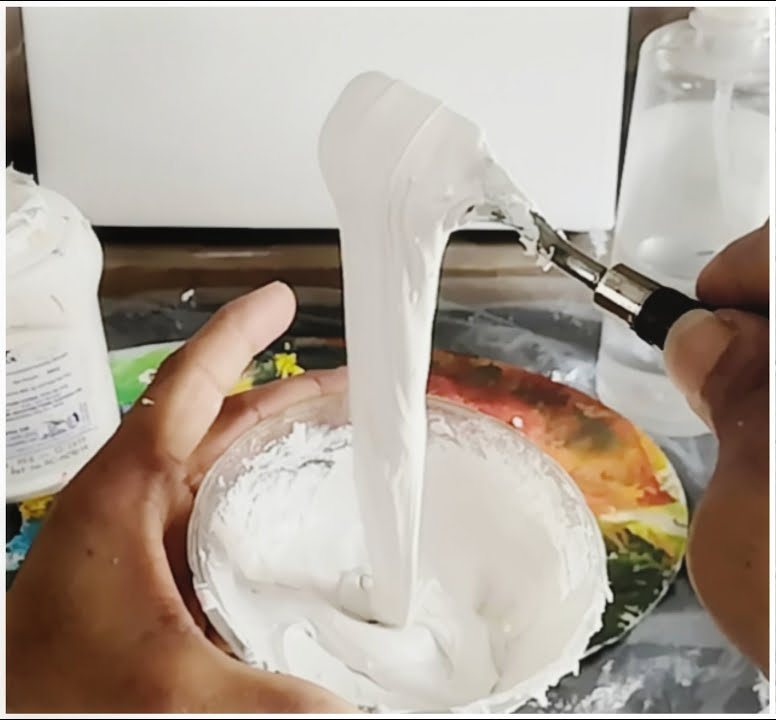
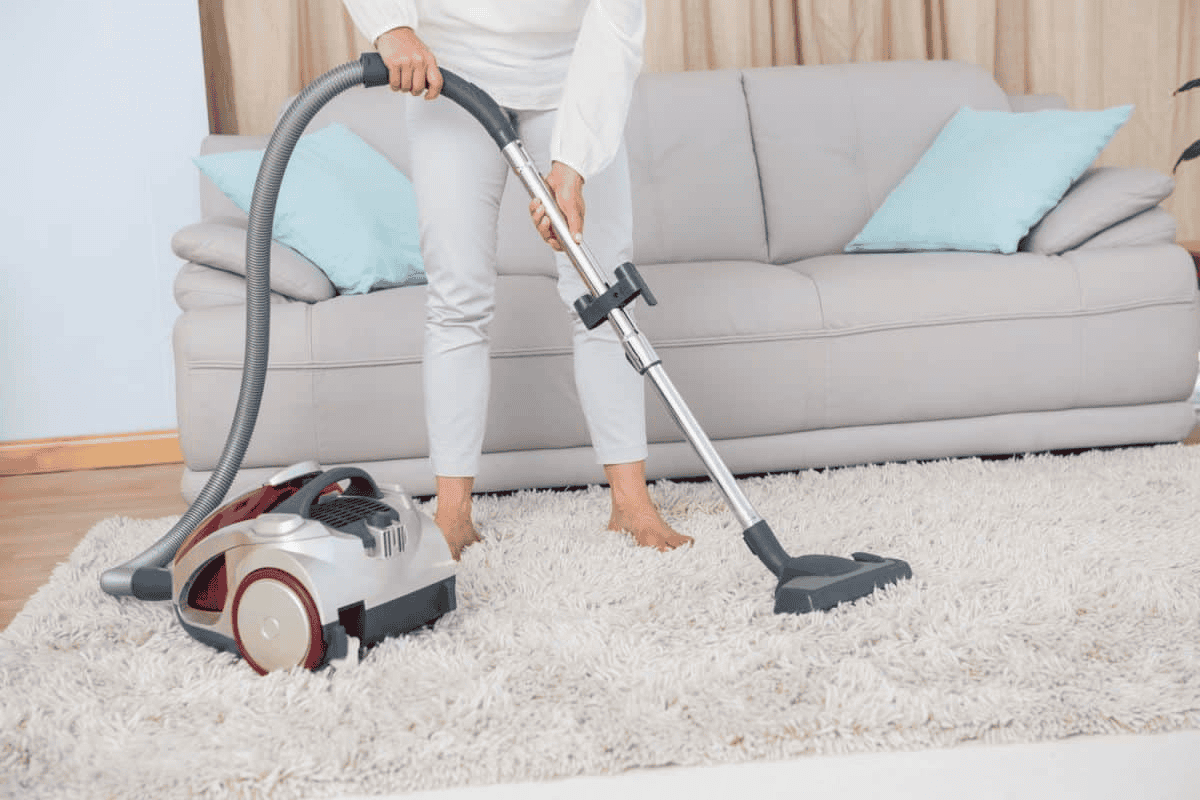
2. Ordinary Support: To keep your rug putting its best self forward, vacuum it consistently to eliminate residue and trash. Assuming the floor covering becomes filthy, adhere to the consideration guidelines for the texture you’ve utilized while cleaning.
These methods and tips allow you to shape and complete your no-sew Braided mat to suit your style and viable necessities. Whether it’s a roundabout mat, a rectangular sprinter, or a custom state of your decision, your handmade rug will add warmth and character to your living spaces.
See also: MAKE IT: EASY CAMERA STRAP COVER
Care and Support:
After learning how to make a braided rug without sewing, appropriate consideration and upkeep are fundamental to guarantee your no-sew interlaced rug’s life span and excellence. Here are a few significant hints:
Cleaning Your Meshed Mat:
1. Standard Vacuuming: Vacuum your rug consistently to eliminate soil, dust, and free garbage. Utilize a brush connection to keep the meshes from being found in the vacuum. 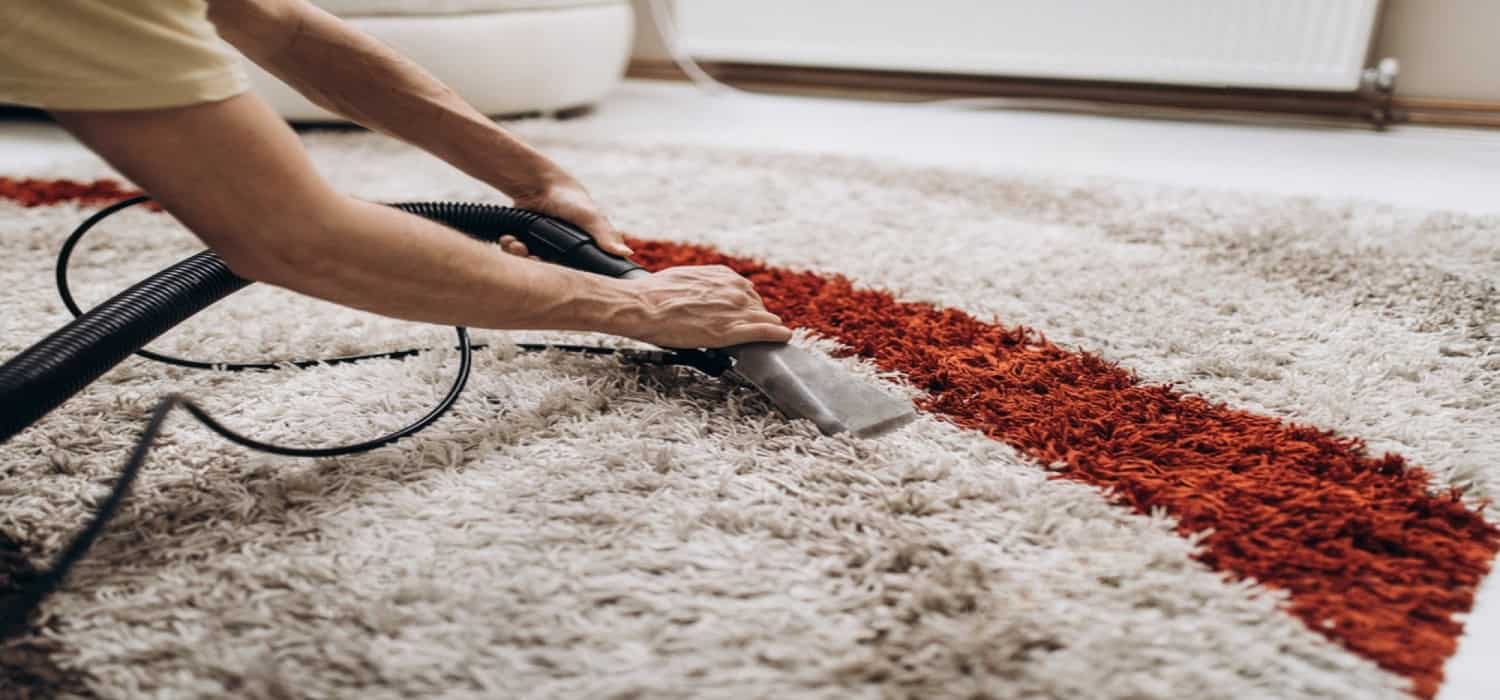
2. Spot Cleaning: Smudge the impacted region quickly with a perfect, moist material for spills or messes. Abstain from scouring, as it might spread the stain. If vital, utilize a gentle texture cleaner reasonable for your consistency.
3. Profound Cleaning: Depending on the floor covering’s size and material, you might have to do this occasionally. Adhere to the consideration guidelines for the texture utilized, and think about proficient cleaning for more extensive or intensely filthy rugs.
Fix and Reclamation Tips:
Address Harm Instantly: Assuming you notice frayed edges or free interlaces, address them instantly to forestall further harm. You can rebraid or fix individual areas utilizing matching texture strips.
Secure Finishes: Guarantee that the finishes of your mat, where the plaits meet, are safely secured. The last details can prompt disentangling over the long haul. 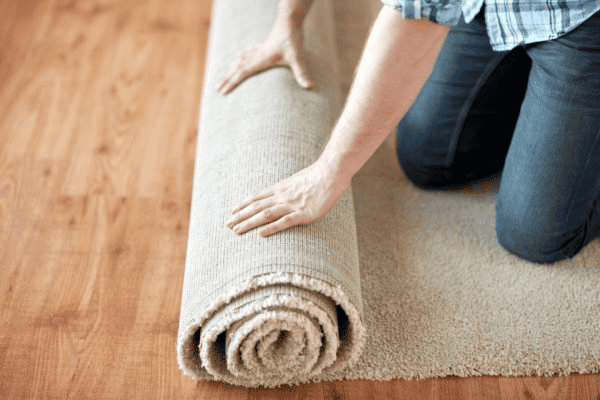
Pivot the rug: To forestall lopsided wear, intermittently pivot your mat so that various regions get equivalent use.
Store Appropriately: If you want to store your rug briefly, roll it instead of collapsing it to avoid wrinkles and kinks. Therefore, store it in a dry, excellent spot away from direct daylight.
Elective No Sew Floor Covering Thoughts:
Assuming you’re hoping to investigate other inventive approaches to making rugs without sewing, here are a few elective thoughts:
Finger Knit rugs: Finger sew is a basic and no-sew procedure that permits you to make stout and comfortable floor coverings utilizing thick yarn or texture strips. The interaction includes circling and getting the material through itself to shape fastens.
Hula Band Winding around: Utilize a hula band as the base for your floor covering. Connect texture strips, yarn, or different materials to the bar and weave them through the middle, making a roundabout or oval mat with one-of-a-kind examples and surfaces.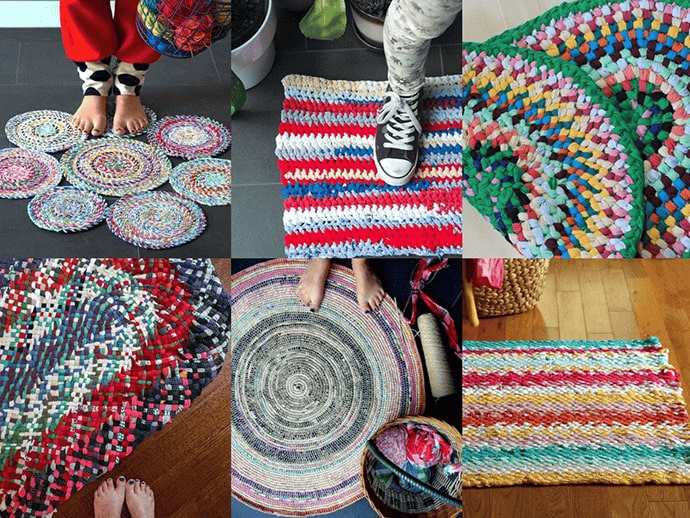
Texture Twine Twisting rugs: Change old texture into twine by cutting it into slight strips and contorting them firmly. You can then curl the string into a twisting shape, protecting it with paste or sewing. This technique makes solid, finished rugs with a natural allure.
These option rug-making strategies offer opportunities for individuals who must investigate various styles and surfaces while abstaining from sewing. Hence, every technique has a unique appeal, permitting you to make rugs that suit your taste and home stylistic layout.
See Also: MAKE IT: MY HEART BELONGS TO YOU NECKLACE
FAQs on how to make a braided rug without sewing
We are presenting you with some FAQs.
How do you make a braided rug?
To make a braided rug, cut or tear fabric strips, fold them, and braid them together. Add more strips as needed to increase the length. Shape the braid into your desired rug shape, secure the ends, and finish with any desired embellishments.
How do you make a braided rug without sewing?
To make a braided rug without sewing, follow these steps: Cut fabric strips, fold them in half, and braid them together. Add new strips by overlapping and weaving them into the existing braid. Secure the ends with knots or fabric adhesive. No sewing is needed in this process.
How do you make a no-sew rag rug?
To make a no-sew rag rug, cut or tear fabric into strips, fold them, and braid or knot them together. Continue adding strips to create the desired size and shape. Secure the ends without sewing by tying knots or fabric adhesive for durability.
How do you make braided rugs using wool?
To make braided rugs using wool, cut the wool into strips and braid them together following the standard braiding process. You can mix wool with other fabrics for added texture and color. Secure the ends with knots or fabric adhesive to prevent unraveling.
Conclusion
In conclusion,” how to make a braided rug without sewing” is easy to answer. The world of no-sew braided rugs offers a canvas for creative expression and resourcefulness. Embrace this art form to craft unique, eco-friendly rugs that add warmth and character to your living spaces. Let your imagination run wild, and enjoy the journey of experimentation and creativity.

I am Sammy and I blog at Live it. Love it. Make it. It is creative lifestyle blog run by best friends H and Sammy. Head over and follow our crafty adventures!