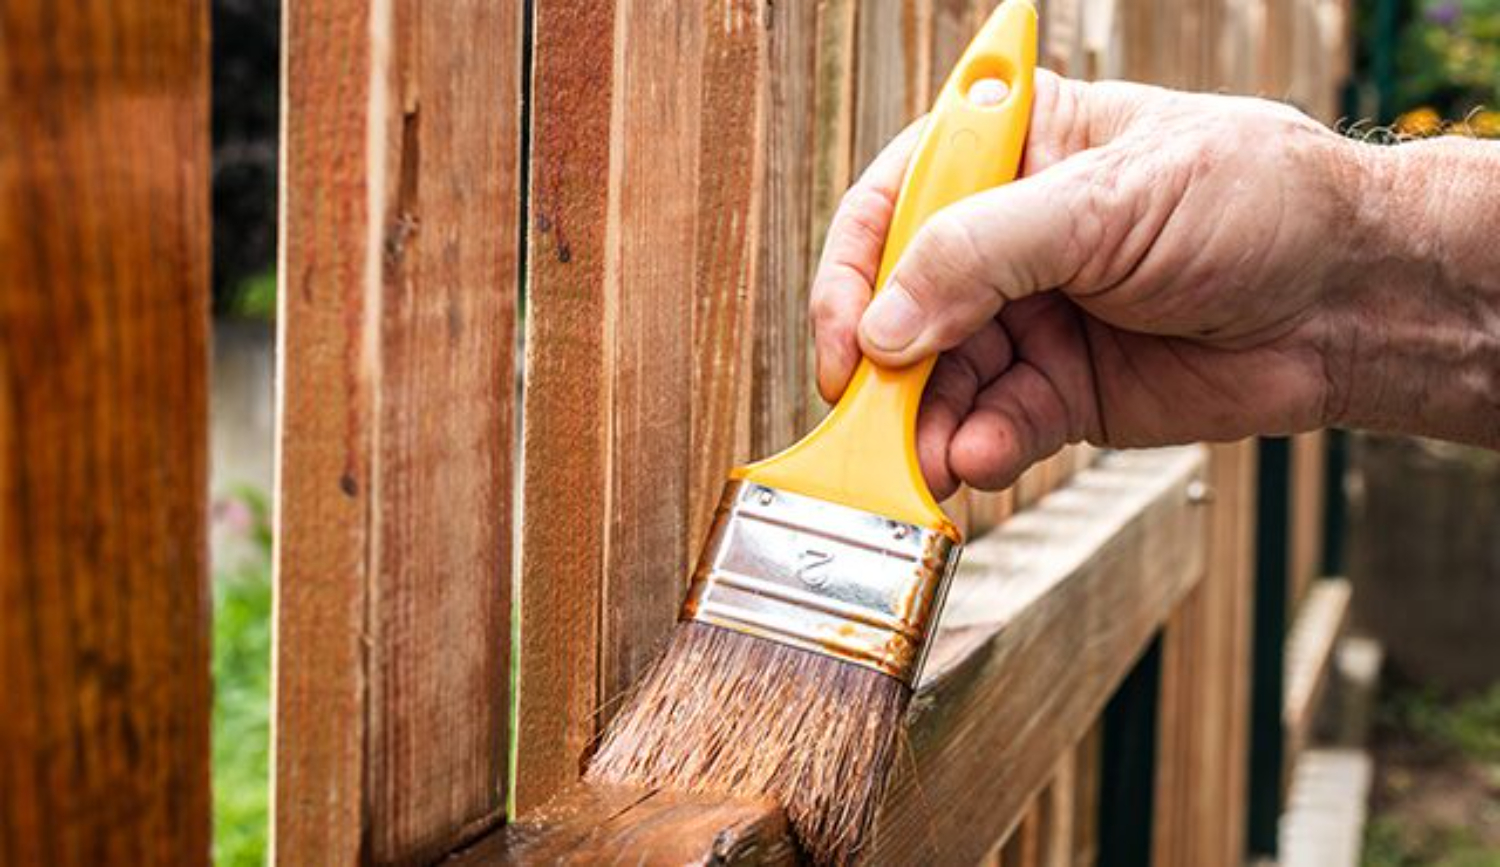
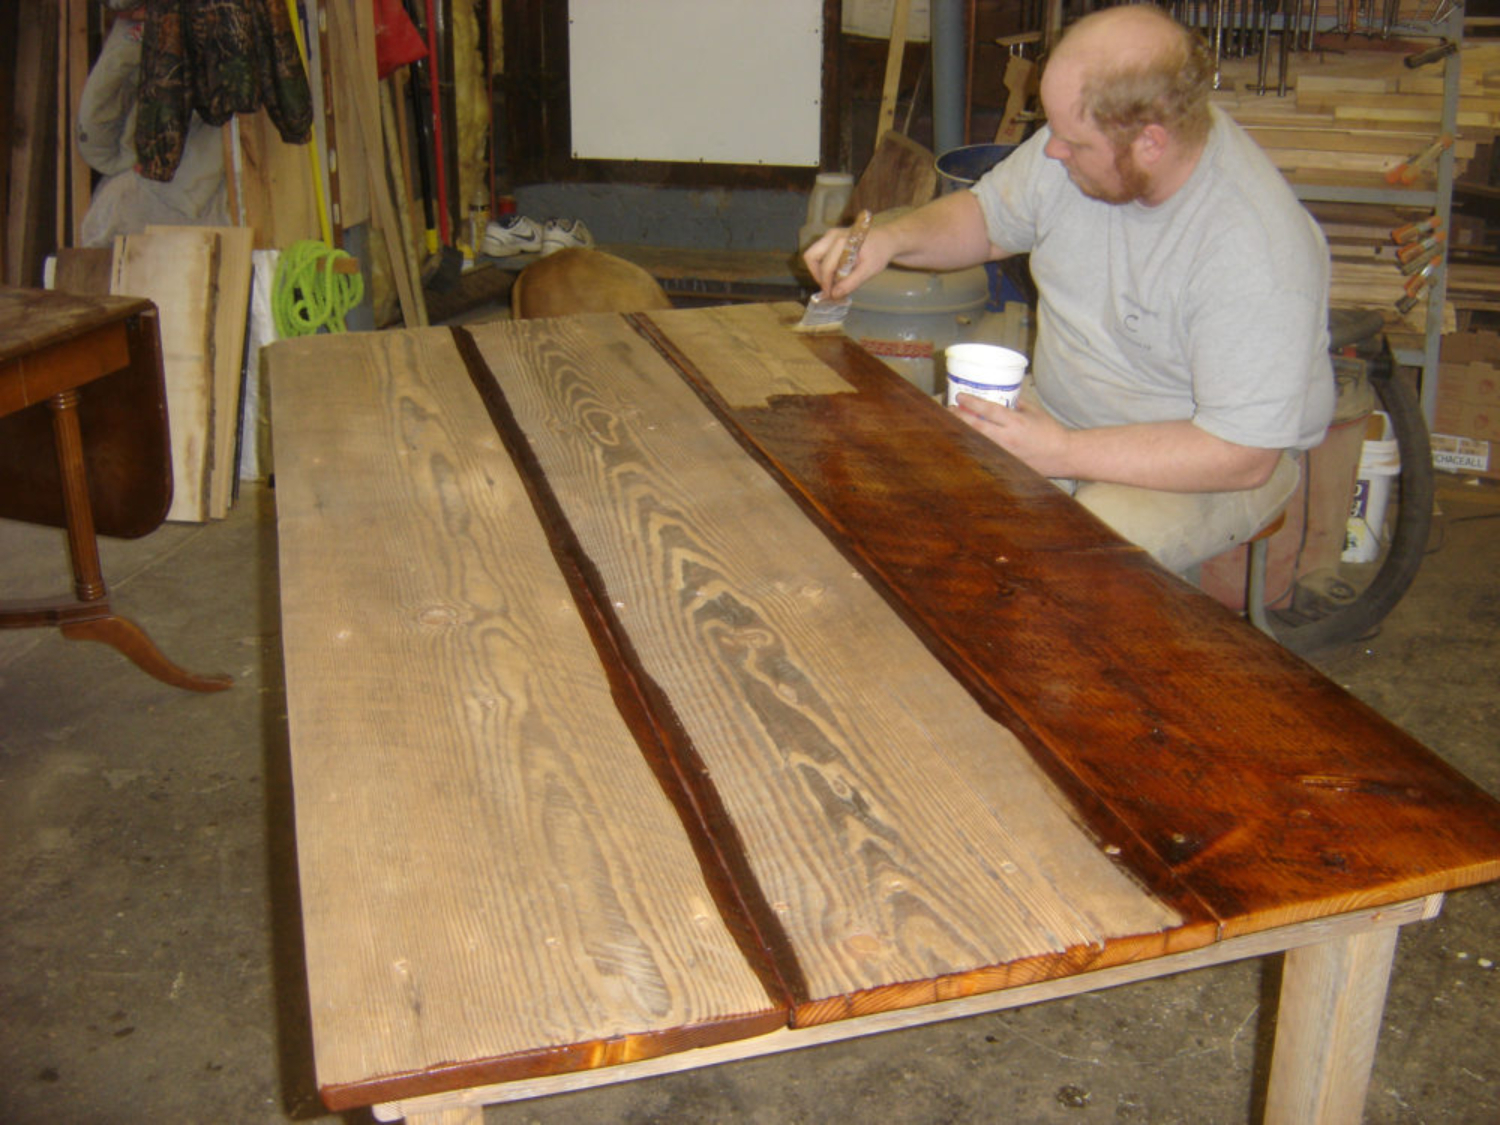
The transformational and efficient method of painting over stained wood can transform your furniture and other wooden surfaces. This article will review the options, things to think about, and steps to resolve your query successfully, “Can you paint over stained wood?”
Yes, it is possible to paint over stained wood. With proper preparation and suitable materials, you can update the look of your stained wood furniture or surfaces, giving them a fresh new color or finish. If you are on any other website, you might want to check this article on The Make Arcade- Felt Succulents.
This article on painting over finished wood gives significant bits of knowledge and direction. It assists you with figuring out the cycle, essential advances, and potential difficulties, engaging you to effectively change and update your finished wood surfaces with a new layer of paint.If you are on any other website, you might want to check this article on Zipped Burger Pouch.
Can You Paint Over Stained Wood?
Yes, covering up stained wood is conceivable. In any case, there are significant variables to consider for a fruitful result.
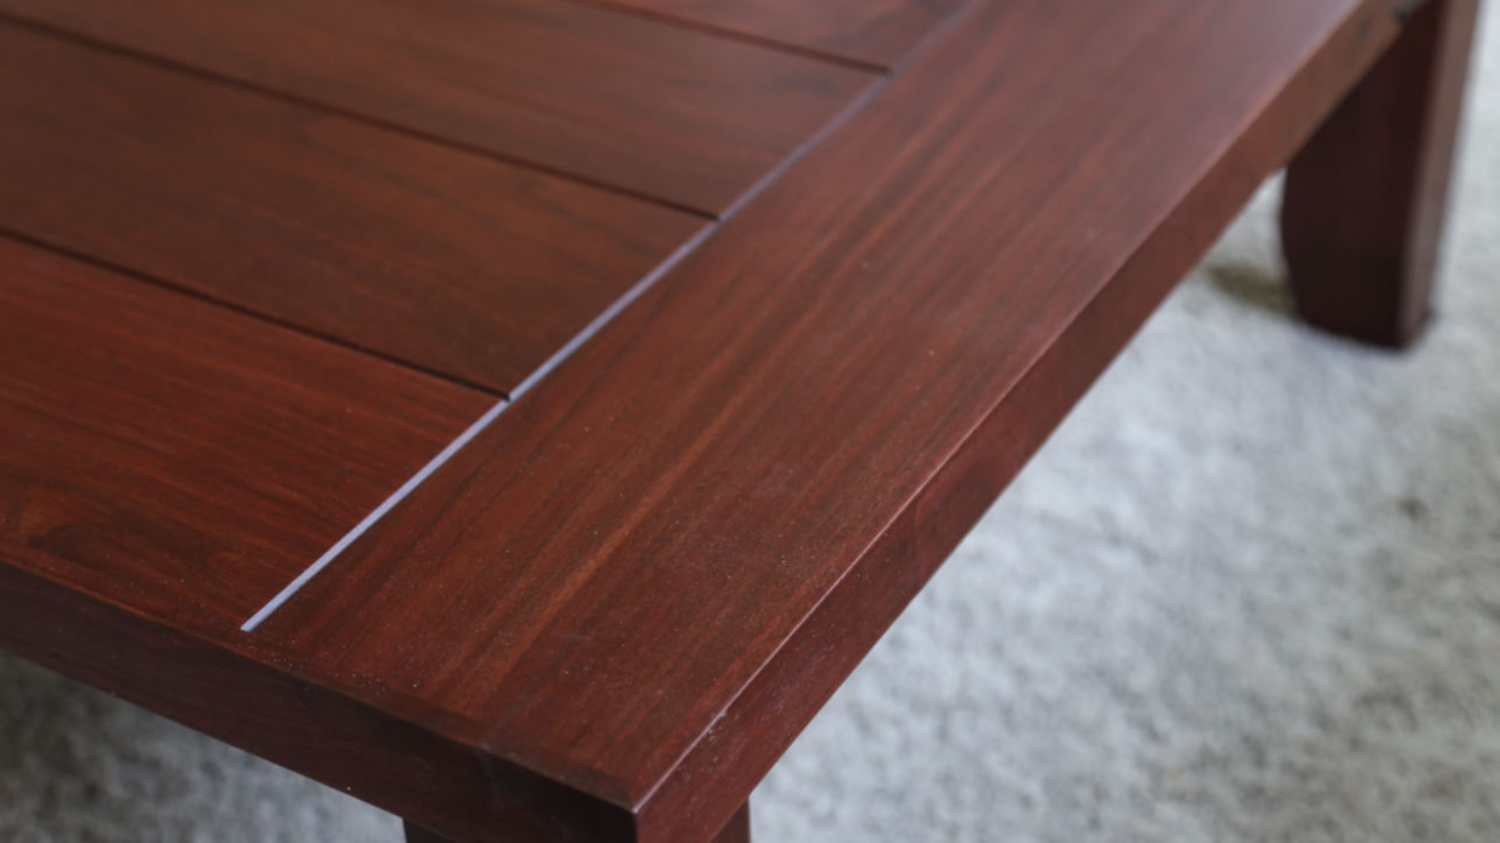
Covering up stained wood can be a feasible choice if you want to change the variety or update the vibe of the wood. It permits you to accomplish an alternate taste or match the wood to your ideal style.
Furthermore, covering up stained wood can assist with concealing blemishes, like scratches or staining, and give a new and new appearance.
Legitimate planning is significant for covering up stained wood. It commonly includes cleaning the surface to eliminate soil and oil, sanding the wood to make a harsh surface for better paint grip, and applying a preliminary to guarantee an even and solid paint finish.
Visit: Can You Paint Over Stained Wood?
Why Would You Want to Paint Over Stained Wood?
After the question “Can you paint over stained wood” comes another important question about why you would want to paint over stained wood. There are several reasons for covering up stained wood, each offering advantages.

- Covering up stained wood, first and foremost, permits you to change the style and update the appearance of your furnishings, cupboards, or other wooden surfaces. Stain tones can become obsolete or may not fit with the ongoing technique of your space. By painting over the stain, you can pick another variety that matches your ideal style or supplements the general stylistic layout of a room.
- One more advantage is the capacity to conceal flaws. Stained wood might have noticeable scratches, staining, or different defects. Covering up it can assist with hiding these defects, giving the wood a new and perfect appearance.
- Paint likewise gives a defensive obstruction to the wood surface. It helps safeguard the wood from dampness, UV beams, and general mileage. This insurance can expand the life expectancy of the wood and limit the requirement for continuous upkeep.
- Furthermore, paint offers adaptability. Dissimilar to finishes that modify the shade of wood, paint arrives in many tones, gets done, and impacts. It gives you extraordinary adaptability in accomplishing the ideal look and can be effortlessly altered to suit your inclinations.
See also: Conker Pumpkins
Preparation Before Painting
“Can you paint over stained wood?”. Yes, you can, and here are the steps involved in preparation:

Clean the stained wood to remove dirt, dust, or grease.
Sand the Wood:
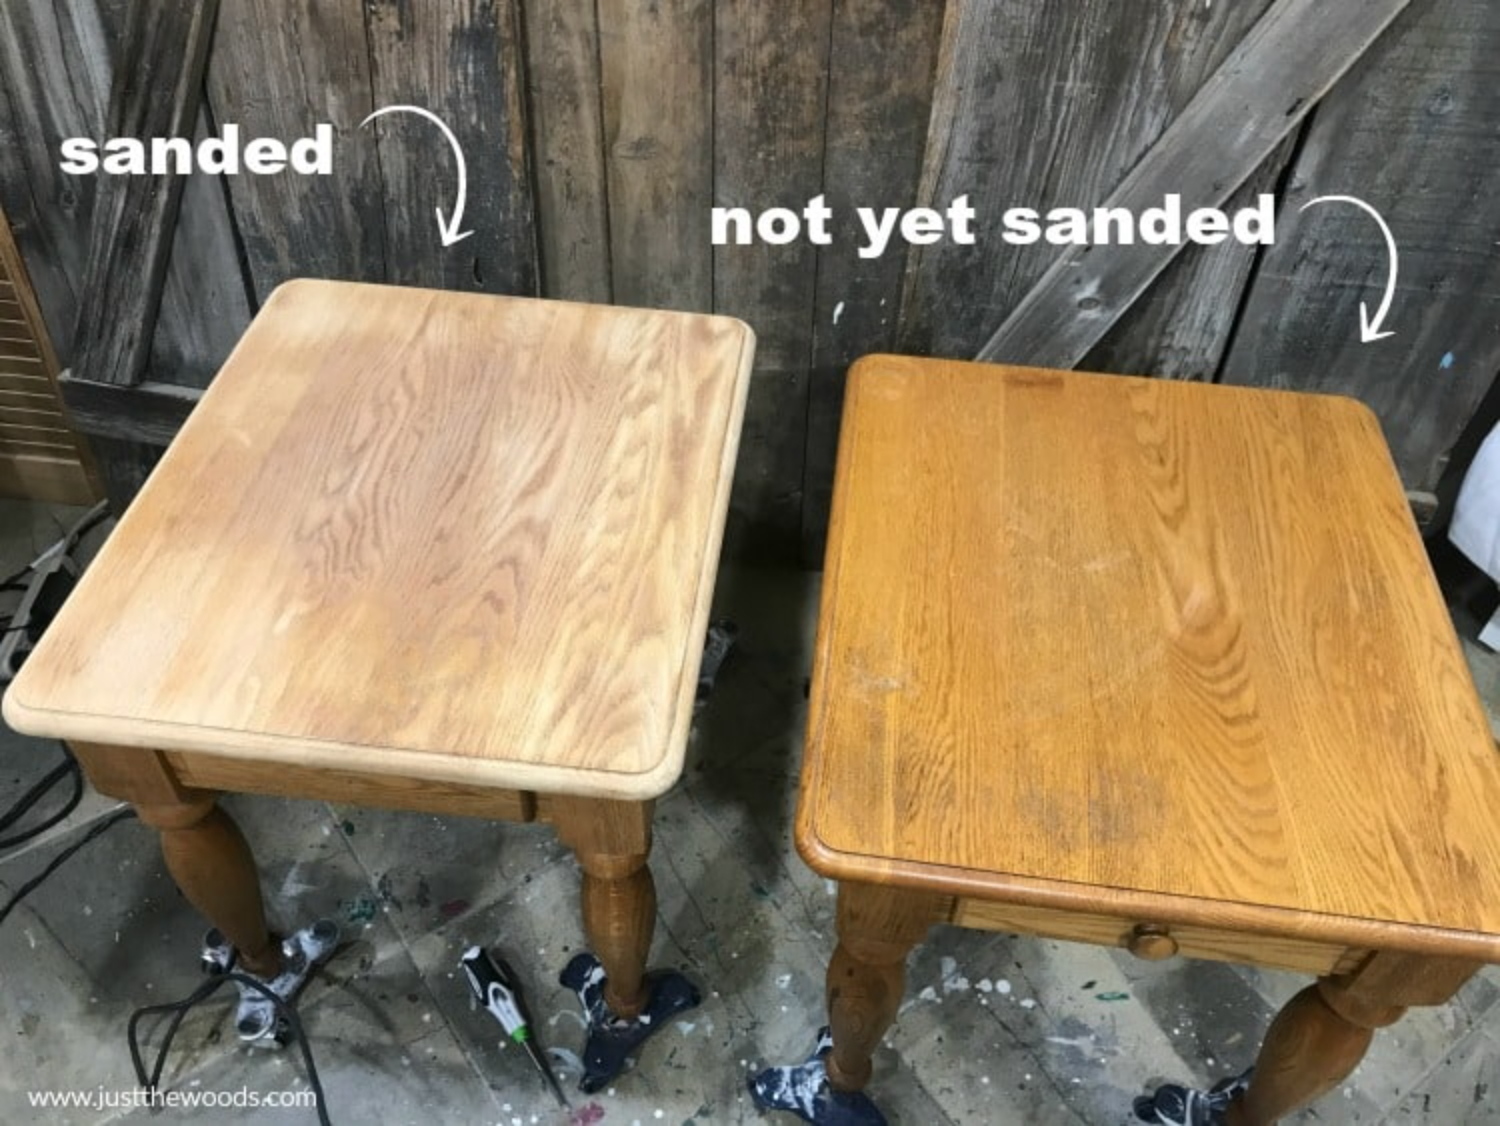
Next, sand the stained wood to create a rough surface.
Applying Primer:
Once the wood is clean and sanded, apply a primer specifically designed for wood surfaces. Primer creates a smooth and consistent base for the paint, improves paint adhesion, and helps prevent the stain from bleeding through. Here is an article on Metalli Trinket Boxes.
Choosing the Right Paint
When picking the right paint to cover up stained wood, two vital elements are the sort of paint (oil-based or water-based) and the ideal sheen.
Oil-Based Paint versus Water-Based Paint:
Let’s have a look at a comparison between water-based and oil-based paints.
Oil-based paint:
Oil-based paints are known for their strength and fantastic bond to different surfaces, including stained wood. They give a smooth and polished finish that can endure mileage.
Oil-based paints likewise offer better color-hindering properties, making them appropriate for covering dull or intensely stained wood. Notwithstanding, they have areas of strength for a more drawn-out drying time and require mineral spirits for cleanup.
Water-based paint (plastic/acrylic):
Water-based paints are well known because of their convenience and low smell. It likewise offers excellent grip and adaptability, making them appropriate for painting over stained wood.
Visit: Choosing the Right Paint
Choosing the Right Sheen:
The sheen of the paint alludes to the degree of shininess or sparkle it gives. Here are everyday sheen choices and their qualities:
Level or Matte:
These sheens have no sparkle and give a non-intelligent completion. They are great at concealing surface flaws; however, they might need to be sturdy but require more testing to clean.
Silk:
The glossy silk sheen offers an inconspicuous sparkle and gives a smooth, smooth completion. It finds harmony among toughness and simple support, pursuing a well-known decision for painted wood surfaces.
Semi-sparkle:
Semi-gleam sheen gives a perceptible sparkle and is profoundly solid. It is impervious to dampness, making it appropriate for regions inclined to sprinkles or high mugginess. Semi-sparkle completes are likewise simple to clean.
Sparkle:
Gleam sheen offers an elevated sparkle and gives a clean, intelligent completion. It is the most strong and least demanding to clean. Nonetheless, it can feature surface blemishes.
Step-by-Step Guide to Painting Over Stained Wood
Covering up stained wood requires cautious readiness and meticulousness to accomplish a victory. Follow this bit-by-bit manual to guarantee a smooth and expert-looking completion:
Step 1: Accumulate the necessary materials
- Paint your decision (oil-based or water-based)
- Preliminary reasonable for wood surfaces
- Fine-coarseness sandpaper (120 to 220 coarseness)
- Clean fabric or wipe
- Gentle cleanser
- Painter’s tape
- Paint Brushes or rollers
- Drop materials or plastic sheets to safeguard encompassing regions
Step 2: Clean the surface
Clean the stained wood surface to eliminate soil, residue, or oil. Make an answer of gentle cleanser and water, and utilize a perfect fabric or wipe to scour the surface tenderly. Flush entirely with clean water and permit the wood to dry.
Step 3: Sand the wood
Gently sand the stained wood to make an unpleasant surface for a better paint bond. Center around shiny regions or where the stain might have entered profoundly. Sanding likewise assists with streamlining any challenging situations or defects on the wood.
Step 4: Apply painter’s tape
To safeguard encompassing regions and guarantee clean lines, apply painter’s tape to neighboring surfaces, like walls or trim. It will assist with keeping paint from unintentionally getting onto areas you would instead not paint.
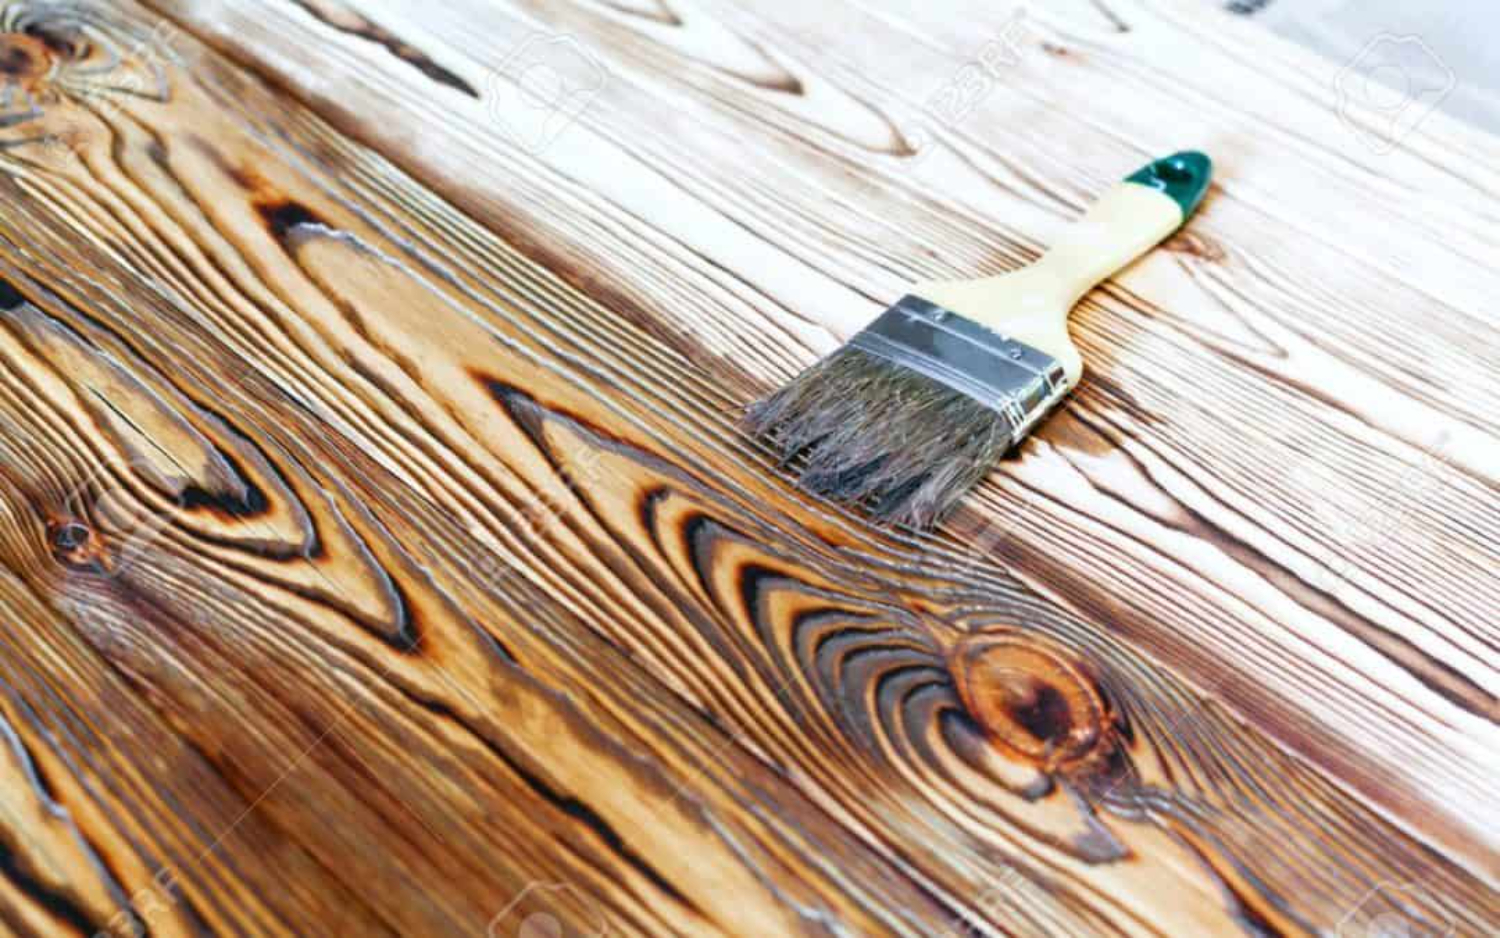
Step 5: Apply groundwork
Preparing is a fundamental step while painting over stained wood. It gives a smooth base, upgrades the paint grip, and keeps the stain from seeping through the paint. Pick a groundwork explicitly intended for wood surfaces.
Apply the groundwork uniformly utilizing a brush or roller, adhering to the producer’s guidelines. Permit the groundwork to dry totally as per the suggested drying time.
Step 6: Test the paint
Before applying the paint to the whole surface, testing it on a little subtle wood region is wise. It will assist you with guaranteeing that the variety and finish measure up to your assumptions.
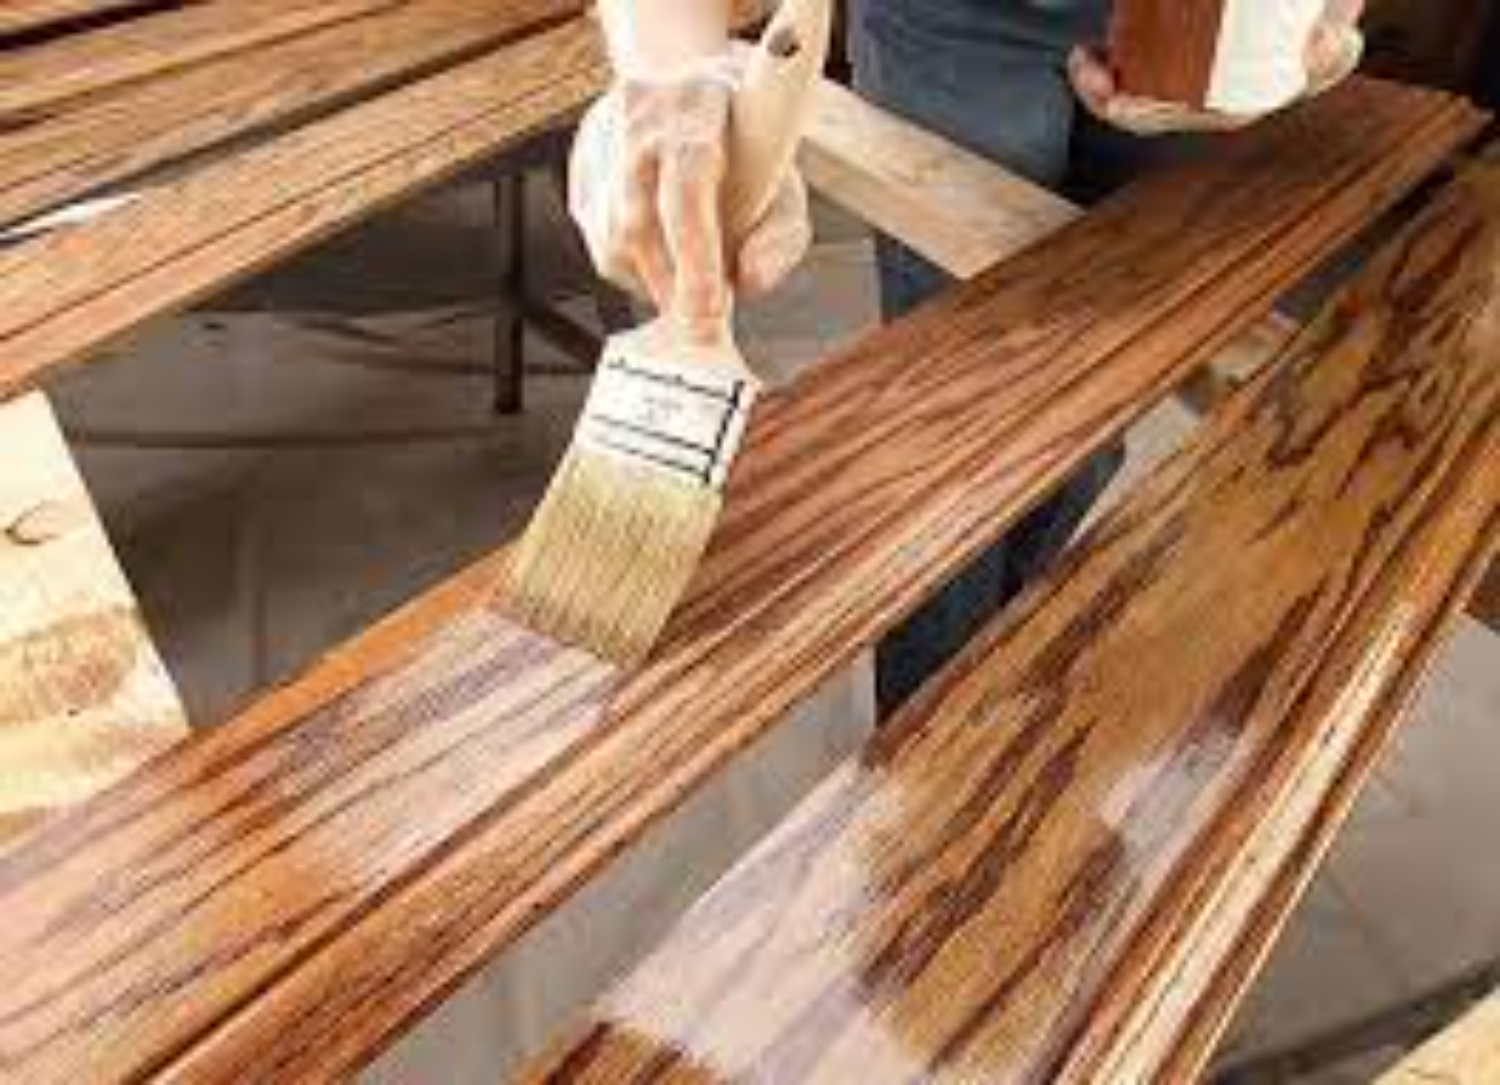
Step 7: Paint the wood
When the preliminary is dry, now is the right time to paint the stained wood. Mix the paint completely to guarantee an even consistency. Start by cutting in the edges utilizing a brush and painting along the corners and advantages of the wood.
Then, use a brush or roller to paint the more extensive surfaces. Work in little segments, applying the paint equitably and efficiently. If necessary, apply different coats for complete inclusion, permitting each coat to dry as per the paint maker’s directions.
Step 8: Permit the paint to dry and fix
After applying the last layer of paint, permit it to totally dry. Adhere to the paint maker’s directions for the suggested drying time. Remember that it might require a few hours or even days for the paint to fix, contingent upon the kind of thoroughly utilized.
Step 9: Eliminate painter’s tape and tidy up
When the paint has dried and restored, cautiously eliminate the painter’s tape at a 45-degree point to guarantee clean edges. Tidy up any paint trickles or spills utilizing a soggy material or fitting cleaning arrangement.
Make sure to appropriately discard any pre-owned materials and clean your brushes or rollers as indicated by the guidelines given by the paint producer.
Pro Tips for a Perfect Finish
To guarantee an ideal completion while painting over finished wood, here are a few Pro tips to remember:
- Pick excellent materials: Put resources into great quality paint, preliminary, brushes, and rollers. Quality materials will add to a smoother application and a more solid completion.
- Test the paint and method: Before painting the whole surface, do a little test region to guarantee you’re content with the variety and strategy. It will permit you to make any changes or alterations before focusing on the whole undertaking.
- Take as much time as is needed with the arrangement: Appropriately spotless and sand the finished wood surface before painting. It guarantees a better paint grip and accomplishes a smoother finish.
- Utilize meager, even covers: Apply slim and even paint layers to avoid dribbles, sags, or lopsided inclusion. It’s smarter to apply different dainty covers instead of one thick coat.
By following these Pro tips, you can accomplish an immaculate and proficient-looking completion while painting over finished wood. Persistence and tender loving care are critical to getting the best outcomes.
Common Mistakes to Avoid
It is essential to avoid common mistakes when painting over stained wood so that the result does not suffer. The following errors should be avoided:
- Inadequate preparation: Poor adhesion and an uneven finish can occur if stained wood is not cleaned and sanded before painting. To improve paint adhesion, take the time to thoroughly clean the surface and grind it to create a rough texture.
- Without a primer: If the paint is applied directly over stained wood without a primer, the stain may seep through and affect the final color of the paint. Always use a high-quality primer made for wood surfaces to ensure a smooth and even foundation for the paint.
- Applying a too-thick coat: When the paint is applied in thick layers, drips, sagging, and an uneven finish can occur. Using multiple thin coats and allowing each coat to dry thoroughly before applying the next one is preferable.
- Ignoring proper times for drying and curing: Smudges, smears, and damage to the painted surface can result from rushing the drying process. To ensure a long-lasting and durable finish, adhere to the manufacturer’s recommended drying and curing times.
- Ignoring adequate ventilation: Painting in an area with insufficient ventilation can cause fumes to build up and delay drying.
Maintaining Your Painted Wood
To keep up with the life span and presence of your painted wood, follow these tips for dependable outcomes:

- Standard cleaning: Clean the painted surface routinely utilizing a gentle cleanser and water arrangement. Keep away from unforgiving cleaners or grating materials that could harm the paint. Tenderly wipe the surface with a delicate fabric or brush and wash with clean water afterward.
- Please avoid over-the-top dampness: Limit openness to excessive moisture, as it can make the paint strip or twist the wood. Clear off any spills or water right away, and use napkins or placemats to safeguard painted surfaces from dampness harm.
- Safeguard from direct daylight: Delayed openness to coordinate the day can blur the paint variety after some time. Use drapes, blinds, or UV-safe window movies to limit how much light arrives at the painted finished wood.
- Maneuver carefully: Abstain from scratching or gouging the painted surface by utilizing liners, trivets, or felt cushions under objects. Be wary while moving furnishings or different things to forestall unintentional harm to the painted surface.
- Final details: Keep a modest quantity of the paint utilized for the venture for the last parties. Intermittently investigate the painted surface for any chips, scratches, or wear and apply final details depending on the situation to keep a steady and impeccable appearance.
- Customary investigations: Intermittently examine the painted finished wood for any indications of harm or wear. Address any issues expeditiously to forestall further disintegration or more excellent fixes from now on.
FAQS
Can you paint over stained wood without sanding?
Yes, you can. While sand-stained wood is generally recommended before painting, you can use a primer specifically designed for adhesion on glossy or smooth surfaces. This can help the paint adhere appropriately without the need for extensive sanding
Should I use a specific type of paint for painting over stained wood?
Yes, it's best to use high-quality latex or oil-based paint for painting over stained wood. These types of colors provide good coverage and durability. Choose a paint specifically formulated for wood surfaces to ensure proper adhesion and longevity.
Do I need to apply a primer before painting over stained wood?
Yes, it's highly recommended to apply a primer before painting over stained wood. A primer helps create a smooth and even surface, improves paint adhesion, and can prevent the stain from bleeding through the paint. Choose a primer compatible with both the wood and paint you'll be using.
Can I paint over dark stained wood with a lighter color?
Yes, you can paint over dark stained wood with a lighter color. However, it may require multiple coats of paint to achieve the desired result. It's essential to use a high-quality primer to block out the dark stain and ensure better coverage and color accuracy when using lighter paint.
Conclusion
In conclusion, the answer to “Can you paint over stained wood” is quite simple. Covering up stained wood is, without a doubt, conceivable and can be a phenomenal method for refreshing the vibe of your furnishings, cupboards, or other wooden surfaces. Following the fundamental Steps of legitimate readiness, like cleaning, sanding, and applying groundwork, you can accomplish a fruitful and enduring completion. Think about the sort of paint (oil-based or water-based) and the ideal sheen to fit the undertaking to your inclinations. With cautious carefulness, persistence, and the utilization of excellent materials, you can change finished wood into a lovely, invigorated piece that supplements your ideal style and improves the feel of your space.

I am Sammy and I blog at Live it. Love it. Make it. It is creative lifestyle blog run by best friends H and Sammy. Head over and follow our crafty adventures!