Are you looking to add a unique touch to your event? Acrylic invitations are the way to go! In this article, we’ll guide you through the process of creating your own DIY acrylic invitations. It’s easier than you think and will leave a lasting impression on your guests.
How to Make Acrylic Invitations DIY: To create acrylic invitations, you’ll need acrylic sheets, a laser cutter or vinyl cutter, and your design. Cut the acrylic to size, engrave or apply your design, and add finishing touches like paint or foil for a personalized touch.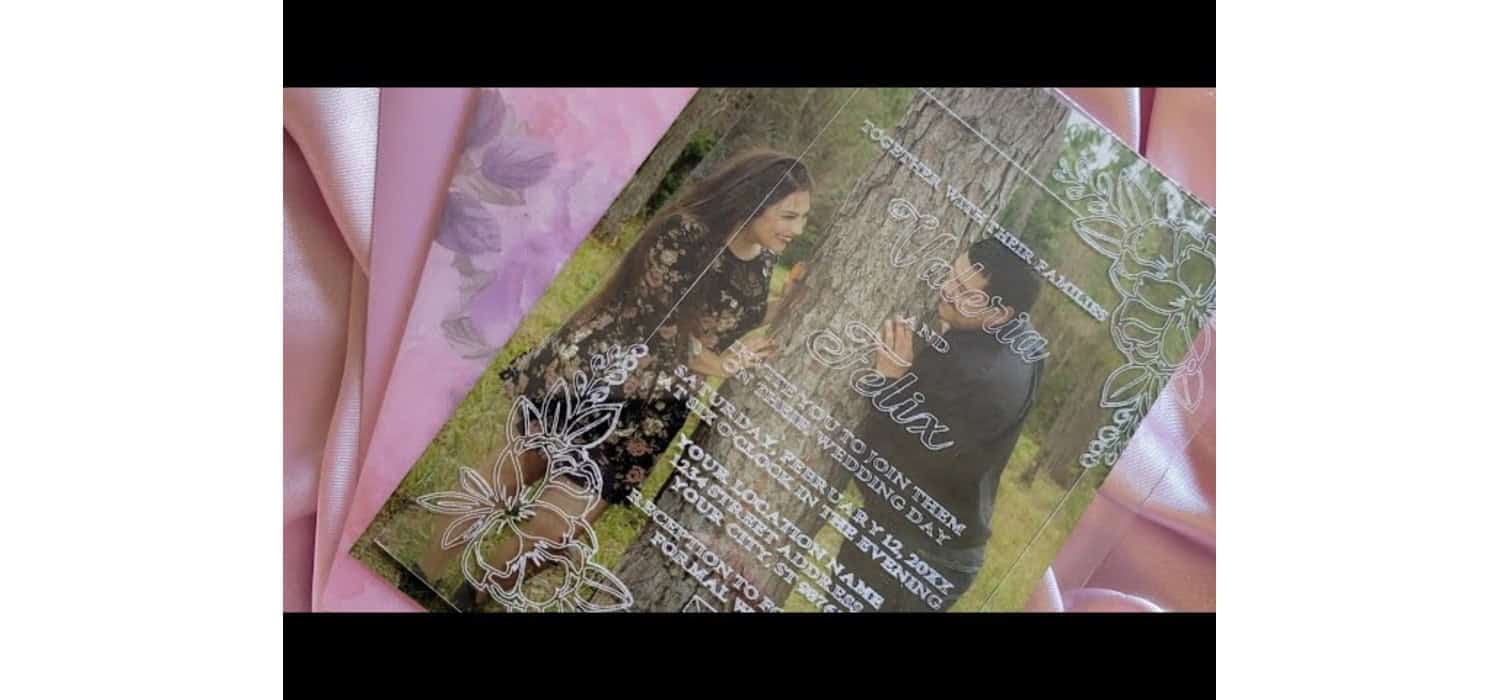
Don’t stop here! Keep reading to discover detailed steps, tips, and tricks for making your acrylic invitations stand out. We’ve got all the insights you need to turn your invitation into a masterpiece.
Materials and Tools Needed
To get started on your DIY acrylic invitations, you’ll need the following:
- Clear Acrylic Invitation Blanks: Opt for 1/16″ or 2 mm thickness. You can find these at suppliers like Modern DIY Bride.
- Cutting Machine: A Cricut Maker or similar machine that’s compatible with acrylic is essential. Check out APersonalWedding for options.
- Engraving Tip and Strong Grip Cutting Mat: These are necessary for precision cuts. Modern DIY Bride has a good selection.
- Vinyl or Sticker Paper: This is for your design. Crafters Mag is a great source for these materials.
- Transfer Tape, Scissors, or Paper Trimmer: For applying and trimming your design, head over to Crafters Mag.
With these tools and materials, you’ll be well-equipped to start crafting your unique DIY acrylic invitations.
Designing Your Invitations
When it comes to designing your DIY acrylic invitations, there are a few key points to keep in mind:
- Cricut Design Space Tips: Start by familiarizing yourself with Cricut Design Space. Modern DIY Bride offers comprehensive guides on how to navigate and use this software effectively. Consider using their templates as a starting point, and then customize them to fit your event’s theme and style.
- Choosing Fonts and Designs: For engraving, it’s crucial to select fonts and designs that are clear and easy to read. Single-line fonts work best for this purpose. You can find a variety of suitable fonts and designs on Modern DIY Bride. When choosing designs, opt for simplicity to ensure that the final product is elegant and legible.
Taking the time to design your DIY acrylic invitations carefully will pay off in the end, as they set the tone for your entire event.
Cutting and Assembling the Invitations
Once you have your design ready, it’s time to cut and assemble your DIY acrylic invitations:
- Setting Up Your Cricut Machine: Before you start, ensure your Cricut machine is set up correctly. Modern DIY Bride has step-by-step guides on selecting the right materials and setting up your machine for cutting acrylic.
- Engraving and Cutting the Acrylic Blanks: Follow the instructions on Modern DIY Bride to engrave and cut your acrylic blanks. Remember to use the engraving tip and strong grip cutting mat for precision.
- Transferring the Design: After cutting, transfer your design onto the acrylic sheet using vinyl or sticker paper. Use transfer tape for a smooth application. Crafters Mag provides tips on how to do this without bubbles or wrinkles.
Assembling your DIY acrylic invitations with care will ensure a professional and polished look that will impress your guests.
Adding Finishing Touches
The final touches can transform your invitations from great to unforgettable:
- Embellishments: Consider adding ribbons, wax seals, or a touch of glitter to give your invitations a personal and luxurious feel. Clarity & Co. Invites offers a variety of ideas to inspire you.
- Cohesive Look: To make a lasting impression, ensure your DIY acrylic invitations, envelopes, and inserts all complement each other. Clarity & Co. Invites has tips on creating a cohesive look that aligns with your event’s theme and color scheme.
By paying attention to these details, you’ll create an invitation that’s not only beautiful but also sets the perfect tone for your special event.
Packaging and Mailing
Sending your invitations safely is just as important as creating them:
- Envelopes and Postage: Acrylic invitations require sturdy envelopes and possibly extra postage due to their weight. Modern DIY Bride and APersonalWedding offer advice on selecting the right envelopes and determining postage costs.
- Hand-Canceling Mail: To prevent damage during mailing, consider hand-canceling your invitations. Modern DIY Bride provides recommendations on how to request this service at your post office.
By carefully packaging and mailing your invitations, you’ll ensure they arrive in perfect condition, ready to impress your guests.
Conclusion
Creating DIY acrylic invitations is a unique way to add a personal touch to your event. By following the steps outlined in this article, from selecting materials to adding finishing touches, you can craft invitations that are both beautiful and memorable. Share your experiences and tips in the comments to inspire others in their DIY invitation journey!
FAQ Section
Can you print on acrylic invitations?
Yes, you can print on acrylic invitations using a UV printer or by applying a vinyl decal. For DIY projects, vinyl is a popular choice.
How do you cut acrylic invitations?
Acrylic invitations can be cut using a laser cutter or a Cricut machine with an engraving tip. Ensure you use a strong grip cutting mat for stability.
What is the best thickness for acrylic invitations?
The ideal thickness for acrylic invitations is 1/16
How much do acrylic wedding invitations cost?
The cost of acrylic wedding invitations varies based on design complexity and quantity. DIY options can be more budget-friendly, with prices starting around $3-$5 per invite.
Are acrylic invitations more expensive?
Acrylic invitations can be more expensive than traditional paper invites due to material and production costs. However, DIY options can help reduce expenses.

I am Sammy and I blog at Live it. Love it. Make it. It is creative lifestyle blog run by best friends H and Sammy. Head over and follow our crafty adventures!