Are you tired of the same old lighting in your room? Want to add a splash of color and creativity to your space? Look no further! In this article, we’ll show you how to make a DIY color on LED lights, transforming your environment with just a few simple steps. Get ready to unleash your inner designer and bring your lighting dreams to life!
To create a custom color on LED lights, you’ll need an RGB LED light strip, a power supply, and an RGB controller. Simply connect the controller to the LED strip and power supply, then use the controller or a remote to adjust the red, green, and blue levels to achieve your desired color.
Understanding LED Lights and Their Capabilities
LED lights have revolutionized the way we illuminate our spaces. These tiny, energy-efficient bulbs pack a powerful punch, offering a wide range of colors and brightness levels. At the heart of their magic are RGB LEDs, which stand for Red, Green, and Blue. By mixing these primary colors, LED lights can create an impressive spectrum of hues, from warm yellows to cool blues.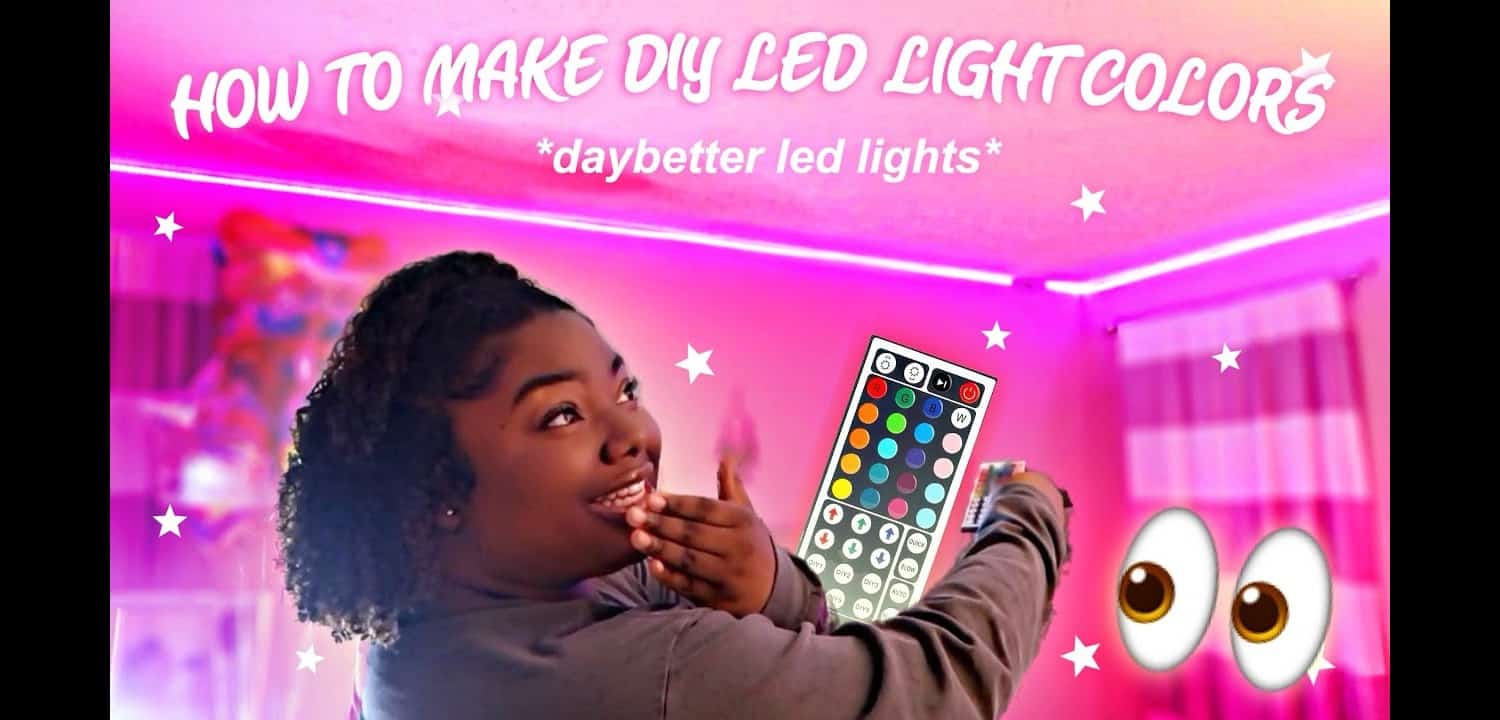
But what really sets LED lights apart is their ability to adjust color intensity. This means you can fine-tune the shades to get the perfect ambiance for any occasion. Whether you’re aiming for a soft glow or a vibrant display, LED lights have got you covered. With this flexibility, the possibilities for customization are endless. So, let’s dive deeper into how you can harness the full potential of these versatile lights.
Tools and Materials Needed
Before you start creating your own custom colors on LED lights, you’ll need to gather a few essential tools and materials. Here’s what you’ll need:
- LED Light Strip: This is the canvas for your colorful creations. Choose a strip with RGB capabilities to ensure you can mix a wide range of colors.
- Power Supply: To light up your LED strip, you’ll need a power source. Make sure it matches the voltage and current requirements of your LED strip.
- RGB Controller: This device allows you to control the color and brightness of your LED lights. Opt for one with remote control for added convenience.
- Scissors (optional): If you need to trim your LED strip to fit a specific space, a pair of scissors will come in handy.
- Electrical Tape (optional): Use this to secure connections or insulate exposed wires for safety.
With these tools and materials at your disposal, you’re all set to start experimenting with colors and transforming your space with vibrant LED lighting.
Step-by-Step Guide to Creating Custom Colors
Creating custom colors on LED lights is easier than you might think. Follow these simple steps to bring your colorful visions to life:
- Unplug the LED Light Strip: Safety first! Ensure the strip is disconnected from any power source to avoid any electrical mishaps.
- Check the Power Supply Requirements: Different LED strips have varying power needs. Verify that your power supply can handle the strip’s wattage to prevent any overload issues.
- Connect the RGB Controller: Carefully attach the controller to the LED strip, following the manufacturer’s instructions. This may involve clipping wires or using screws, depending on your setup.
- Plug in the Entire Assembly: Once everything is securely connected, plug the power supply into an outlet and turn it on. Check if the LED strip and controller are functioning correctly.
- Test the Remote Control: If your setup includes a remote, test it to ensure it’s working. This might involve replacing batteries or troubleshooting the controller.
- Use the DIY/Custom Color Function: Most controllers come with a DIY color mode. Start with a preset color and adjust the red, green, and blue levels to create your desired shade. Play around with different combinations until you find the perfect hue.
By following these steps, you can transform any space with your custom LED light colors. Whether you’re setting the mood for a party or adding a personal touch to your room, the possibilities are endless!
Exploring Color Combinations
Choosing the right color combinations can transform your space from ordinary to extraordinary. Here are some tips to help you explore the vast world of color possibilities:
- Complementary Colors: These are colors opposite each other on the color wheel, like blue and orange. They create a vibrant look with high contrast, perfect for adding energy to a room.
- Analogous Colors: These are colors next to each other on the color wheel, like green, blue-green, and blue. They provide a harmonious and serene atmosphere, ideal for relaxation spaces.
- Triadic Colors: This scheme involves three colors evenly spaced around the color wheel, like red, yellow, and blue. It offers a balanced and dynamic look, great for lively areas.
- Monochromatic Colors: This involves using various shades, tints, and tones of a single color. It creates a cohesive and elegant look, suitable for a sophisticated setting.
Experiment with different combinations to see what works best for your space and mood. Remember, the key is to have fun and let your creativity shine!
Conclusion
Customizing the colors of your LED lights is a simple yet effective way to personalize your space and set the right mood. Whether you’re looking to relax, energize, or simply add a touch of creativity, the right color combinations can make all the difference. So grab your LED strips, power up your imagination, and start painting your world with light!
FAQ’S
Can I make any color with RGB LED lights?
Yes, RGB LED lights can mix red, green, and blue to create a wide range of colors. By adjusting the intensity of each color, you can achieve various shades and hues.
Do I need special equipment to change LED light colors?
To change colors, you'll need an RGB LED strip, a power supply, and an RGB controller. Some setups may also come with a remote for easier color adjustments.

I am Sammy and I blog at Live it. Love it. Make it. It is creative lifestyle blog run by best friends H and Sammy. Head over and follow our crafty adventures!

