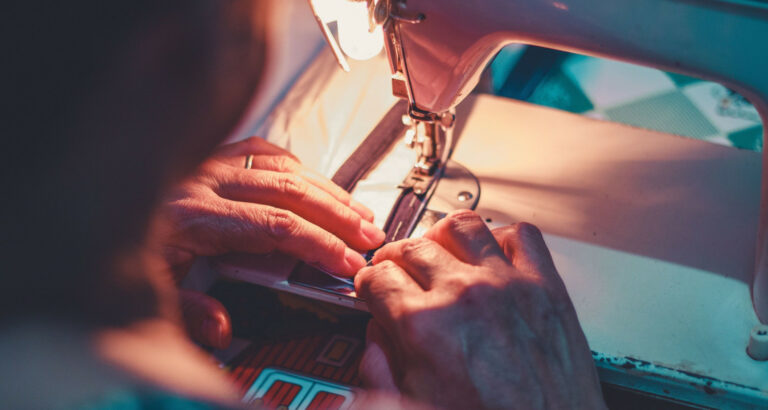
Threading a sewing machine needle is a fundamental skill for any seamstress or tailor. In this step-by-step tutorial, we’ll guide you through the query “how to thread sewing machine needle”, ensuring that you can confidently thread your needle with ease, whether you’re a beginner or looking to refresh your sewing knowledge.
To thread a sewing machine needle, raise the presser foot and ensure the machine is turned off for safety. Raise the hand to its highest position, allowing easier access. Place the thread spool on the designated spindle, following the threading path outlined in your machine’s manual. Ensure that the thread is securely inserted into the eye of the needle by threading it from front to back. Leave a tail by pulling a few inches of line through. Bring down the presser foot to keep the link set up. You’re ready to resume sewing, but hold onto those thread tails for a smooth start. Following these steps ensures proper threading and smooth sewing operations.
Reading an article on “How to Thread Sewing Machine Needle: Step•by•Step Tutorial” is essential for beginners or those unfamiliar with the process. It provides clear, step-by-step instructions, helping individuals master this fundamental skill, ensuring seamless sewing experiences, and preventing frustration from improper threading.
See Also: How To Shorten A Dress Without Sewing: Quick & Easy Guide
Understanding the Basics
It might appear to be a straightforward undertaking, yet understanding the rudiments of stringing is significant for a smooth and charming sewing experience. In this aide, we will investigate the meaning of stringing, disperse regular misinterpretations, and give bit-by-bit guidelines to string your sewing machine needle. 
See Also: Sewing for Beginners: 25 Must-Learn Basic Sewing Skills
The Importance of Threading Throughout the Sewing Process
The first step in setting up your sewing machine for a successful project is threading. It’s not just about going string through the needle’s eye; It requires a precise order of operations that ensures even stitches, minimizes thread breakage, and smooths thread flow. 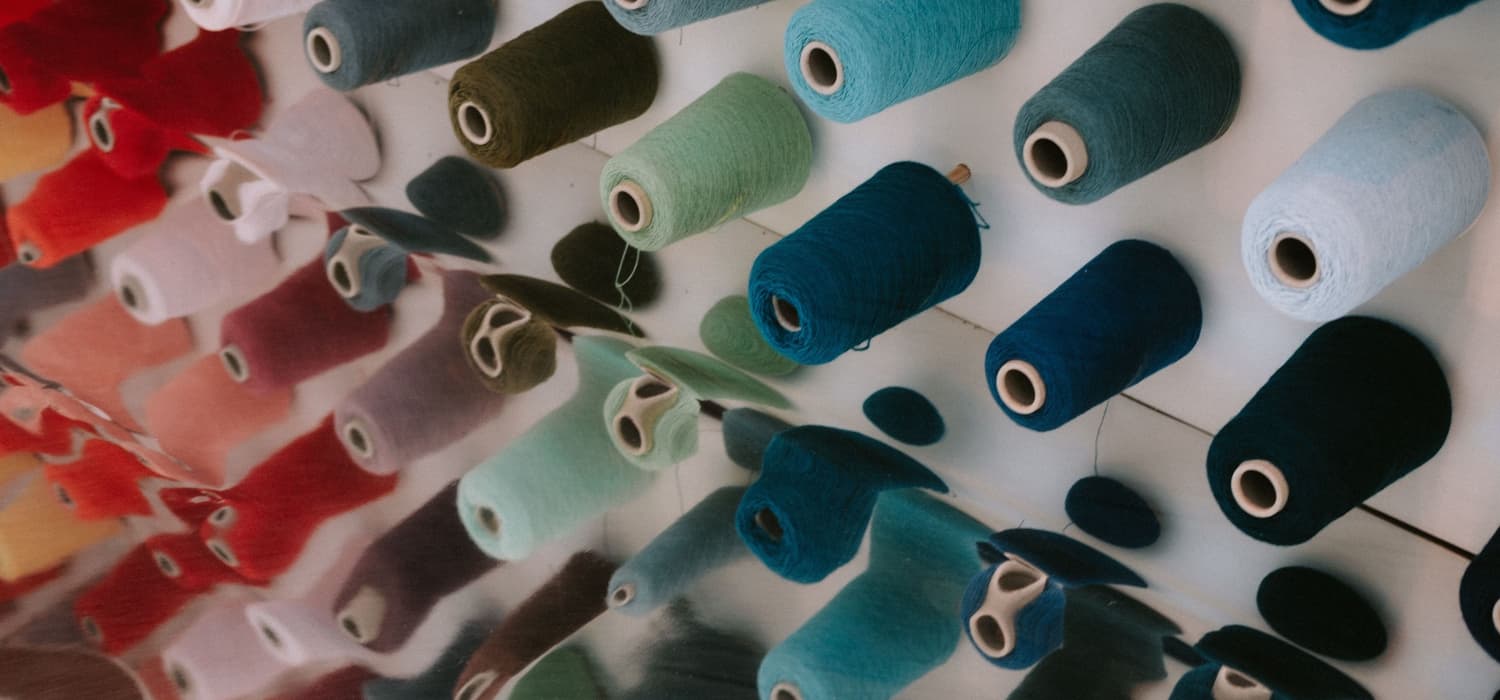
Appropriate stringing guarantees that the top and base strings interlock precisely, forestalling lopsided strain or skipped join. It likewise influences the general presentation of your device, diminishing the gamble of jams and other mechanical issues. You can also Check out how to Make Your Own Sewing Patterns.
Regular Misinterpretations about Threading:
Here’s what you can do.
- Stringing is a one-time task: Inaccurate stringing can happen even after a while of sewing experience. Consistently rethread your machine to stay away from potential issues brought about by worn or frayed string.

- It’s OK to skip steps: If you rush through the efforts of threading, you might end up with issues like broken needles, thread nests, and skipped stitches.
- Stringing is unimportant: Some novices overlook the significance of proper threading. Nonetheless, it’s the groundwork of fruitful sewing. Ignoring it can prompt baffling and tedious issues down the line.
How to thread sewing machine needle: Bit by bit Manual
Here’s what you can do.
- Turn the sewing machine off: To ensure your safety, turn off your machine at the outset.
- Raise the presser foot: This delivers pressure on the string, making it simpler to string the machine.
- Cut a perfect thread edge: Trim any frayed closures to guarantee smooth stringing.
- Use the upper thread: Follow your machine’s stringing way according to the manual. Go the string through guides, strain circles, and the needle’s eye.
- Tie the bobbin on Wind a bobbin with string and supplement it into the bobbin case, adhering to the machine’s guidelines.
- Raise the bobbin string: Hold the upper string with your left hand and turn the machine’s handwheel toward you to raise the bobbin string.Pull the two lines to the back, leaving a couple of series creeps.
- Bring down the presser foot: To engage the tension and secure the threads, lower the presser foot.
Basic Principles to Follow for Stringing Your Sewing Machine Needle:
String your sewing machine needle isn’t just about accuracy, security, and solace. To guarantee a smooth and peril•free sewing experience, think about the accompanying basic principles:
Security Precautionary Measures While Threading:
Here’s what you can do.
- Switch Off the Machine: Start by switching off your sewing machine. This stops you from accidentally moving the needle while you’re threading.
- Remove the Power Source: For an additional layer of well-being, turn off your sewing machine from the power source, or on the other hand, if appropriate, eliminate the foot pedal. This guarantees the device won’t begin suddenly.
- Mind Your Fingers: Needles are sharp, and mishaps can occur. Use a needle threader or a magnifying glass to avoid pricking your fingers.
Use a needle stopper: A few machines have a needle plug capability that stands firm on the needle in a protected foothold while you string it. If this is available, turn it on.
See Also: What Is A Nap In Sewing? Understanding Sewing Terminology
Significance of Appropriate Lighting:
Here’s what you can do.
- Task or natural lighting: Sufficient lighting is significant for stringing precisely and efficiently.
- Movable Lighting: Put resources into a sewing machine light with customizable brilliance and situating choices.
- Amplifying Lens: For many•sided work or, on the other hand, if your visual perception isn’t as sharp as it used to be, think about an amplifying focal point connection.
 It can make stringing more straightforward and decrease eye strain.
Situating the Needle Correctly:
Here’s what you can do.
- Needle Type and Size: Pick the fitting needle type and size for your texture. Textures require various needles, so use your sewing machine manual or a needle guide for directions.
- Needle Clamping: Always ensure the needle is securely clamped before threading. Free arrows can prompt sewing issues and likely mishaps.
- Supplant Dull Needles: Consistently supplant dull or harmed needles to maintain sewing quality. An unpolished arrow can cause texture tangles, and lopsided fastens.
By complying with these overall guidelines, you’ll guarantee your security and establish a climate helpful for precise stringing. Legitimate lighting and needle situating are critical for stringing achievement and will add to your general sewing pleasure. Continuously focus on well-being and accuracy while working with your sewing machine to accomplish the best outcomes. If you wanna know how to Set Up A Sewing Machine, Check out this.
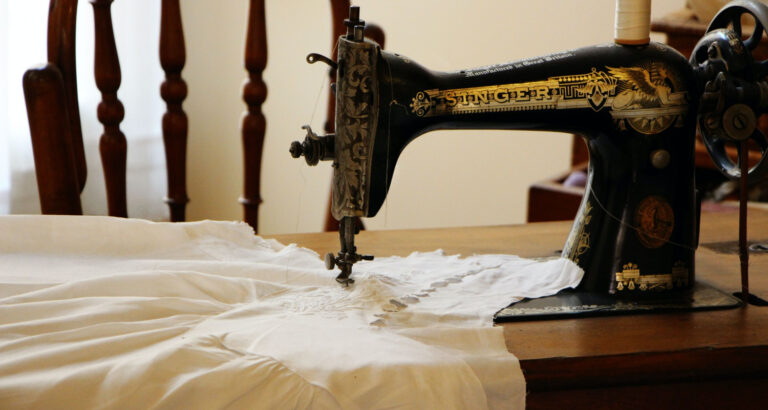
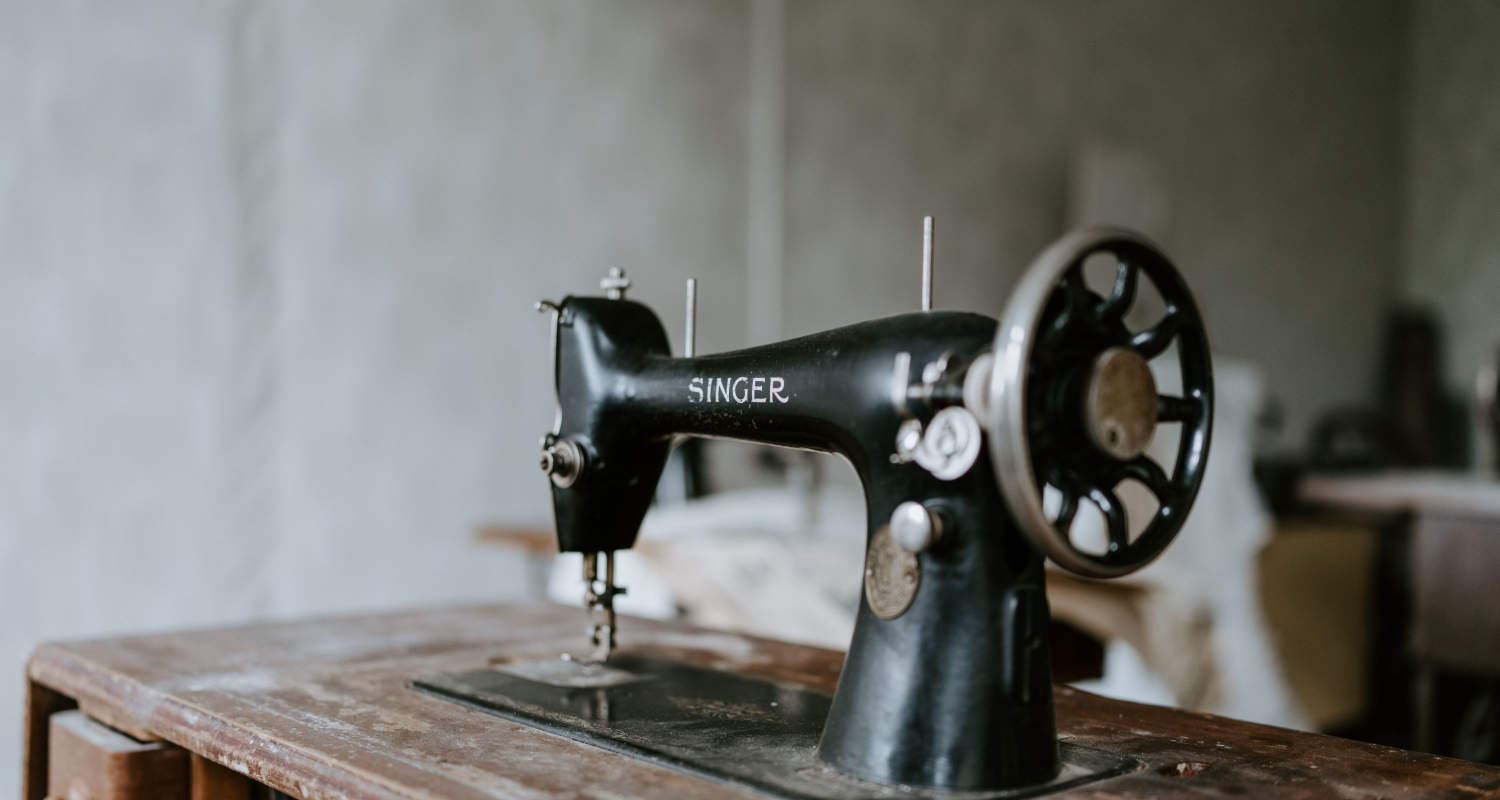
Old-fashioned methods of threading for sewing machines
Stringing classic sewing machines might require an alternate methodology contrasted with current ones. A guide to threading vintage sewing machines and the tools needed to do so are provided below:
Figuring out Rare Machines:
Here’s what you can do.
- Counsel the Manual: Rare sewing machines frequently accompany itemized manuals defined for the model. The precise instructions for threading will be found in the machine’s manual.
- Concentrate on the String Path: Analyze the machine’s stringing way cautiously. Rare machines might have a novel string way, so it is fundamental to figure it out.
Tools for Threading Assistance:
Here’s what you can do.
- Tweezers: The thread can be guided through tight spots or small openings with tweezers with a fine, pointed tip. They are accommodating when working with vintage machines with intricate threading paths.
- White Paper or String Guide: Occasionally, classic machines need clear string guides. It can be easier to see the path and feed the thread correctly if a small piece of white paper or a homemade thread guide is placed.

- Headlamp: A headlamp with a movable shaft can give sans-hands enlightenment definitively where you want it. This is unbelievably useful while stringing one•of•a•kind machines with faintly lit or difficult•to•arrive•at regions.
Stringing Steps for One of a kind Machines:
While every one-of-a-kind sewing machine might have its extraordinary stringing necessities, here is a general bit-by-bit process:
- Press the Pressure Foot Up To begin, as with modern machines, raise the presser foot to release thread tension.
- String the Bobbin: By the instructions on your machine, wind a bobbin and place it in the bobbin case.
- The Upper Thread: To get started, follow the instructions in the manual for threading the upper thread. Consider a particular string guide or pressure plate unique to your one•of•a•kind machine.
- Use the necessary tools: Tweezers direct the thread in tight spots or along hazy threading paths. Small white paper with a slit can be a temporary thread guide.
- Check Tension: Check that the thread goes through the tension discs and takes up the lever correctly. For uniform stitching, proper tension is essential.
- The Needle to String: Finally, string the needle to pass through the eye from front to back.
- Test the Machine: Test your vintage sewing machine on a scrap of fabric after it has been threaded to ensure everything is incorporated correctly and the device is sewing smoothly.
With practice and the right tools, you can enjoy the unique charm of these older machines while creating beautiful sewing projects.
Threading vintage sewing machines may require some patience and adaptation. If you wanna know how to Read A Sewing Pattern, Check out this.
Underlying Threaders in Current Sewing Machines:
Built•in needle threaders, valuable tools designed to make threading more accessible, are frequently included with modern sewing machines. This guide will go over the benefits of these built•in threaders and show you how to use them step by step.
Benefits of Integrated Threaders:
Time-Saving: The time required to thread the needle is significantly reduced by built•in threaders. They mechanize a typically unpredictable and tedious errand.
Facilitate Use: Because of their ease of use, these threaders are suitable for sewers of all levels. They wipe out the requirement for manual stringing, which can baffle some.
Precision: The purpose of built•in threaders is to ensure that the thread passes through the needle’s eye precisely, minimizing the risk of fraying or misalignment.
Eye strain is lessening: They are handy for those with unfortunate visual perception or smoothness issues. The programmed stringing interaction can lighten eye strain and dissatisfaction.
Expanded Productivity: Quicker and more effective stringing implies you can invest more energy in your sewing projects and less in the arrangement.
Using Built-In Threaders: A Step•by•Step Guide
Although the exact procedure may differ slightly depending on the model of your sewing machine, the following is a general, step-by-step instruction on how to use built-in needle threaders successfully:
- Press the Pressure Foot Up: The presser foot should be raised first. This delivers strain on the upper string, making it simpler to series.
- Draw in the Threader: Find the underlying needle threader on your machine. It’s usually a little switch or system close to the needle.
- Position the Thread: Place the end of the thread just above the needle under or through the thread guide. This is critical to guarantee the string follows the right way.
- String the Hook: To engage the threader’s hook, gently pull the lever down or follow the manufacturer’s instructions.
- String Insertion: While holding the string rigid, discharge the threader switch. The inherent threader ought to get a circle of the line through the needle’s eye.
- Pull the String Loop: Handle the circle of string and tenderly get it through the needle’s eye.
- Bring down the Presser Foot: In the wake of stringing the needle, bring down the Presser foot to draw in the pressure and secure the string.
- Test Your Equipment: Sew a couple of lines on a piece of texture to guarantee that the string is appropriately strung and your machine is sewing without a hitch.
Programmed Needle Threaders
Programmed needle threaders are creative elements accessible in some cutting•edge sewing machines. 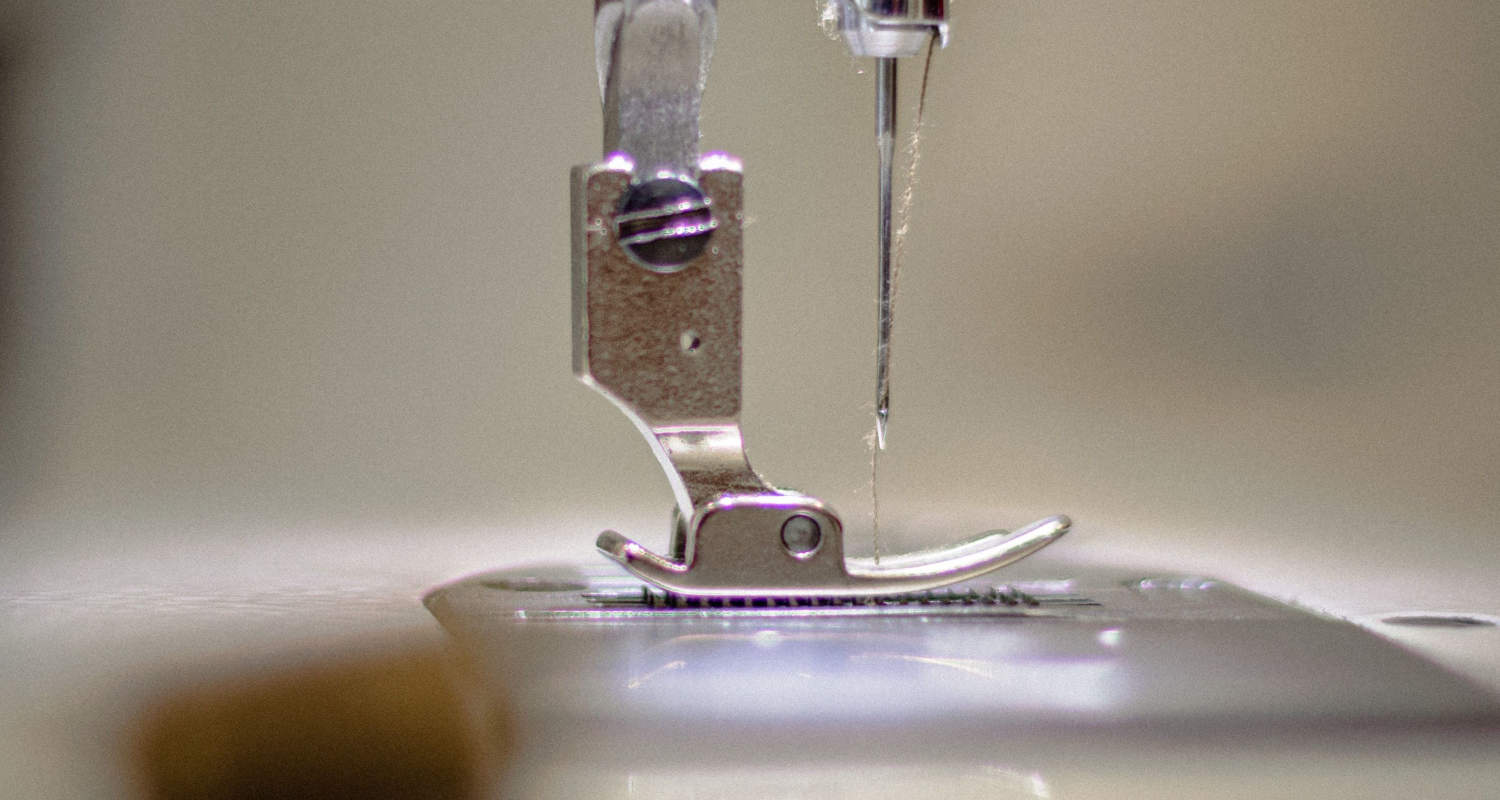 They offer a few advantages, including:
Time Efficiency:
Programmed needle threaders save time by rapidly and precisely stringing the needle, dispensing with manual stringing requirements.
Precision:
These threaders guarantee exact stringing, lessening the gamble of misalignment or string breakage.
Ease of Use:
Programmed threaders are easy to understand, making sewing open to the two fledglings and experienced sewers.
Reduced Eye Strain:
They benefit people with unfortunate vision or mastery issues, lessening eye strain and dissatisfaction.
Increased Productivity:
Quicker and more proficient stringing implies you can invest more energy in your sewing projects.
Tips and Deceives for More Straightforward Threading:
Try these.
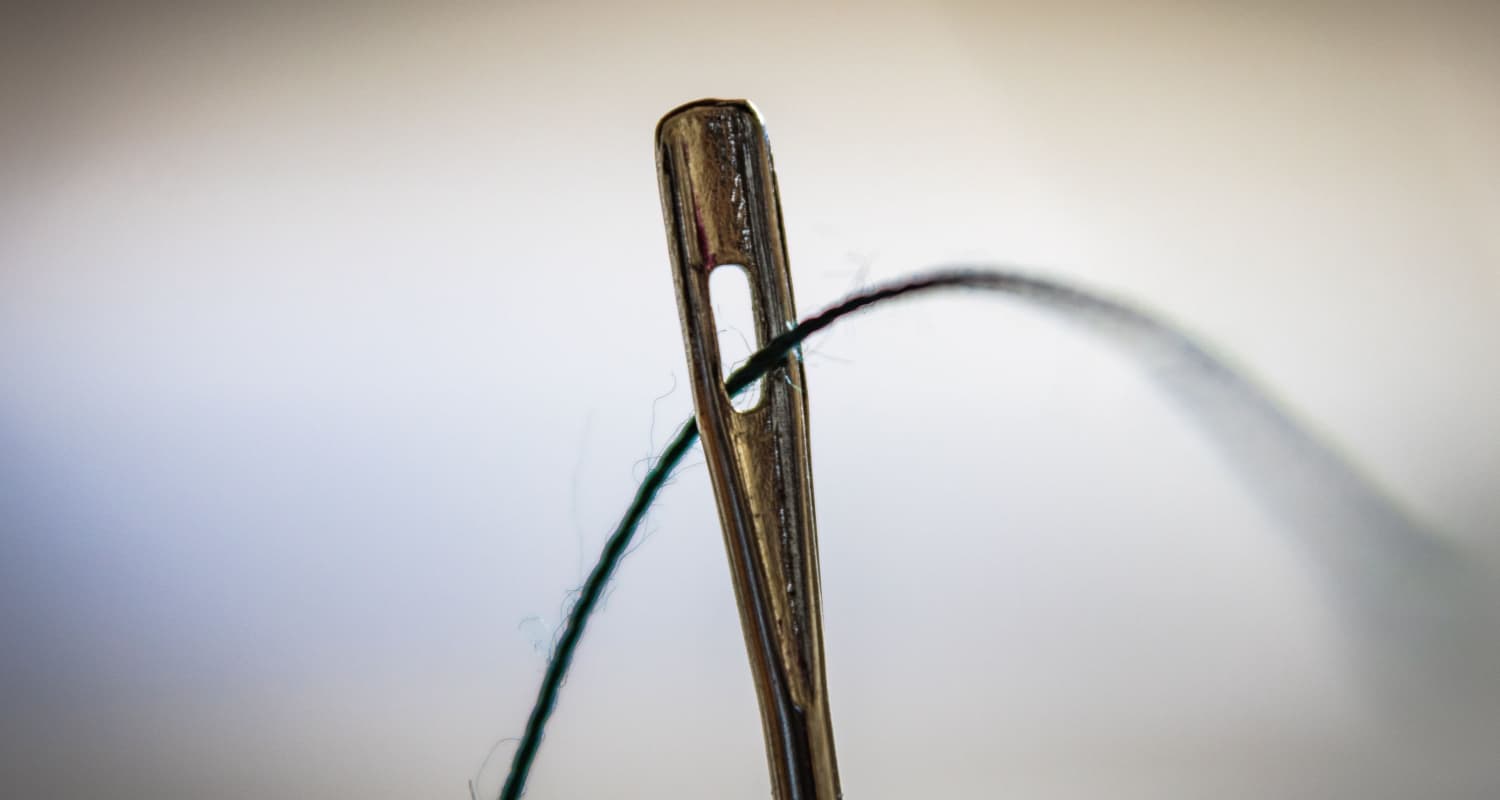
Cutting the String at an Angle:
While setting up your string, cut it at a slight point instead of straight across. This makes a more honed point, making it simpler to embed through the needle’s eye. The tightened end skims through more easily, particularly while managing fine needles and strings.
Understanding String Thickness and Needle Size:
Coordinate the thickness of your string with fitting needle size. Thicker lines require more giant needles, while more slender columns work best with more modest hands. The right mix guarantees smoother sewing and forestalls issues like string breakage or skipped fastens. 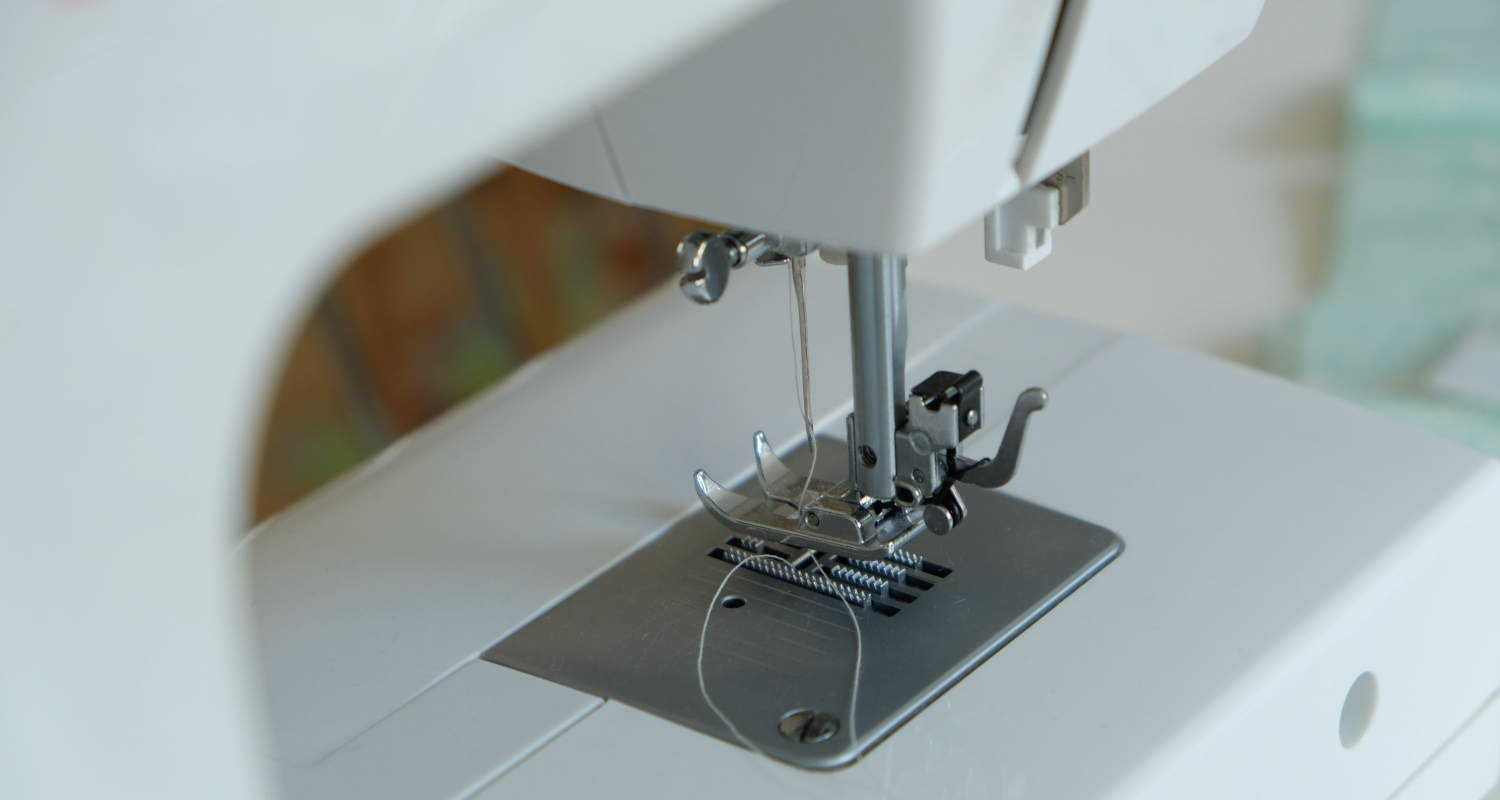 Counsel your sewing machine’s manual or a needle and string similarity outline for direction.
FAQS
Presenting you with some FAQS on how to thread sewing machine needles.
How to thread a sewing machine needle?
To string a sewing machine needle, begin by raising the presser foot, putting the string on the spool pin, directing it through the pressure plates, circling it around the take-up switch, and stringing it through the needle eye from front to back.
Is threading using a thread sewing machine needle a quick process?
It typically takes a few minutes once you're familiar with the machine. However, it may vary depending on the machine's complexity and your experience.
Is threading a sewing machine needle a sustainable method?
Threading a sewing machine needle is generally considered a sustainable method. It reduces the need for disposable alternatives like adhesive tapes or pre-threaded needles.
How do you thread the needle on a sewing machine with missing parts?
Threading a sewing machine with missing parts can be challenging. You may need to improvise or find replacement parts. Start by following the manufacturer's instructions if available. Otherwise, consult sewing machine repair experts or online forums for creative solutions tailored to your missing interests.
Conclusion
In conclusion,” How to thread a sewing machine needle” is quickly answered. Mastering the threading process is a fundamental skill in sewing that can significantly impact the quality of your projects. Following proper techniques, using the right tools, and understanding your machine’s threading requirements are essential. Remember that practice and patience are crucial to becoming proficient in threading, so don’t be discouraged by initial challenges. With dedication, you’ll gain confidence and enjoy smoother, more enjoyable sewing experiences. Happy sewing!
See Also: How Does A Sewing Machine Work? A Detailed Explanation

I am Sammy and I blog at Live it. Love it. Make it. It is creative lifestyle blog run by best friends H and Sammy. Head over and follow our crafty adventures!