Feeling creative but not sure where to start? Imagine holding a journal that’s uniquely yours, from cover to cover. This isn’t just any journal; it’s a canvas for your thoughts, dreams, and memories. And the best part? You can create it yourself. In this guide, we’ll dive into the simple steps of crafting your very own DIY journal, tailored just for you. Ready to unleash your creativity?
To make a DIY journal, gather paper, a cover material (like cardboard), glue or thread for binding, and decorate as desired. Fold and stack the paper, attach to the cover, and personalize.
Getting Started with Your DIY Journal
Getting started with your DIY journal is an exciting process that allows for creativity and personal expression. Here are some steps to help you begin:
Key Takeaways
- Personalization: Choose materials and designs that resonate with your style.
- Functionality: Consider the purpose of your journal when selecting materials.
- Creativity: Designing your cover allows for personal expression and creativity.
Choosing Your Materials
- Paper Type: Opt for thick, high-quality paper to prevent ink bleed-through. Consider lined, dotted, or blank pages based on your writing or drawing preferences.
- Binding: Choose a binding style that suits your needs. Spiral binding allows for easy page turning, while stitched or glued bindings offer a more traditional look.
- Size and Shape: Select a size that fits your intended use, whether for travel, sketching, or daily writing. Common sizes include A5, A4, and pocket-sized journals.
- Additional Features: Consider journals with features like elastic closures, bookmark ribbons, or inner pockets for added functionality.
Designing Your Journal Cover
- Theme Selection: Decide on a theme that inspires you, such as nature, abstract art, or geometric patterns.
- Materials: Use materials like fabric, paint, stickers, or washi tape to create your design. Ensure they are compatible with the cover surface.
- Techniques: Experiment with techniques such as collage, stenciling, or hand-lettering to add a personal touch.
- Finishing Touches: Add final details like a protective clear coat, charms, or embroidery to enhance the durability and aesthetic of your cover.
Assembling and Personalizing Your Journal
Assembling and personalizing your journal is a fun and creative process that allows you to create a unique and functional item. Here are some steps to help you get started:
Binding Your Journal
- Choosing a Method: Decide between DIY binding methods like saddle stitching, coptic stitching, or using a binder ring. Each offers a different look and level of durability.
- Gathering Materials: You’ll need your chosen paper, a cover, binding thread or rings, and tools like a needle, awl, or hole punch.
- Preparation: Cut your paper to size and fold it if necessary. For stitched bindings, use an awl to make evenly spaced holes along the spine.
- Assembly: For stitched methods, use a needle and thread to sew through the holes, securing the pages to the cover. For binder rings, simply punch holes in your pages and cover, then thread the rings through.
- Finishing Touches: Trim any excess thread and ensure the binding is tight. Consider adding a spine cover or reinforcement for added durability.
Decorating and Personalizing
- Interior Design: Use stickers, stamps, or washi tape to decorate page borders or corners. Create custom headers or footers for each page.
- Themed Pages: Dedicate sections of your journal to specific themes, such as travel, gratitude, or creativity. Use different colors or designs to distinguish each section.
- Interactive Elements: Incorporate pockets, envelopes, or fold-out pages for storing keepsakes or adding dimension to your journal.
- Personal Touches: Include personal mementos like photos, ticket stubs, or handwritten notes to make your journal uniquely yours.
Practical Tips for Your DIY Journal
- Regular Maintenance: Check your binding periodically and make repairs as needed to keep your journal intact.
- Archiving: Consider numbering your pages and creating an index at the beginning of your journal for easy reference.
- Protection: Use a journal case or sleeve to protect your journal from wear and tear when carrying it around.
- Experimentation: Don’t be afraid to try new designs, layouts, or materials. Your journal is a reflection of your evolving creativity and style.
Conclusion
Creating a DIY journal is a rewarding experience that allows for personal expression and creativity. By choosing the right materials, designing a unique cover, and personalizing the interior, you can create a journal that not only serves as a tool for writing and reflection but also as a cherished keepsake. Remember to embrace the process, experiment with different styles, and make your journal a reflection of your individuality. With regular maintenance and a touch of creativity, your DIY journal can become a treasured companion in your daily life.
FAQ’s
What materials do I need to make a DIY journal?
To create a DIY journal, you'll need paper (such as plain, lined, or scrapbook paper), a cover material (like cardboard, leather, or fabric), binding materials (such as thread, string, or rings), and decorative elements (like stickers, washi tape, or paint) .
How do I bind my DIY journal?
You can bind your journal using various methods, such as stitching (with needle and thread), using binder rings, or glue. The method you choose will depend on the look and functionality you desire for your journal .
How can I personalize my DIY journal?
Personalize your journal by decorating the cover with materials like fabric, paint, or photos. Inside, you can add pockets, envelopes, or use different types of paper to create sections for different purposes .
What are some creative ideas for DIY journals?
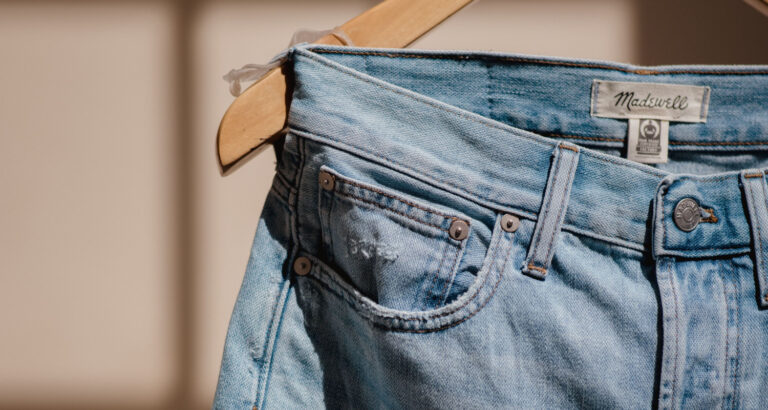
Consider making a vintage journal with tea-stained pages, a travel journal with maps and memorabilia, a simple leather journal, or a journal with a recycled jean cover. The possibilities are endless, and you can tailor your journal to your interests and needs .
How can I make my DIY journal durable?
To ensure durability, use high-quality materials, reinforce the binding, and consider adding a protective cover or sleeve. Regularly check and maintain the journal to keep it in good condition .

I am Sammy and I blog at Live it. Love it. Make it. It is creative lifestyle blog run by best friends H and Sammy. Head over and follow our crafty adventures!