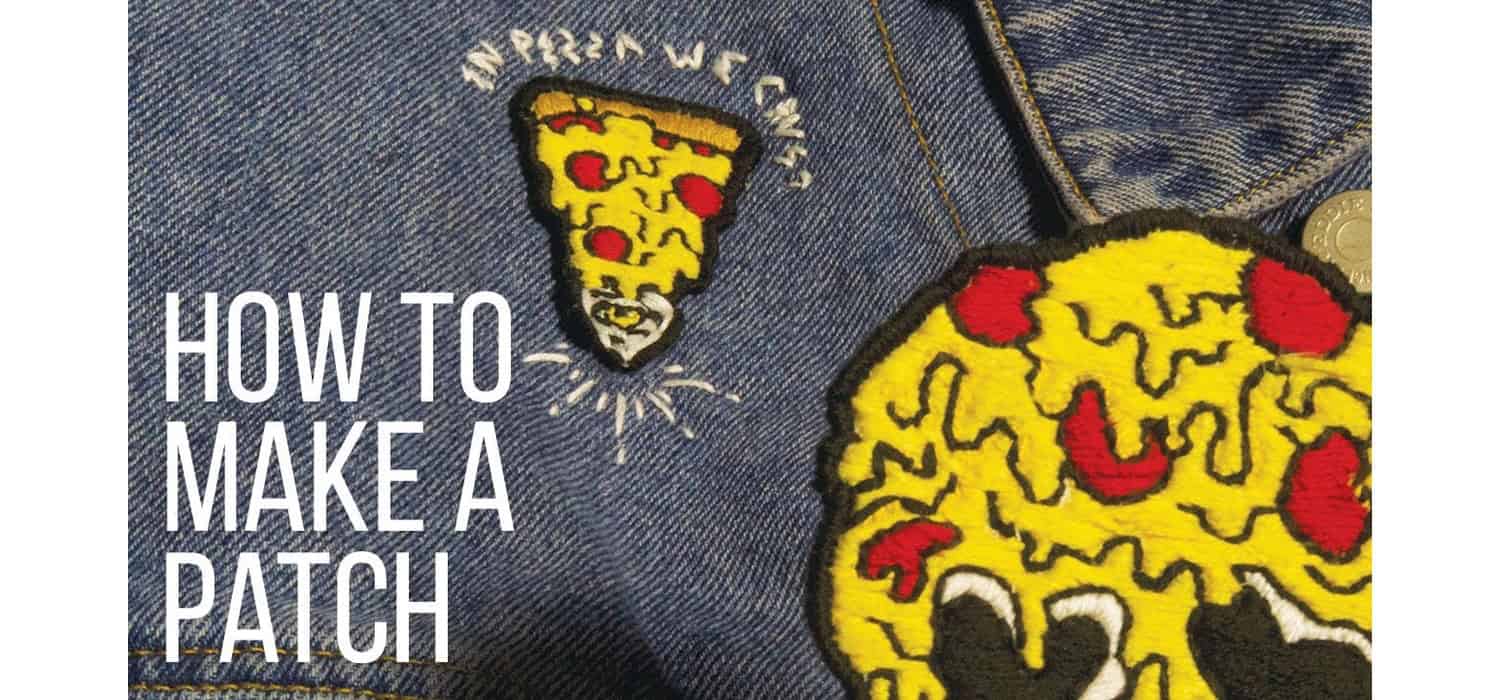
Ever wondered how you can personalize your wardrobe without breaking the bank? DIY patches are your solution! They’re easy to create and perfect for expressing your unique style. This guide will show you exactly how to make your own patches, step by step.
How to Make DIY Patches: Start by selecting a fabric and design. Cut the design out of the fabric, then iron on an adhesive backing. Place it on your garment and iron firmly to adhere.
Don’t stop now! Master the art of DIY patches in just minutes. Boost your style and save money. Keep reading to learn all the tips and tricks to make your patches like a pro.
Materials and Tools Required for DIY Patches
Creating your own DIY patches is a fun and creative way to personalize your clothing and accessories. Here’s what you’ll need to get started:
Basic Materials
- Fabric: Choose a durable fabric like denim or canvas for your patch base.
- Thread: Cotton or polyester thread in colors that contrast or complement your fabric.
- Needles: Sharp sewing needles for hand stitching your design.
- Iron: A standard household iron for applying patches.
- Transfer Paper: Useful for transferring designs onto fabric before stitching.
Advanced Options
- Embroidery Machine: For those who want to automate the stitching process and achieve intricate designs.
- Fabric Paint: Adds a splash of color and design directly onto the fabric, offering a different approach to decorating your patches.
These tools and materials are readily available at most craft stores or online, making it easy to get started on your DIY patch project today! Whether you’re a beginner or an expert, these essentials will help you create patches that add a personal touch to any piece of clothing.
Hand-Stitched Embroidery Patches
Creating hand-stitched embroidery patches is a rewarding DIY project that allows for personalized expression on your garments. Here’s how to make your own from scratch:
Steps to Create a Hand-Stitched Patch:
- Design Your Patch: Begin by sketching your design on paper. Keep it simple if you are a beginner.
- Prepare the Fabric: Cut a piece of fabric larger than your intended patch. Use a stabilizer backing if the fabric is thin.
- Transfer the Design: Use transfer paper to copy your design onto the fabric. Ensure it’s centered and aligned.
- Set Up Your Embroidery Hoop: Place the fabric in an embroidery hoop. Ensure it’s taut but not stretched.
- Start Stitching: Thread your needle with embroidery floss. Begin stitching along the design lines. Common stitches for patches include the satin stitch, back stitch, and running stitch.
- Add Details: Incorporate different colors and layers of thread to bring depth to your design.
- Finish the Edges: Once the design is complete, remove the fabric from the hoop. Trim the fabric to the desired patch size, leaving enough edge for finishing.
- Secure the Edges: Use a whip stitch or a sewing machine to secure the edges. This prevents fraying.
- Apply Adhesive: Attach an iron-on adhesive to the back of the patch according to the manufacturer’s instructions.
- Final Application: Position your patch on the garment. Cover it with a cloth and press with an iron to adhere. Make sure to apply pressure evenly.
Tips for Stitching and Finishing Touches:
- Use High-Quality Thread: This prevents breaking and fading over time.
- Maintain Tension: Keep your stitches even and not too tight to avoid puckering.
- Experiment with Textures: Mix stitches to add dimension to your patch.
- Seal the Deal: For added durability, sew the edges of the patch after ironing it onto the garment.
- Practice Makes Perfect: Don’t hesitate to practice on scrap fabric before starting on your actual patch design.
By following these steps and tips, you can create unique and durable hand-stitched patches that showcase your crafting skills and personal style.
Iron-On Patches
Creating iron-on patches is a fantastic way to customize your clothing and accessories with personal designs or pre-made transfers. This method is especially great for beginners because it requires minimal sewing skills. Here’s a step-by-step guide on how to use transfer paper and an iron to make your own patches, including tips for working with homemade designs and utilizing pre-made transfers.
Steps to Create Iron-On Patches
- Choose Your Design: You can create your own design or use pre-made transfers. For homemade designs, sketch your design or use graphic software to create a digital version.
- Prepare Your Materials: You’ll need fabric for the patch, transfer paper suitable for iron-on projects, and an iron. Choose a fabric that complements the item you’ll be attaching the patch to.
- Print Your Design: For homemade designs, print your design onto the transfer paper. Make sure to mirror the image as it will be reversed once transferred.
- Cut Out the Patch: After printing, cut around the design, leaving a small margin for the edges.
- Prep the Iron: Heat your iron to the setting recommended by the transfer paper’s manufacturer. Do not use steam as it can affect the adhesion of the transfer.
- Iron the Design onto Fabric: Place the transfer paper onto your fabric, design side down. Press the hot iron firmly over the paper, moving it slowly to cover all areas. This process typically takes about 15-30 seconds depending on the size of the patch.
- Peel Off the Backing: Allow the patch to cool slightly, then carefully peel away the paper backing. If the image doesn’t fully stick, replace the paper and iron again.
- Secure the Patch: To ensure the patch is securely attached and to prevent fraying, you can stitch around the edges with a sewing machine or by hand.
- Apply the Patch to Garment: Finally, place your patch on the garment or accessory, cover it with a protective cloth, and press with the iron to adhere it securely.
Tips for Using Pre-Made and Homemade Transfers
- Test the Material: Always test the transfer on a small piece of fabric to ensure the color and adhesion meet your expectations before applying it to the final material.
- Care for Your Patches: Wash items with iron-on patches on a gentle cycle and turn the clothing inside out to preserve the design.
- Experiment with Textures: Mix different types of fabric and designs to create unique patches. Fabric markers or paint can be used to add details to the patches once transferred.
By following these steps, you can create beautiful, durable iron-on patches that add a personalized touch to any item. Whether you’re using a unique design you’ve created yourself or a pre-made transfer, the process is straightforward and offers rewarding results.
This method is highlighted on crafting websites like A Subtle Revelry and The Studio, and detailed reviews of necessary materials can be found on platforms like Sewing Machine Reviews. These resources provide additional insights and variations on the basic techniques described here.
Painted and Custom Patches
Creating painted patches allows for a high degree of customization and artistic freedom. This method is perfect for those who want to express themselves through unique, vibrant designs on their clothing or accessories. Here’s how you can start painting on fabric to make distinctive patches, and how to seal them for durability.
Steps to Create Painted Patches
- Select Your Fabric: Opt for natural fibers like cotton, which hold fabric paint well.
- Sketch Your Design: Draw your design directly on the fabric or on paper first. Transfer it using tracing paper if necessary.
- Prepare the Paint: Use fabric paint, which is designed to bond with the fabric fibers and remain flexible and durable. Stir the paint well before use.
- Paint Your Patch: Apply the paint using a fine brush for detailed areas and a broader brush for larger color blocks. Be patient between layers to allow for proper drying.
- Set the Paint: Allow the paint to dry completely. Most fabric paints require ironing to set the paint and make it wash-resistant. Follow the instructions on the paint package.
- Cut and Finish the Patch: Once the paint is dry and set, cut the fabric to the desired patch shape. Use a fabric sealant around the edges to prevent fraying.
Sealing and Protecting Painted Patches
- Use a Fabric Sealant: Apply a clear fabric sealant over the painted area to protect the design from wear and tear.
- Heat Setting: Besides ironing, some fabric paints might recommend using a dryer to set the paint. Check the label for specific instructions.
- Care for Your Patch: Hand wash or use a gentle machine cycle to clean items with painted patches to preserve the design.
Resources like A Subtle Revelry provide additional creative tips and techniques for painting on fabric, ensuring your patches are not only beautiful but also long-lasting.
Using an Embroidery Machine
Embroidery machines can streamline the patch-making process, allowing for intricate designs that would be challenging to achieve by hand. Here’s a guide to using an embroidery machine for patches and a comparison with hand-stitched methods.
Steps to Create Machine Embroidered Patches
- Prepare Your Design: Use software to create or import your design. Adjust the size and thread colors as needed.
- Set Up Your Machine: Load the fabric and stabilizer into the embroidery hoop. Ensure it’s taut to avoid puckering.
- Embroider the Design: Start the embroidery machine. Keep an eye on the machine as it works to make sure there are no thread tangles or errors.
- Remove and Finish the Patch: Once complete, remove the patch from the hoop and trim any excess material or threads. Seal the edges with a machine zigzag stitch or by hand to prevent fraying.
Comparing Hand-Stitched vs. Machine-Embroidered Patches
- Time Efficiency: Machine embroidery is significantly faster, especially for complex or multiple patches.
- Detail and Precision: Machines can achieve high detail with precision that might be too intricate for hand stitching.
- Personal Touch: While machine patches are uniform, hand-stitched patches can have a unique, personal touch that some prefer.
Websites like Instructables and La Creative Mama offer detailed tutorials and comparisons on both methods, providing valuable insights for beginners and experienced crafters alike.
By understanding both painted and machine embroidery techniques, you can choose the best method to create custom patches that reflect your personal style and crafting capabilities.
FAQs on Making DIY Patches
1. What materials do I need to make DIY patches?
To create DIY patches, gather fabric, thread, scissors, and an embroidery hoop. For iron-on types, you'll also need transfer paper and an iron. Select adhesives based on the patch method you plan to use.
2. How do I design a patch?
Start by sketching your design on paper, keeping it simple for ease of transfer and creation. Use a fabric pencil to trace this design onto your patch material.
3. What are the steps to make an iron-on patch?
First, print your chosen design on transfer paper using an inkjet printer. Iron the design onto your fabric, allow it to cool, then peel off the paper backing to reveal the patch.
4. Can I make patches without sewing?
Yes, making no-sew patches is possible using iron-on methods. Print your design on transfer paper, then iron it onto the fabric, ensuring to follow the heating instructions for proper adhesion.
Conclusion
Creating DIY patches is a delightful way to add a personal touch to your clothing and accessories. You can choose from various methods such as hand-stitched, iron-on, or machine-embroidered to express your individual style. Use quality materials and adhere to the proper techniques to ensure your patches look great and last long. Share your creations and experiences within the crafting community to inspire and learn from fellow crafters.

I am Sammy and I blog at Live it. Love it. Make it. It is creative lifestyle blog run by best friends H and Sammy. Head over and follow our crafty adventures!


