Setting up a sewing machine correctly lays the foundation for smooth and successful sewing projects. This step-by-step guide provides essential insights into how to set up a sewing machine. Everything will be covered in this article, from understanding the machine’s components to threading, stitching, and troubleshooting.
To set up a sewing machine, place it on a stable surface. Install the needle, wind, insert the bobbin, then thread the machine. Choose the desired stitch type, adjust settings, and position the fabric. Lower the presser foot, start sewing at a controlled speed, and troubleshoot issues.
Reading this article is essential to grasp the intricacies of correctly setting up a sewing machine. It offers a comprehensive step-by-step guide, ensuring your device is primed for smooth stitching. Whether novice or experienced, these insights guarantee a successful and enjoyable sewing experience with precise results.
See Also: MAKE IT: WEAVING IN THE ROUND
How to set up a sewing machine: Understanding Your Sewing Machine
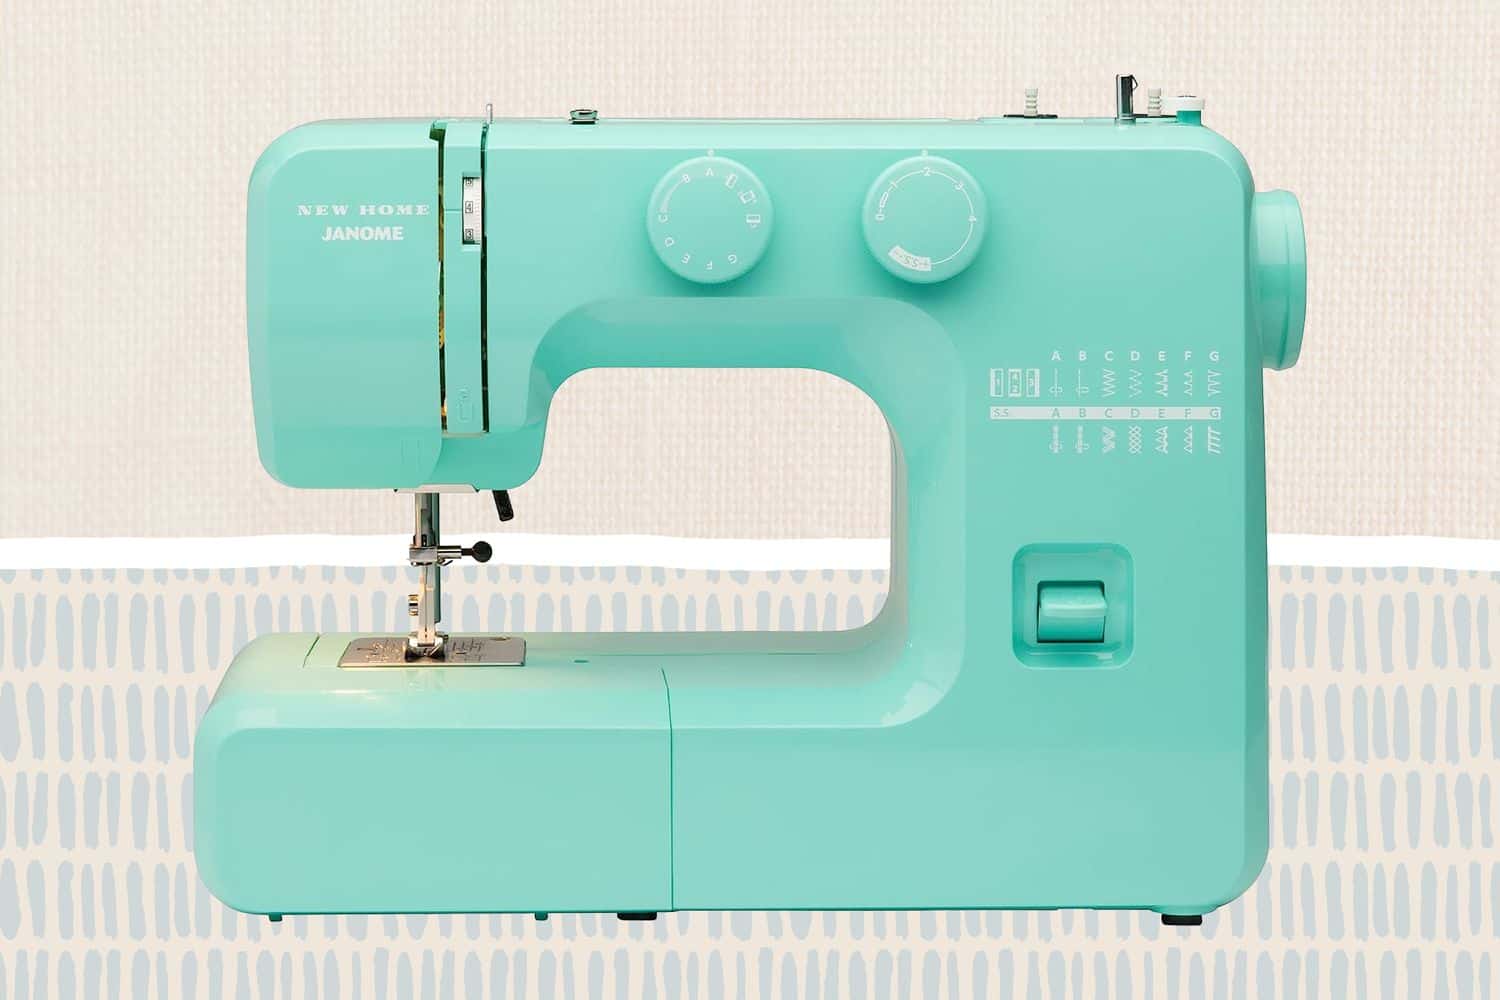
Present-day sewing machines could seem mind-boggling, yet separating their essential parts improves the arrangement cycle.
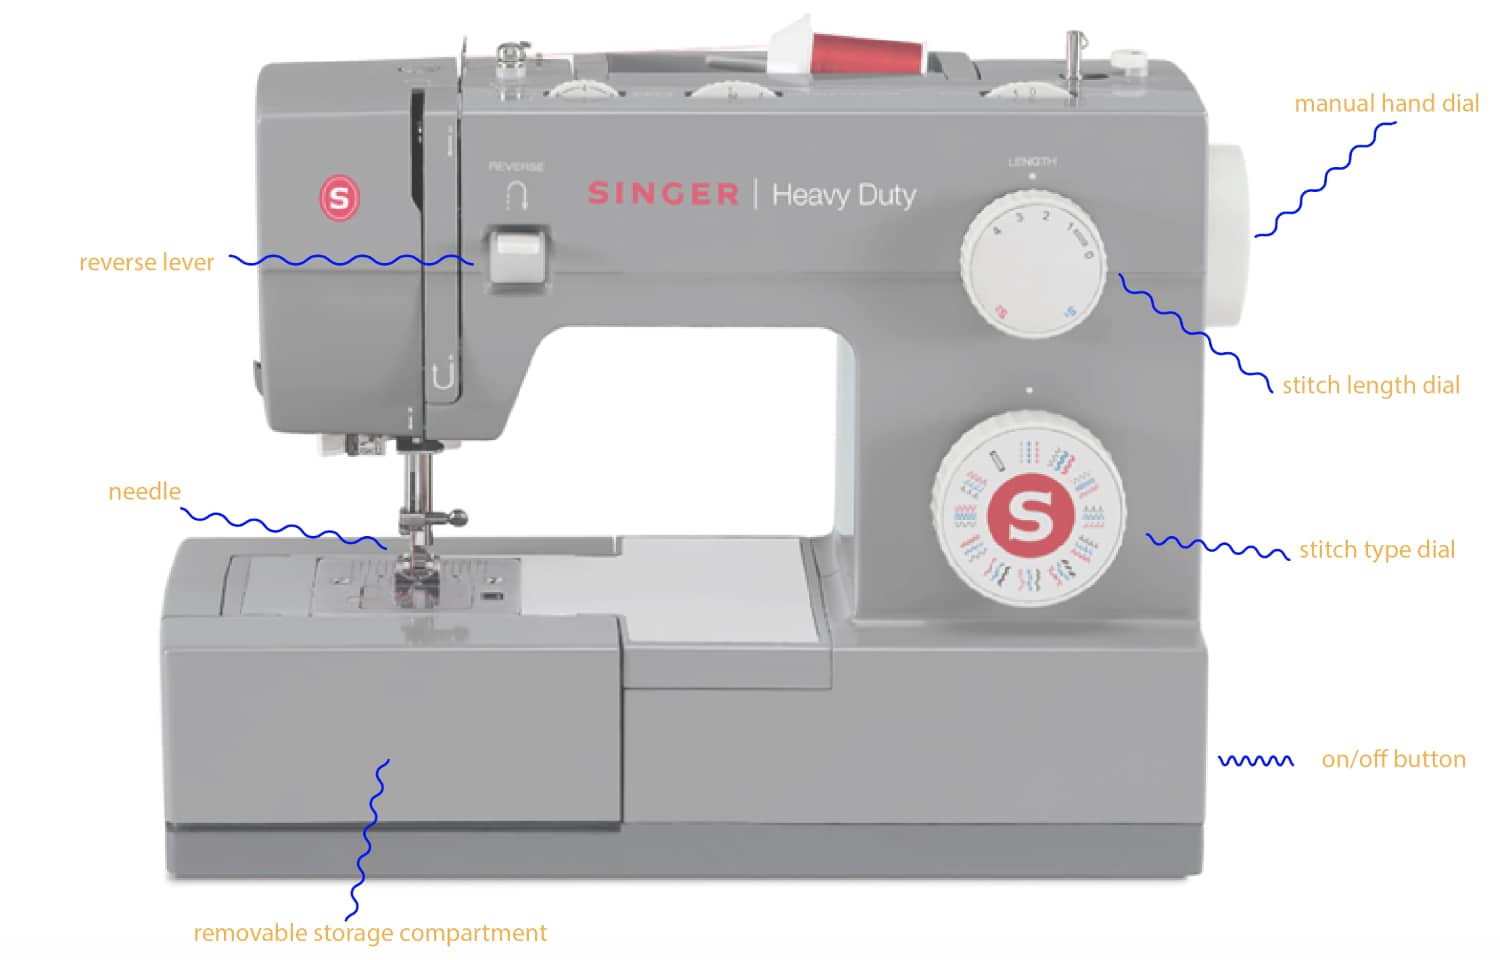
The Essential Pieces of a Sewing Machine
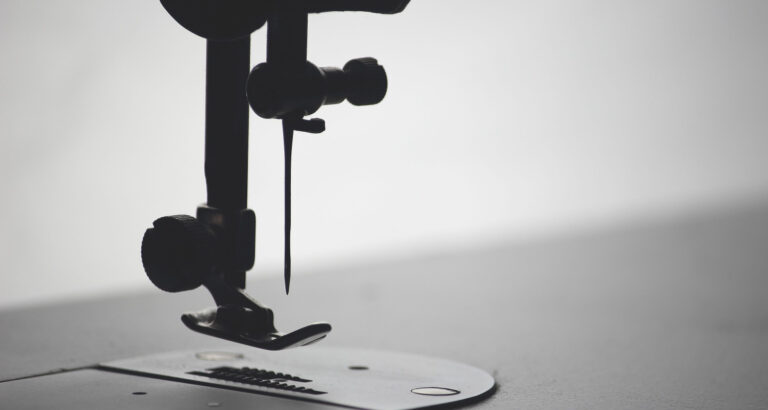
Sewing machines comprise a few essential parts that work as one to make fastens. These parts include:
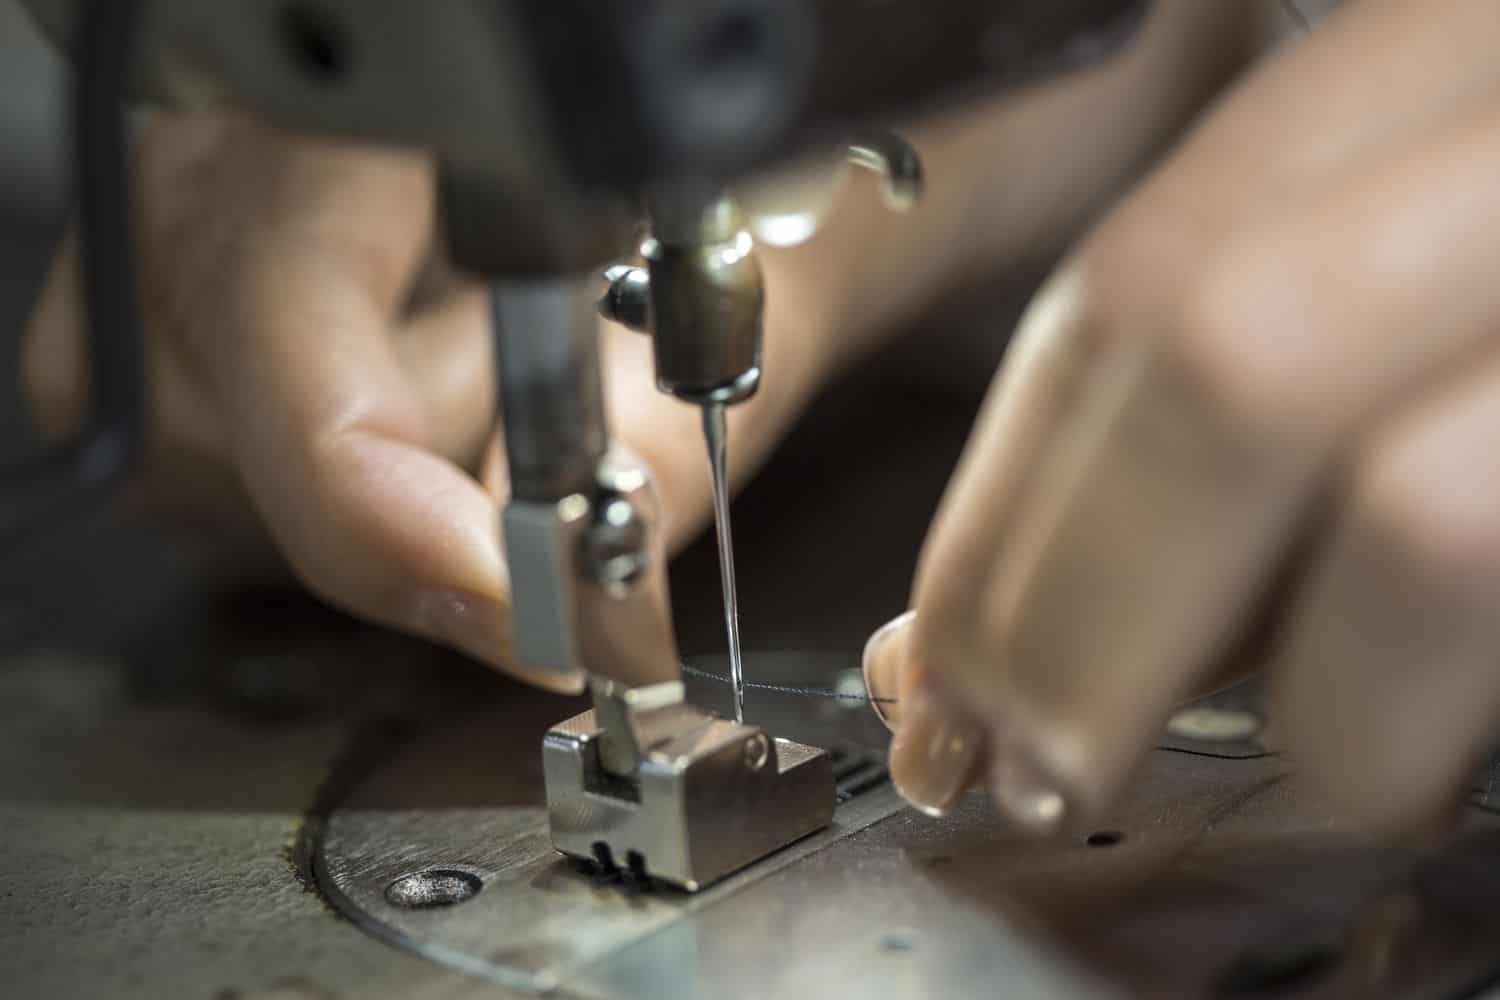
- Needle: The needle punctures the texture, permitting the string to go through and structure lines.
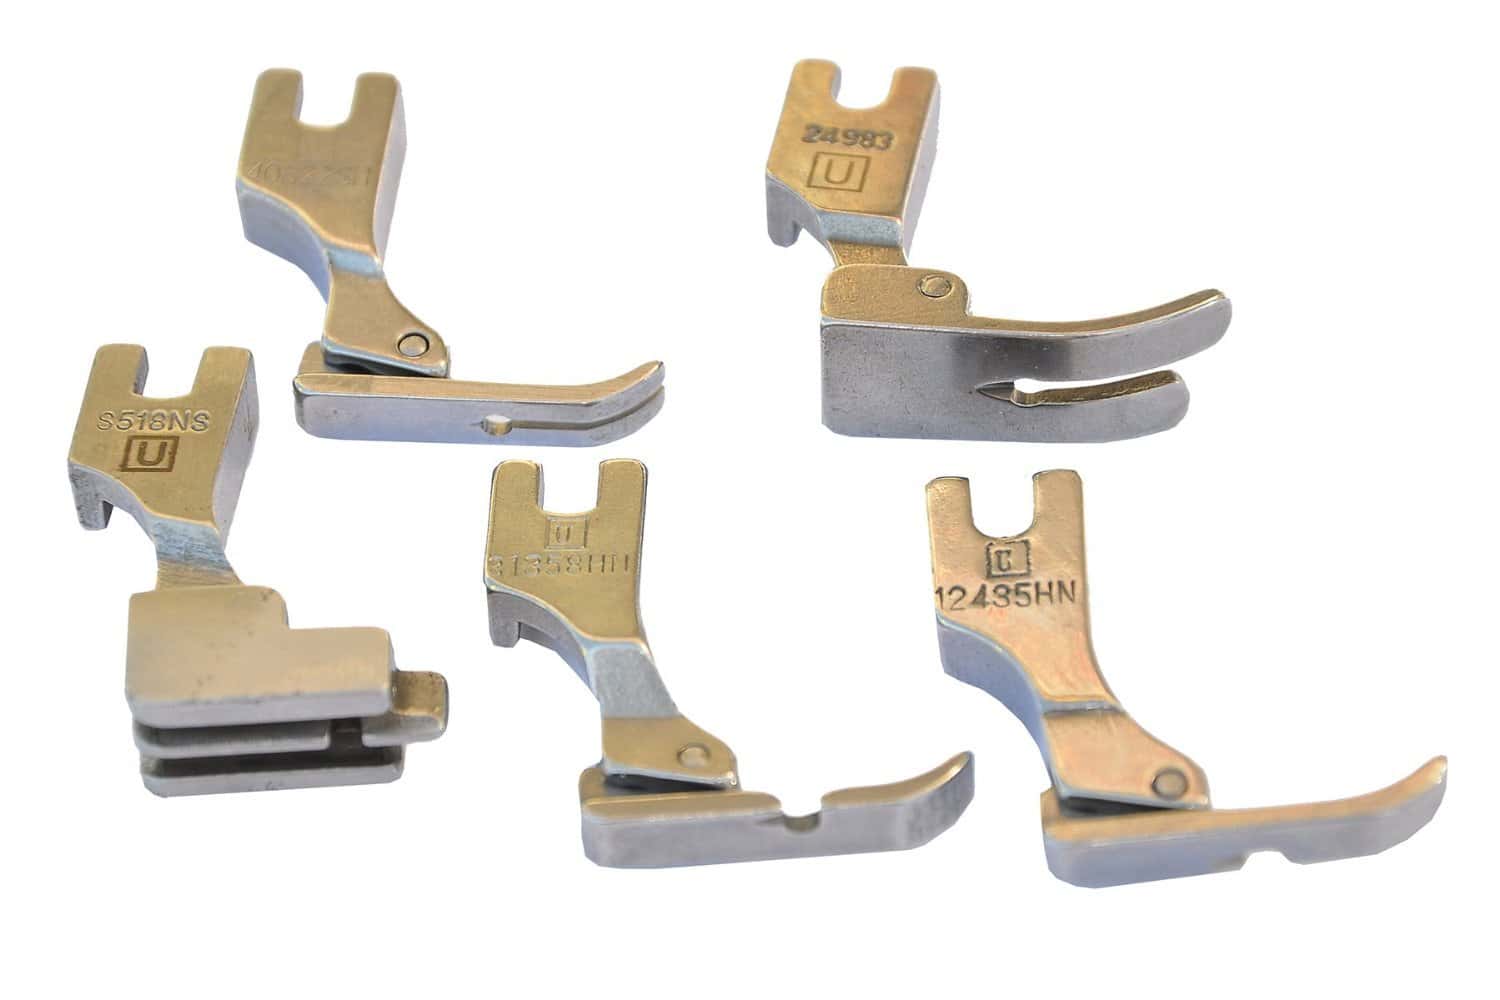
- Presser Foot: This tractions the texture set up and helps guide it under the needle.
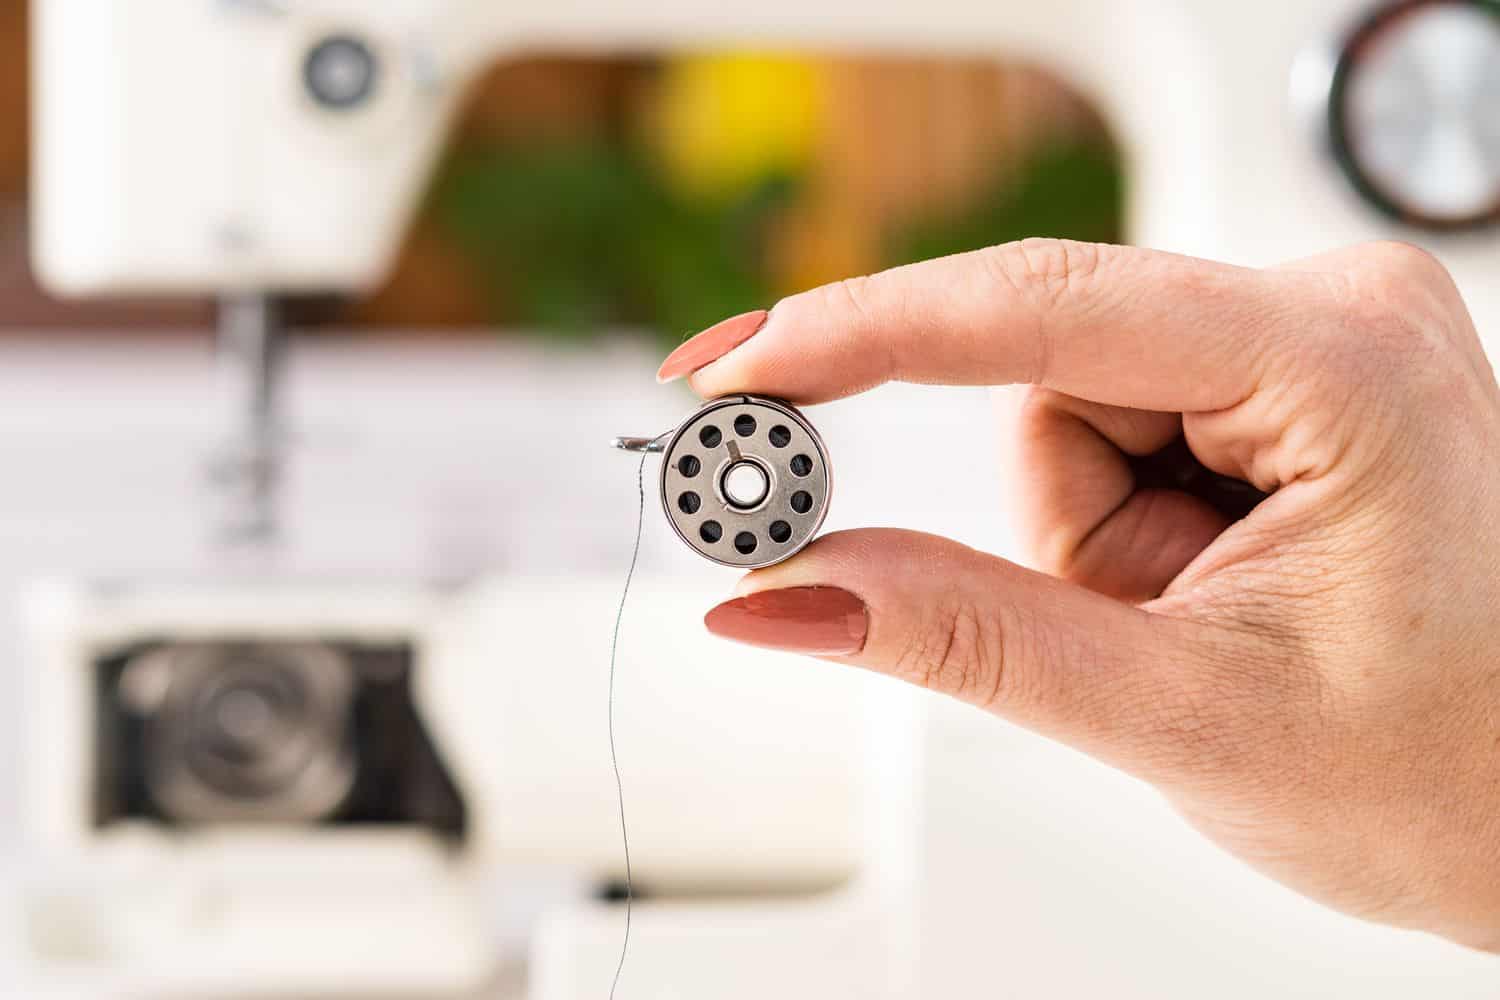
- Bobbin: The bobbin holds the lower string and works with the needle string to make lines.
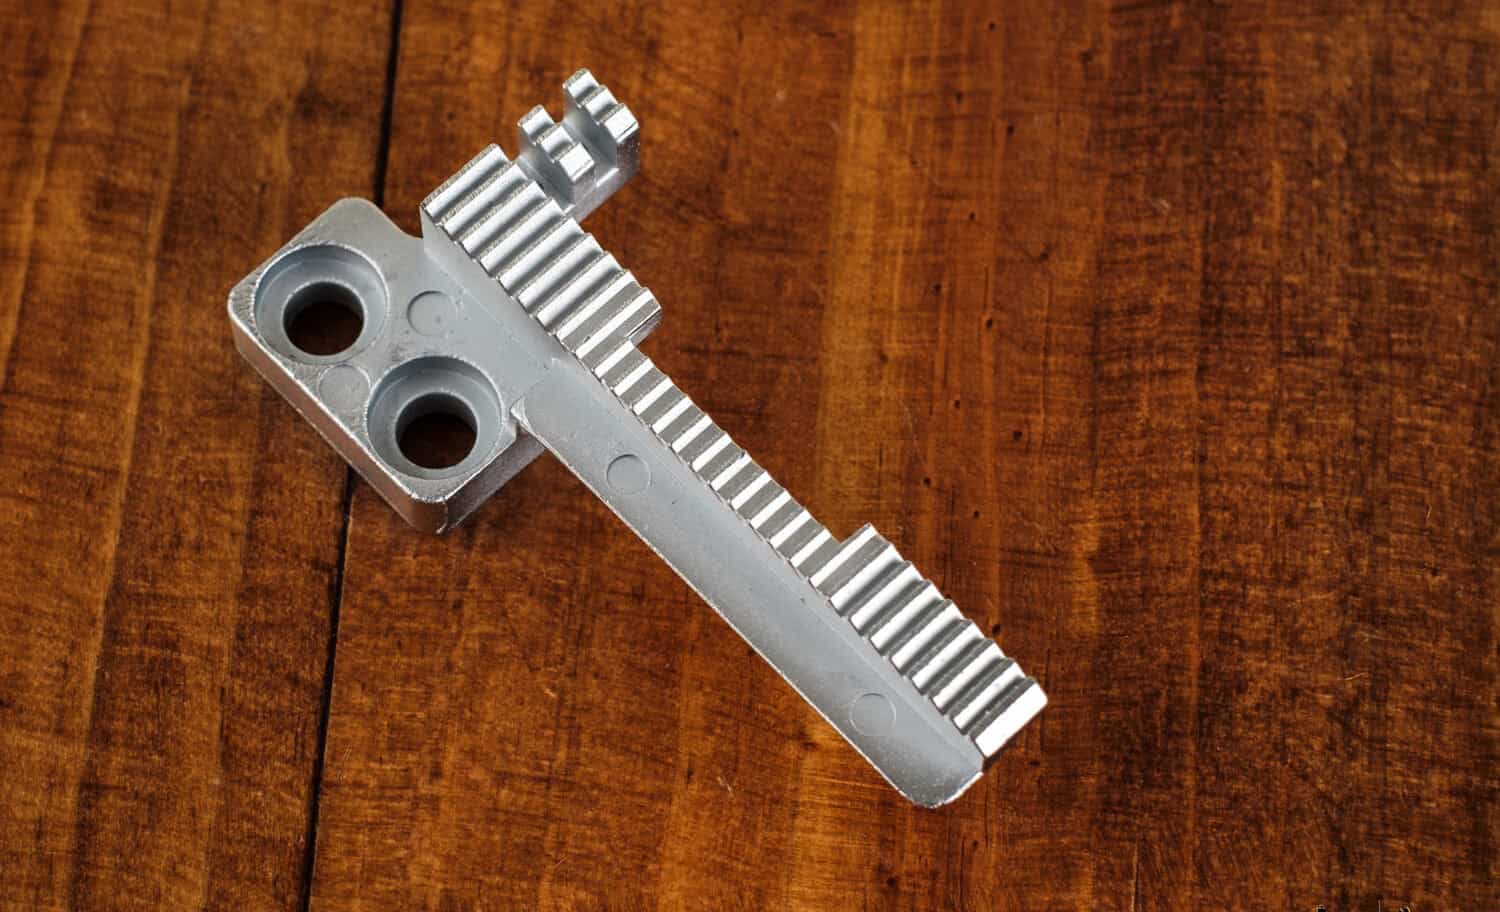
- Feed Canines: These metal teeth under the presser foot push the texture ahead as lines are framed.
- String Pressure Control: This dial changes the strain of the string, impacting fasten quality.
- Line Selector: The fasten selector allows you to look over various line designs for various sewing errands.
- Fasten Length and Width Controls: These settings decide how long and wide each join will be.
The Capability of Each Part
Understanding the capability of each part is fundamental for setting up your sewing machine:
- Needle: The needle enters the texture, making an opening for the string. Choosing the right needle type and size for your texture is critical.
- Presser Foot: The presser tracts the texture consistently while sewing, keeping it from moving and guaranteeing even fastening.
- Bobbin: With the lower string, the bobbin communicates with the upper column to frame a line. Ensure the bobbin is appropriately wound and embedded to avoid line issues.
- Feed Canines: The feed canines move the texture through the machine as you sew, making reliable fasten lengths.
- String Pressure Control: Legitimate strain guarantees adjusted join. Change the strain, given the texture and string you’re utilizing.
- Join Selector: The fasten selector allows you to pick beautifying or useful join given your venture’s necessities.
- Line Length and Width Controls: These controls let you alter the length and width of your join, which is valuable for various sewing procedures.
See also: LOVE IT: CUTTLEBUG DIE CUTTING MACHINE.
How to set up a sewing machine: Setting up Your Sewing Machine for Use
Before you begin sewing, guaranteeing your sewing machine is set up accurately is essential. We should dive into the fundamental stages to set up your device for an effective sewing meeting. Also, read about some fantastic sewing projects for adults and begin your sewing journey today!
Setting Your Sewing Machine Accurately
Pick a steady and sufficiently bright work area for your sewing machine. A level surface at an agreeable level forestalls vibrations and advances precise sewing.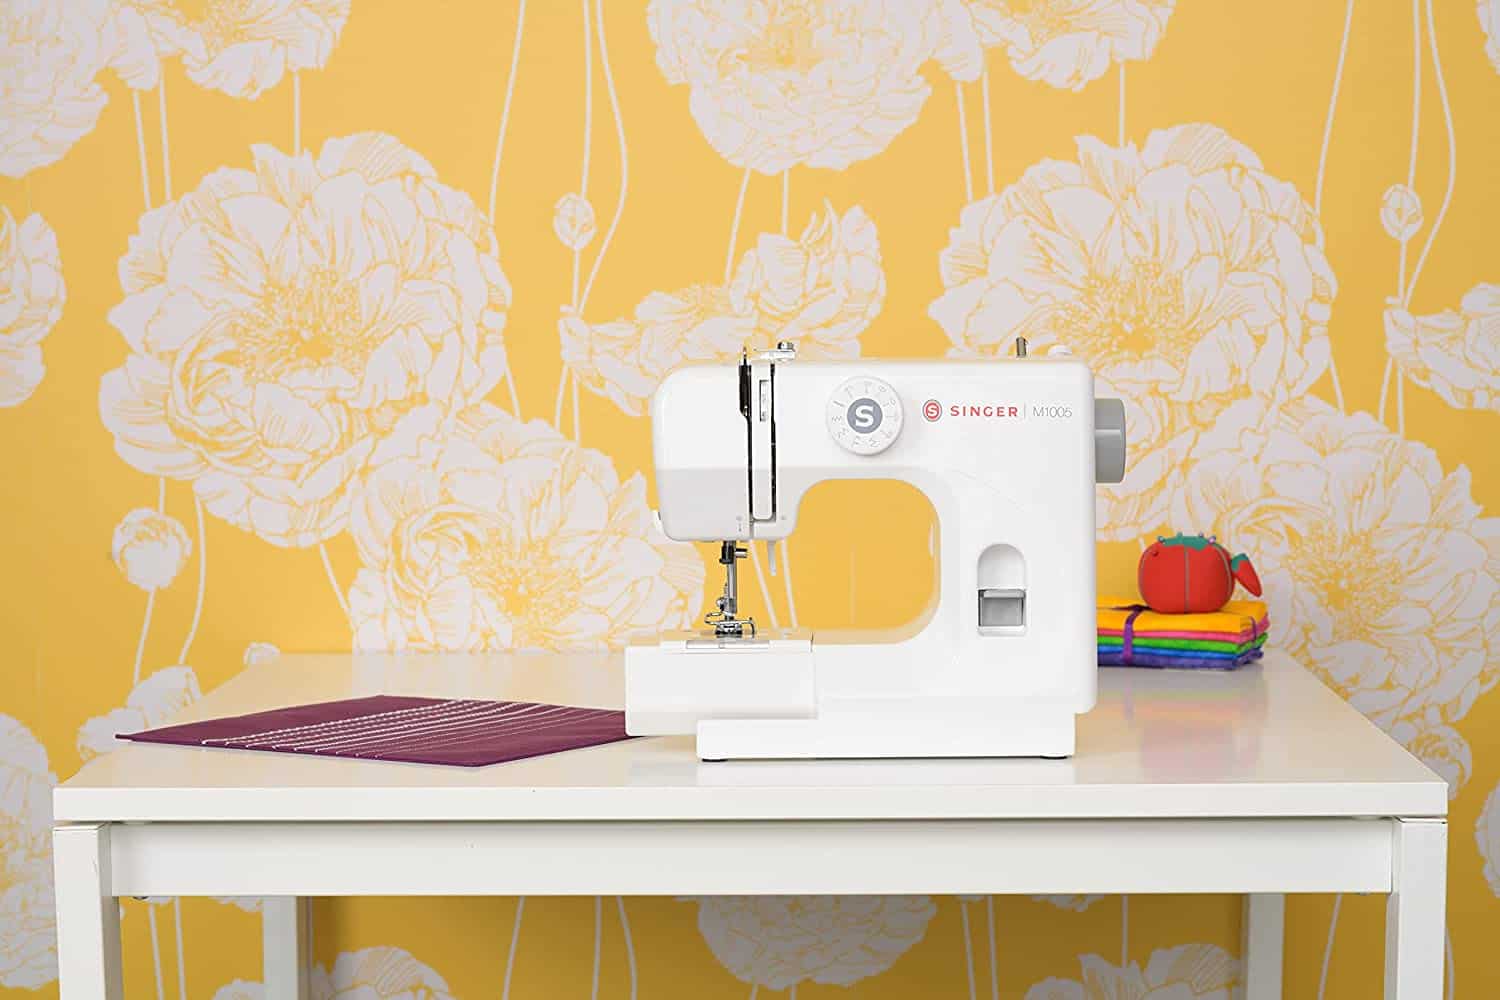
Ensure the device is situated with the goal that you have adequate space to move your texture.
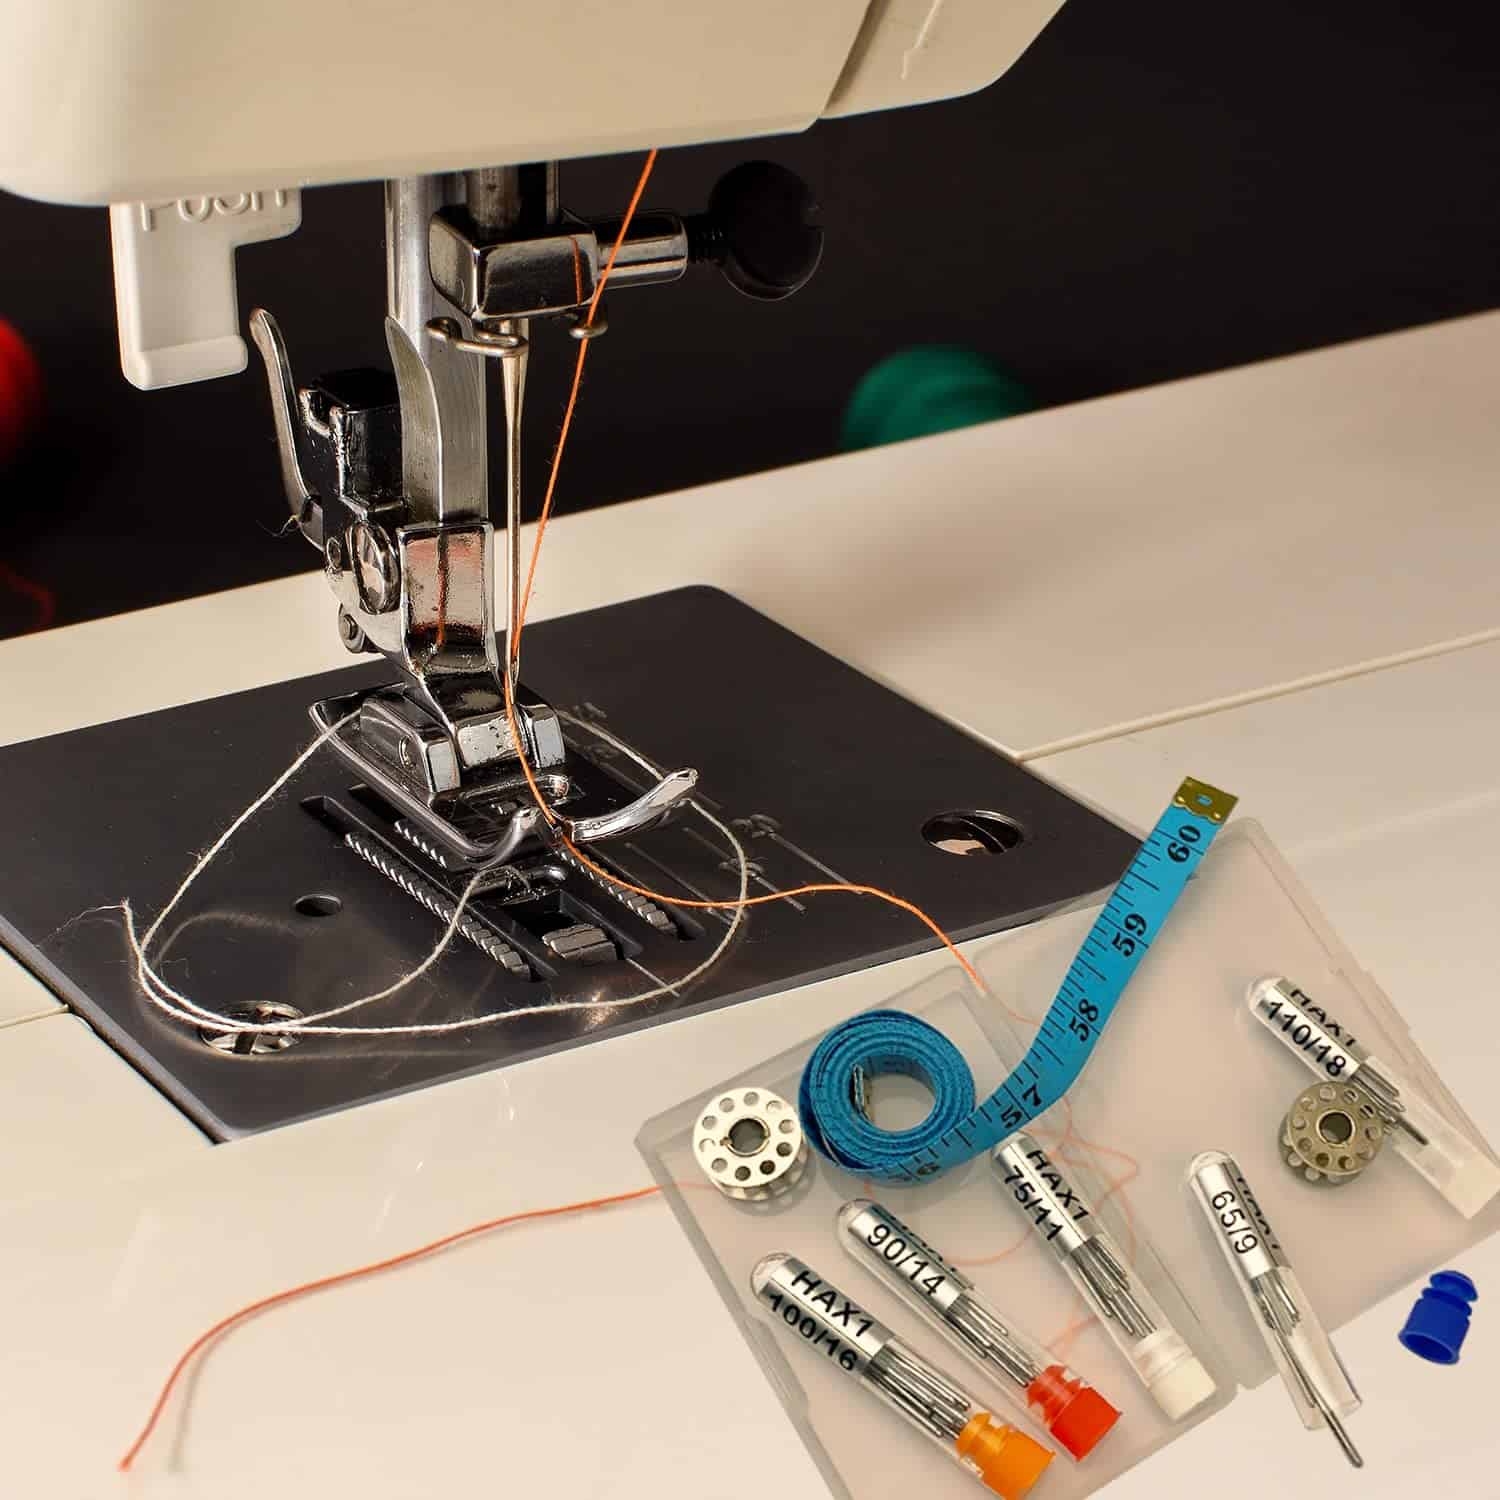
Introducing the Needle
Introducing the needle appropriately is pivotal for smooth sewing. Follow these means:
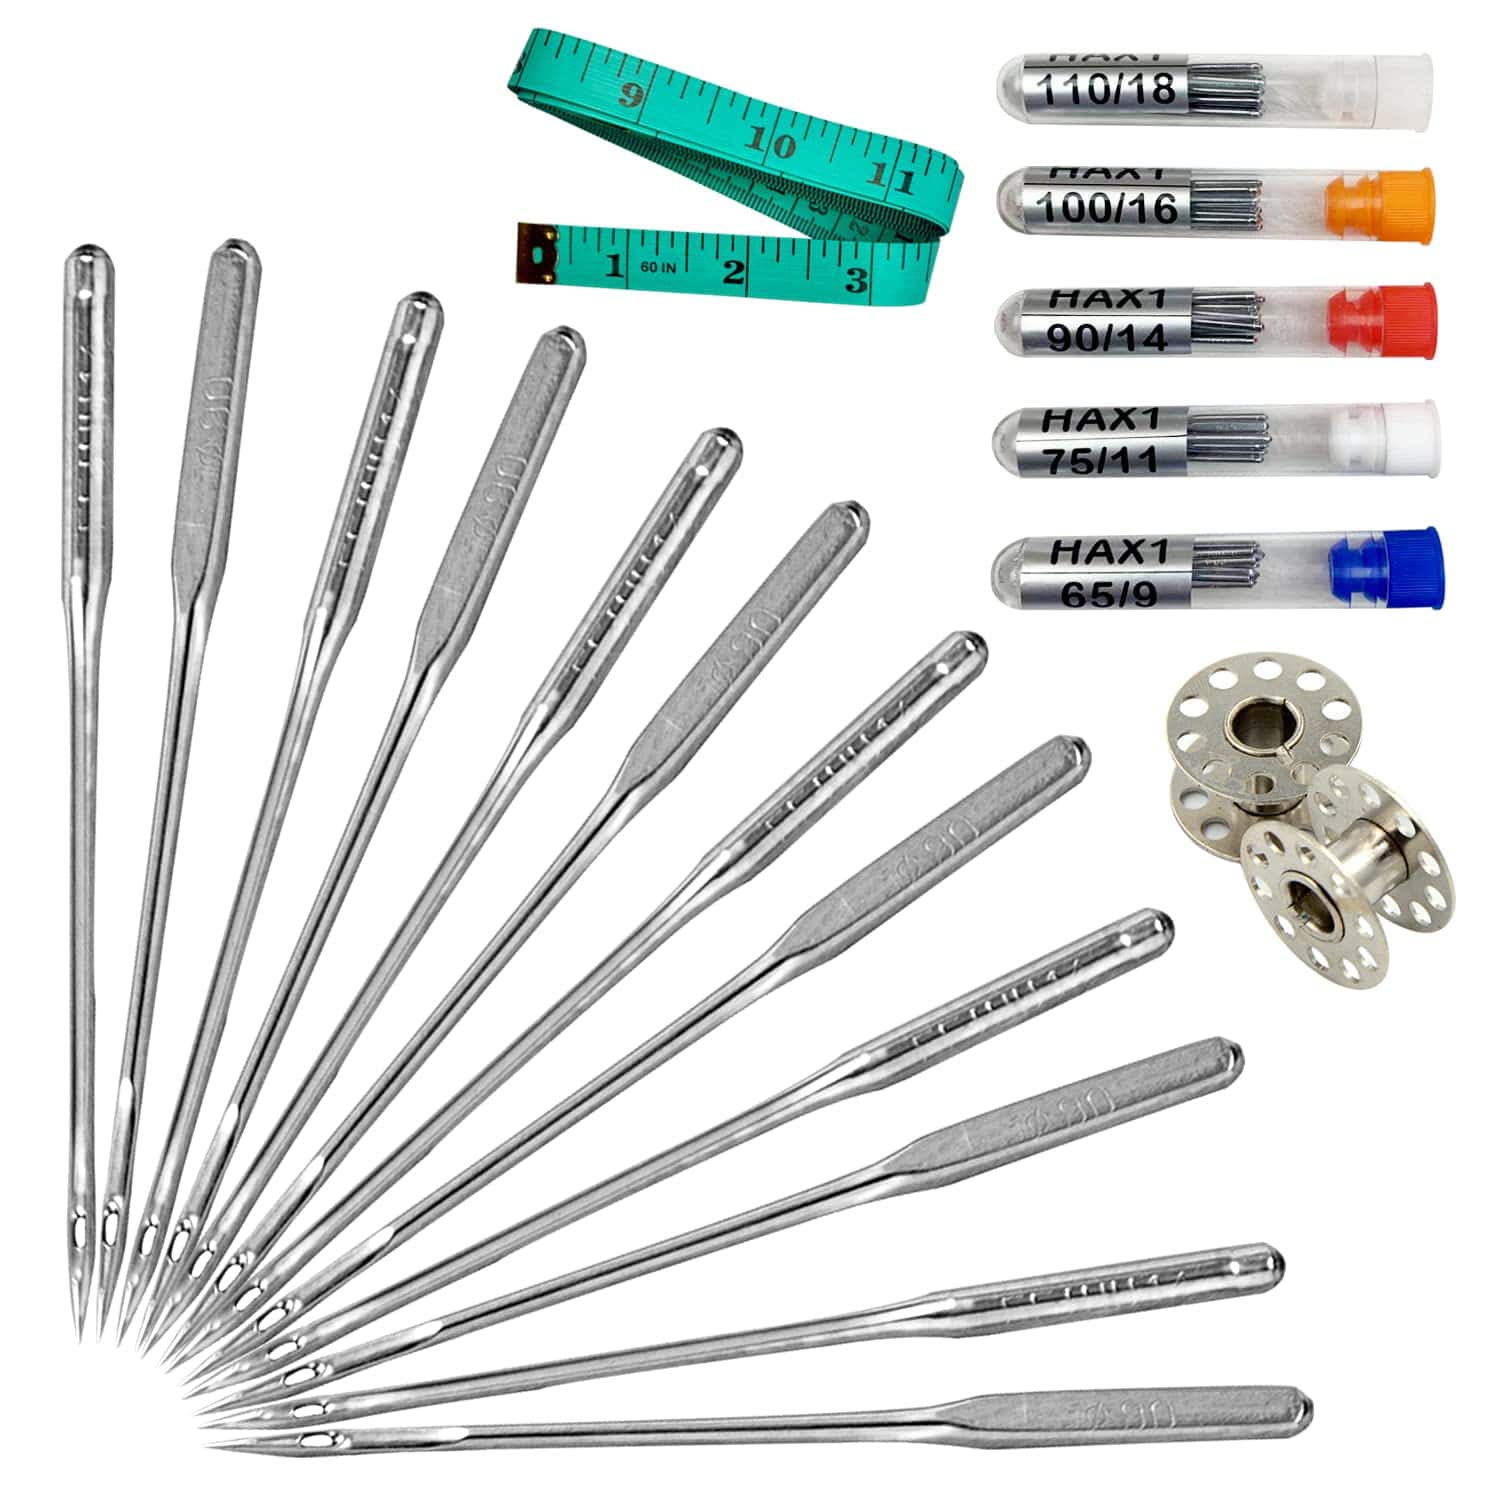
1. Needle Type: Pick a needle proper for your texture type. Various textures require different needle sizes and styles.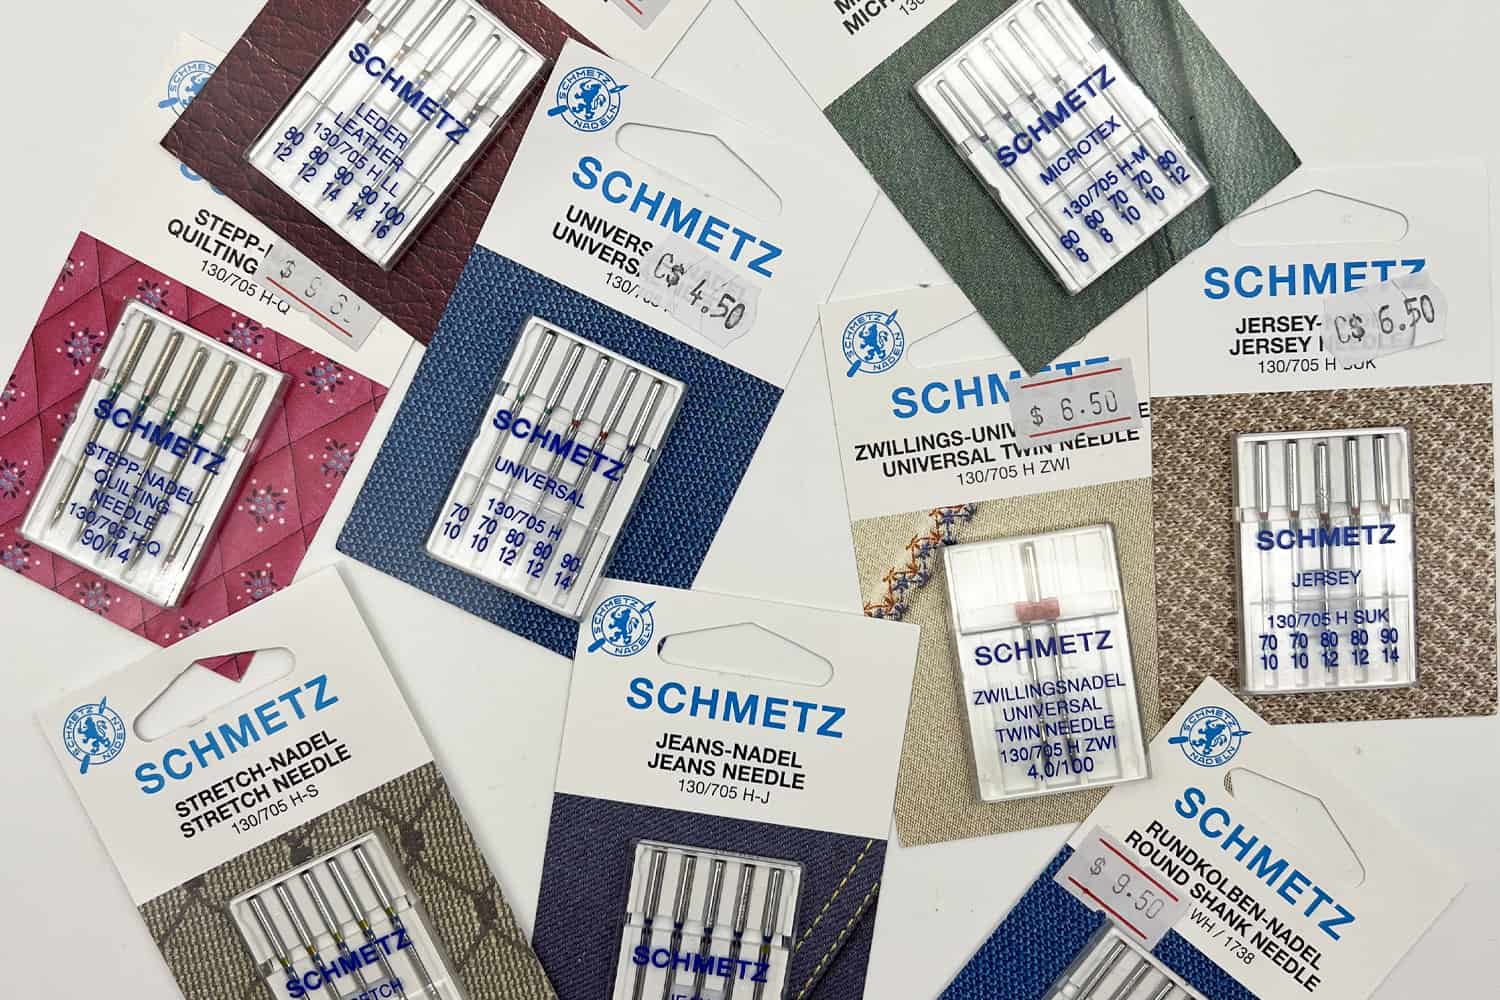
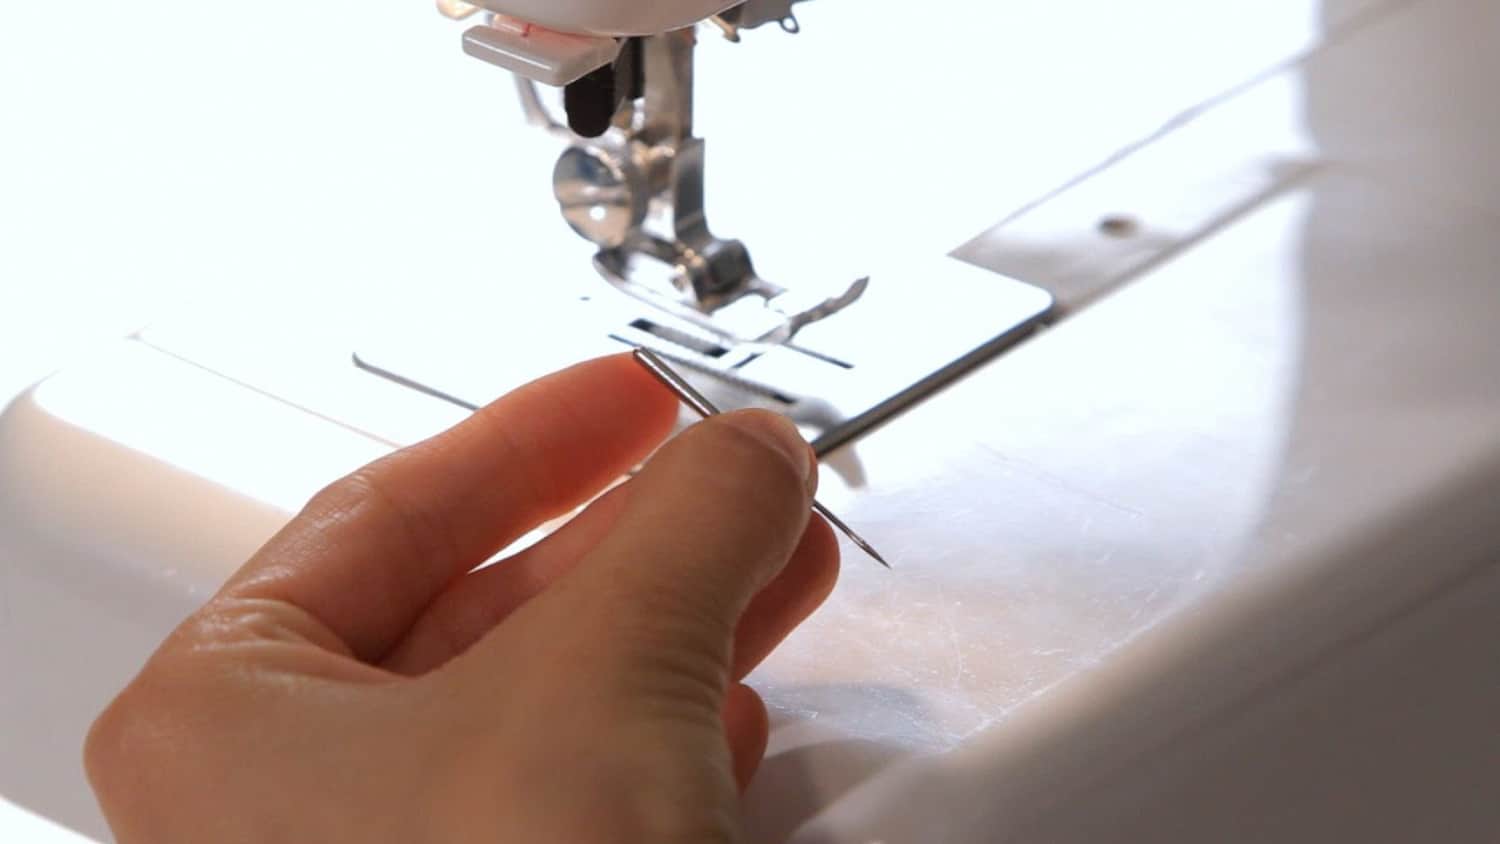
2. Insertion: Raise the presser foot and mood killer the machine. Relax the needle brace screw and supplement the needle with the level side confronting the back. Fix the cinch screw safely.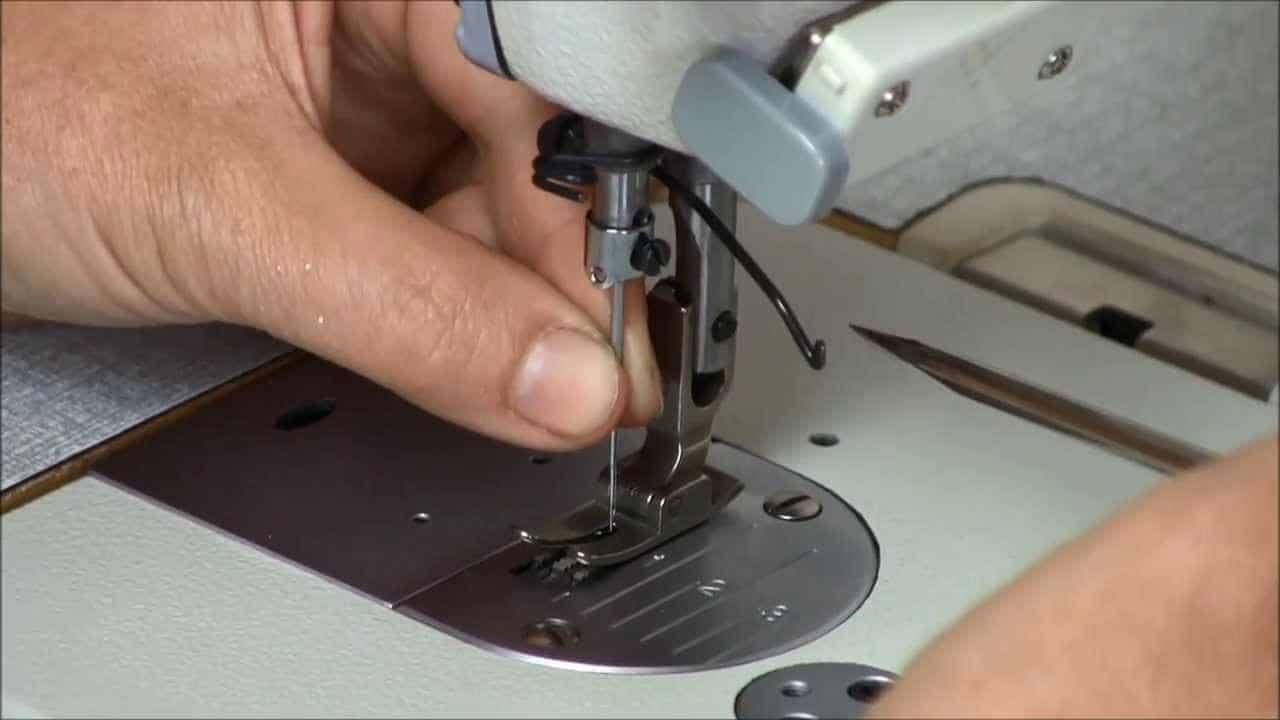
3. Needle Profundity: The needle should be embedded entirely and uniformly. An inappropriately embedded hand can prompt sewing issues.
Winding and Embedding the Bobbin
The bobbin holds the lower string and adds to the arrangement of fastens. Appropriate winding and inclusion are fundamental:
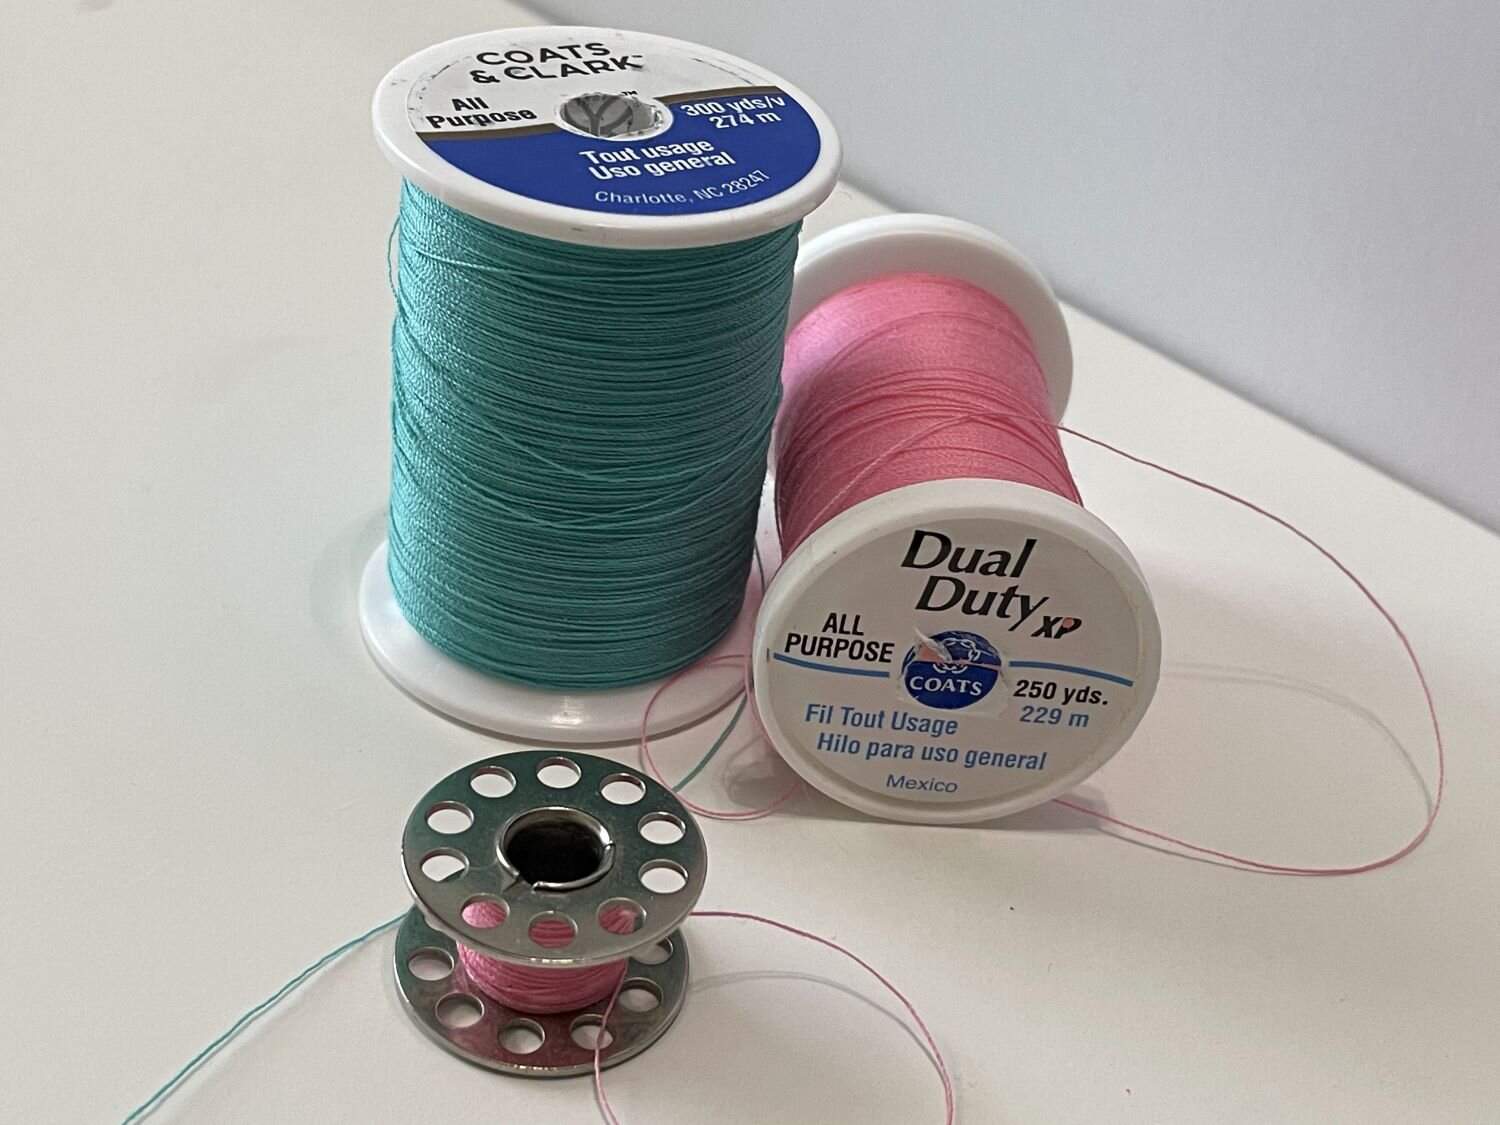
1. Winding the Bobbin: Put the string spool on the assigned axle and wind the string onto the bobbin. Adhere to the machine’s directions for suitable winding.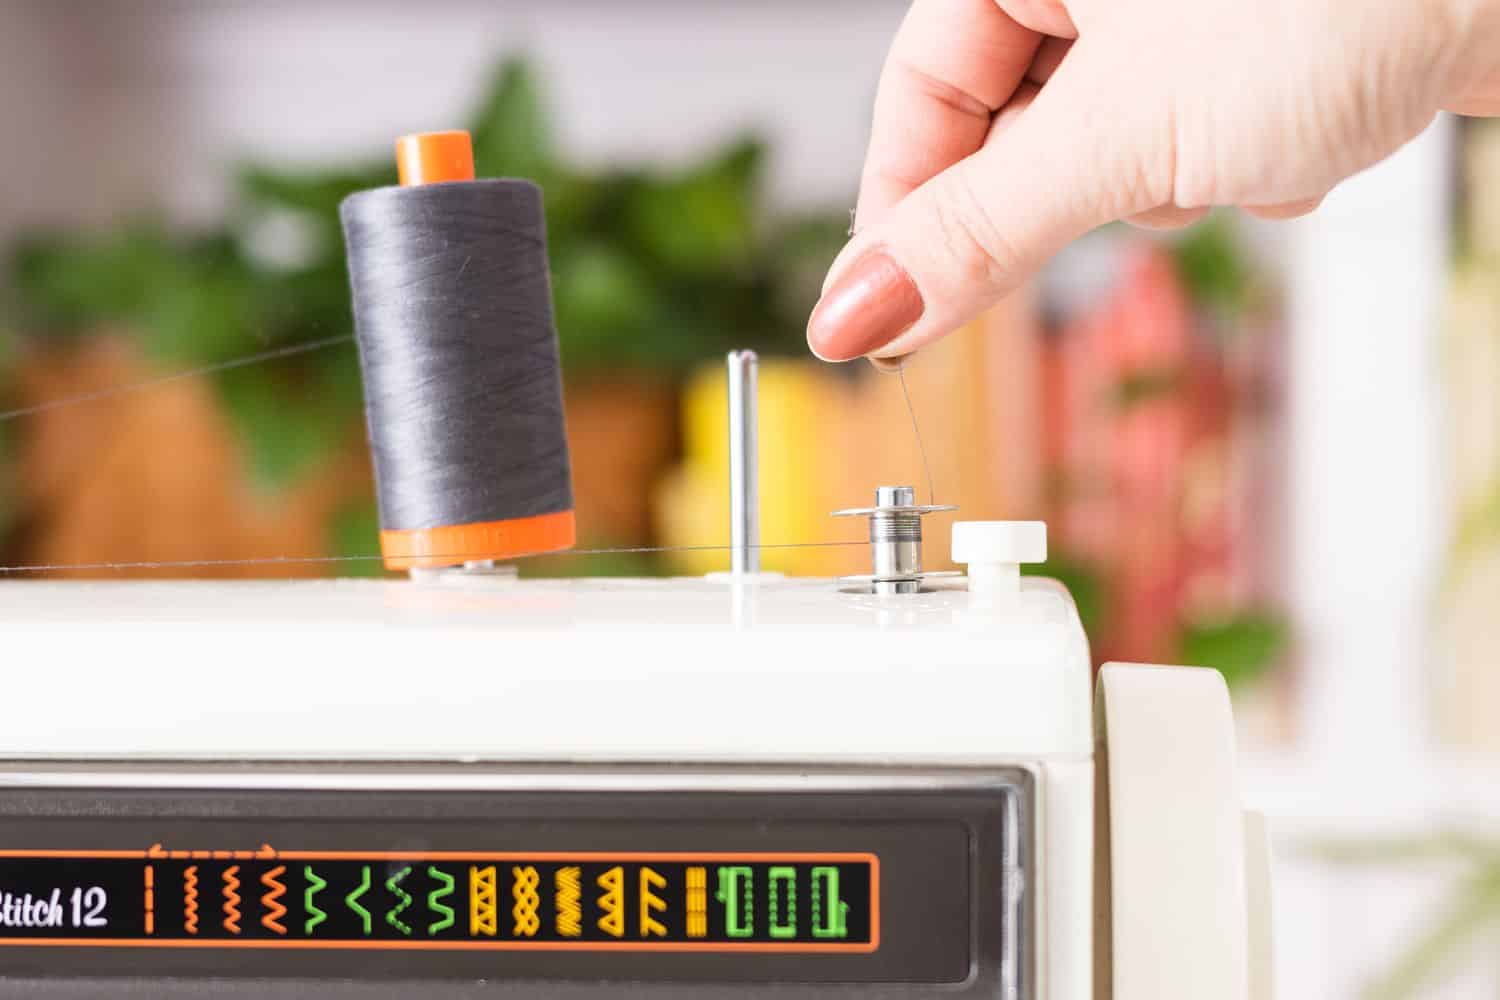
2. Embedding the Bobbin: Open the bobbin case and supplement the injury bobbin with the string taken care of in the proper heading. Observe your machine’s rules for exact inclusion.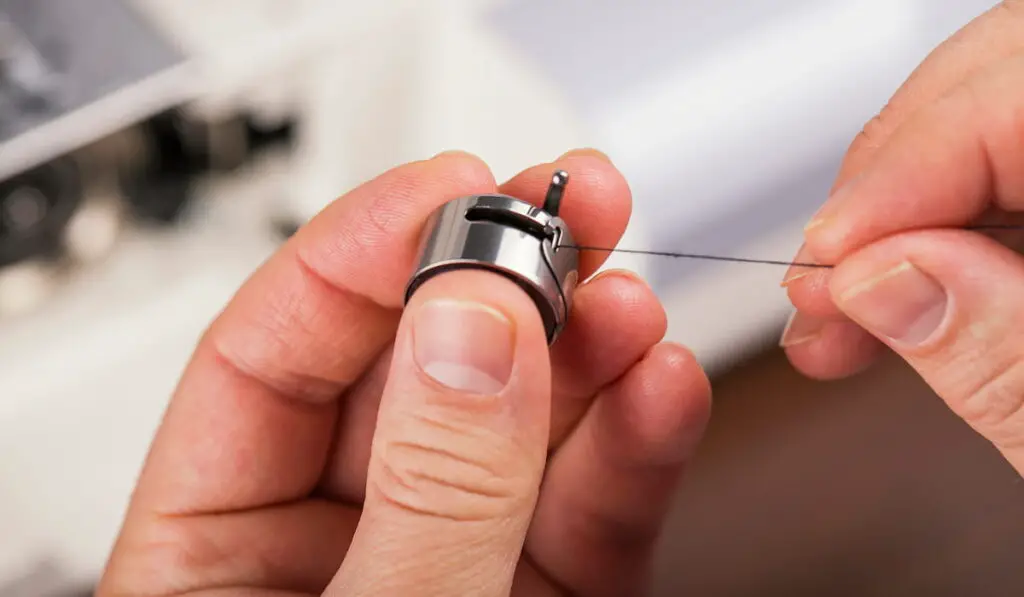
3. Stringing the Bobbin String: Place the bobbin string through the needle plate and look for the upper and bobbin cues under the presser foot and to the back of the machine.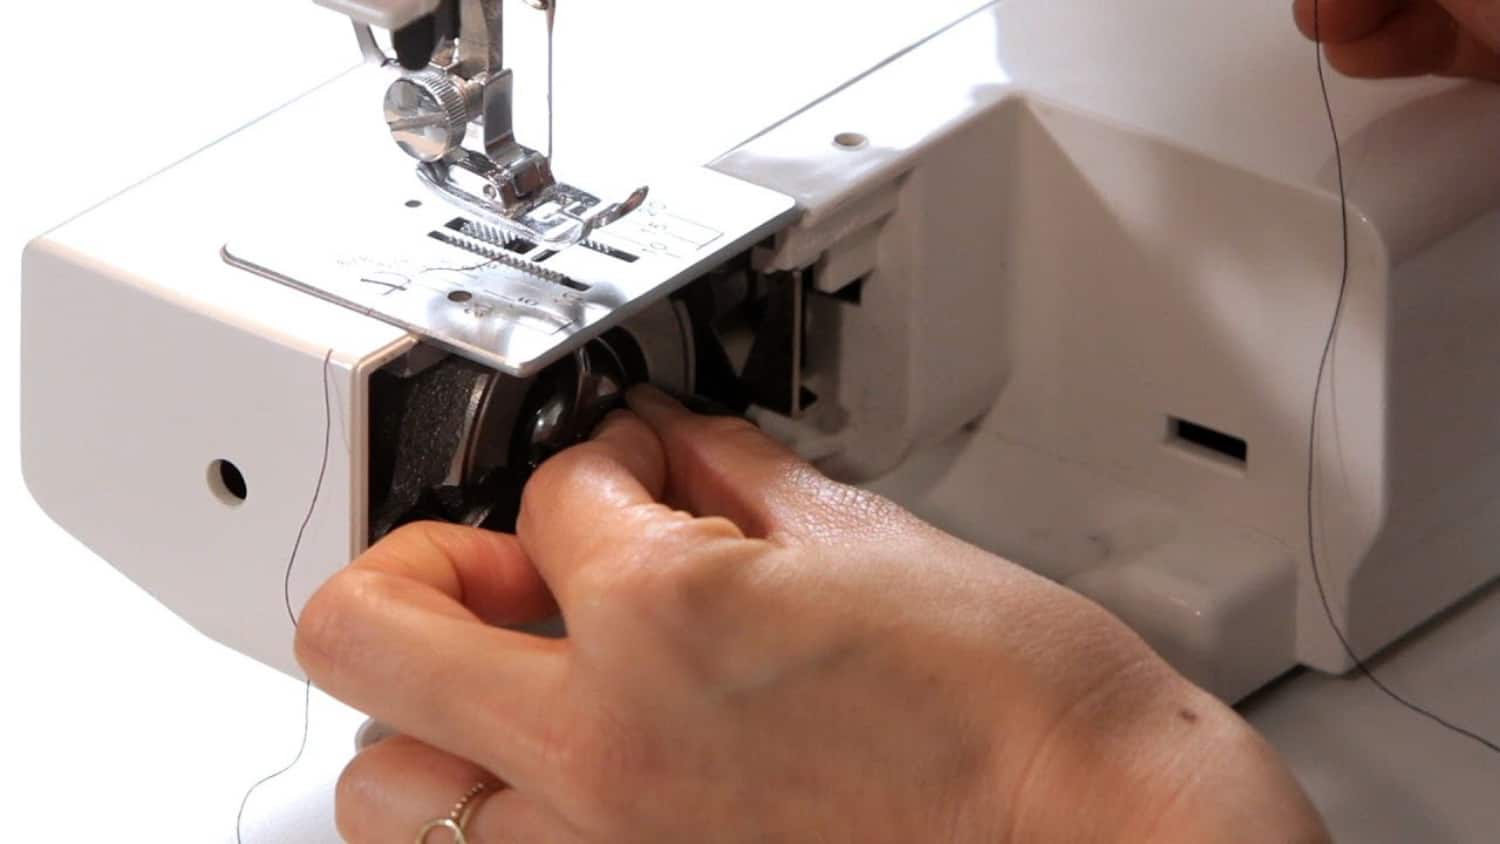
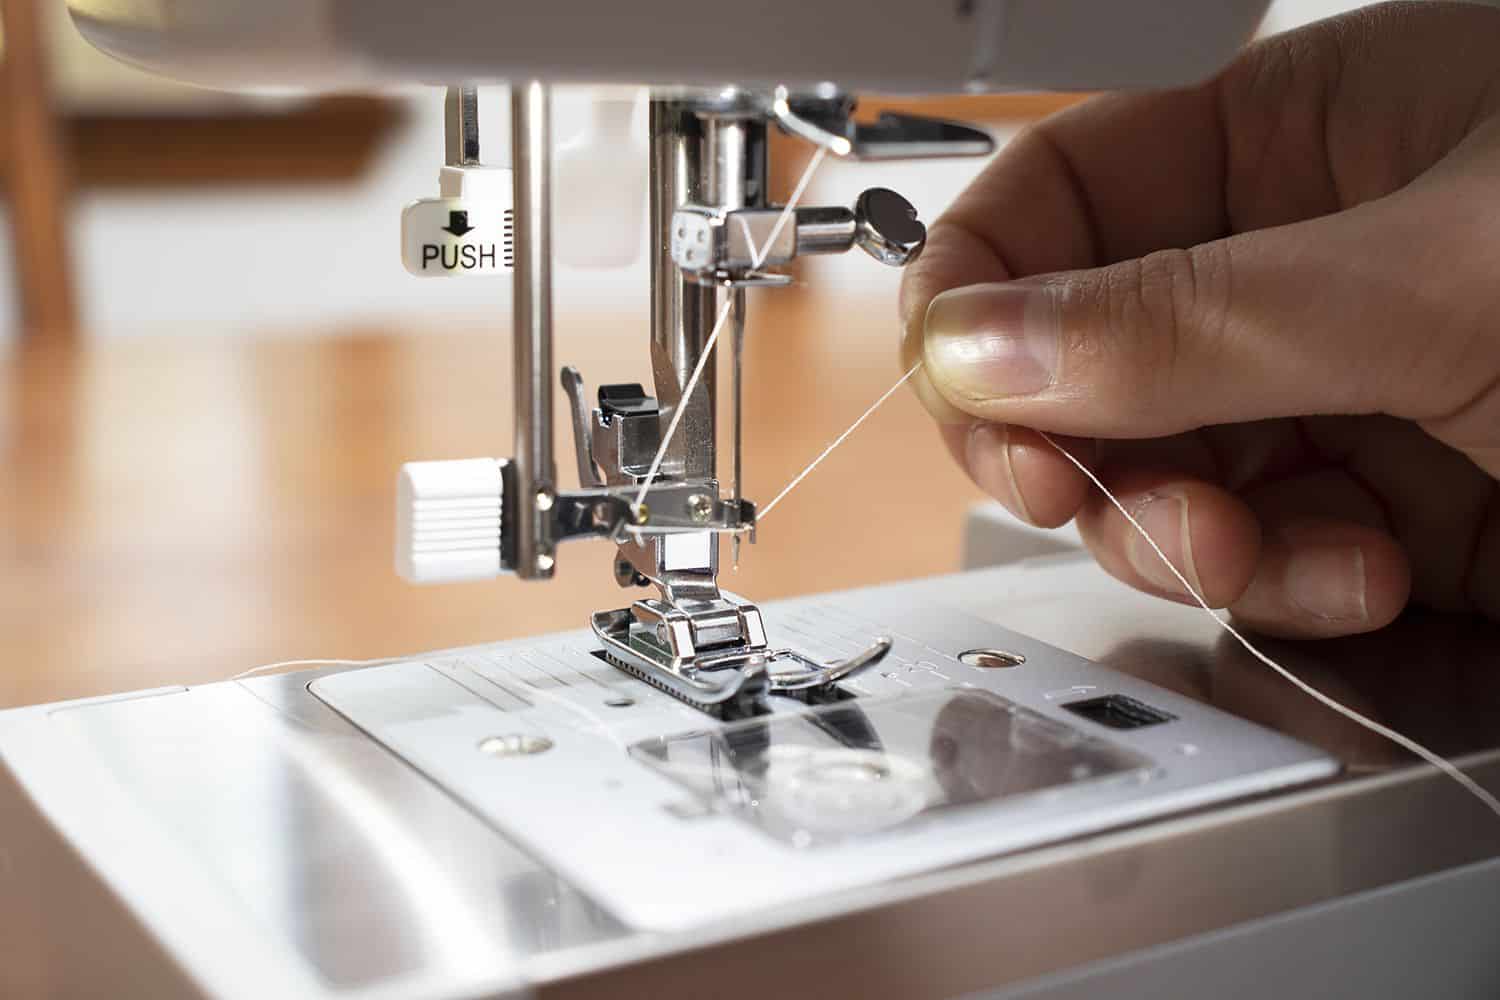
How to set up a sewing machine: Stringing Your Sewing Machine
Stringing a sewing machine should be visible as an overwhelming errand, yet with tolerance and practice, it turns out to be natural. Appropriate stringing is fundamental for smooth join and generally sewing achievement.
Bit by bit Manual for Stringing
Follow these moves toward string your sewing machine precisely:
1. Raise the Presser Foot: This delivers the strain circles, permitting the string to go through without a hitch.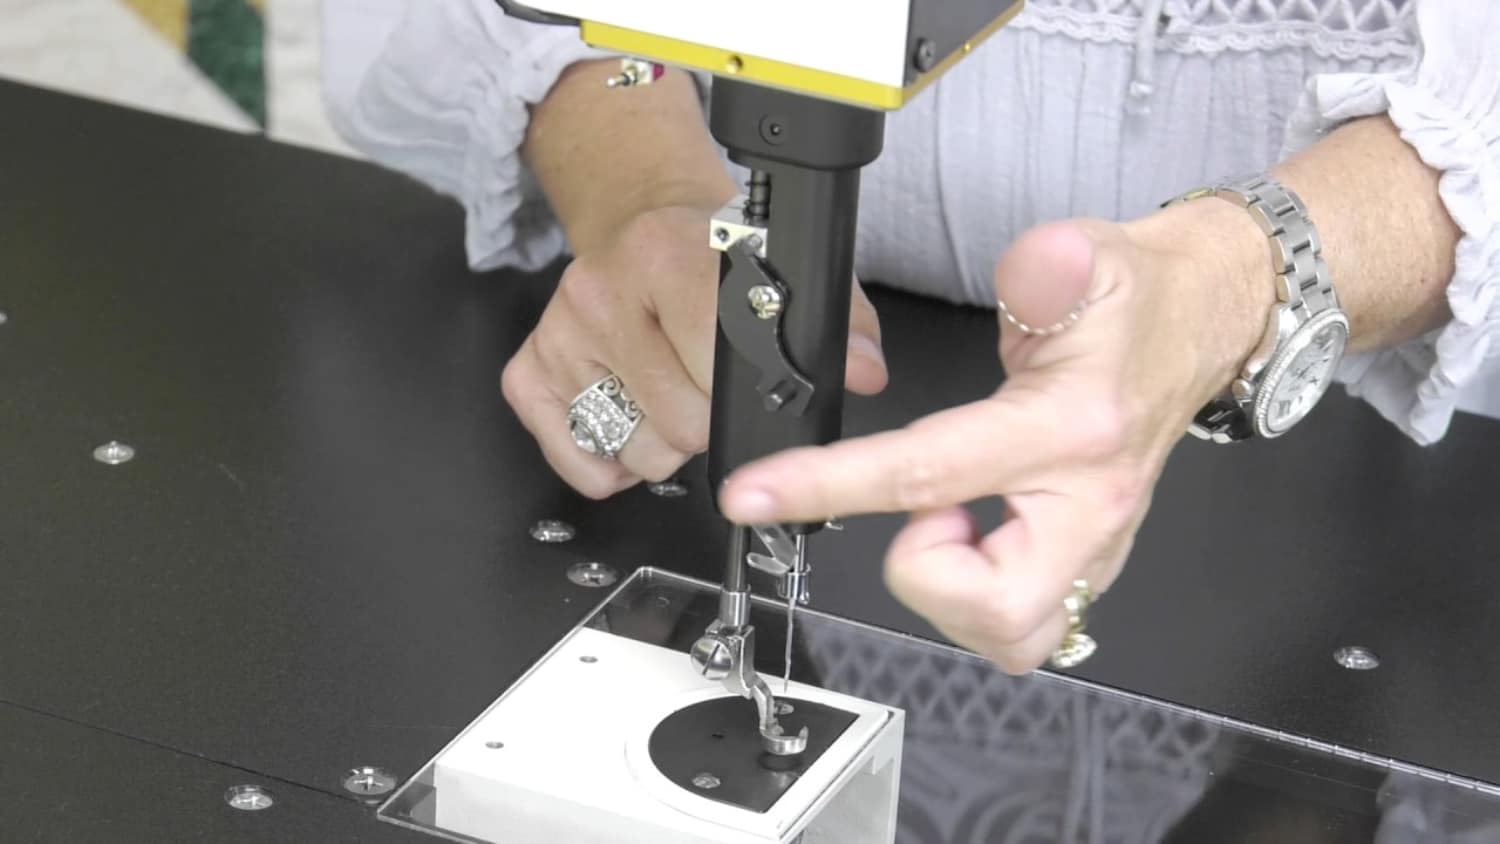
2. String Spool Arrangement: Put the string spool on the assigned axle and guide the string through any string guides on the machine.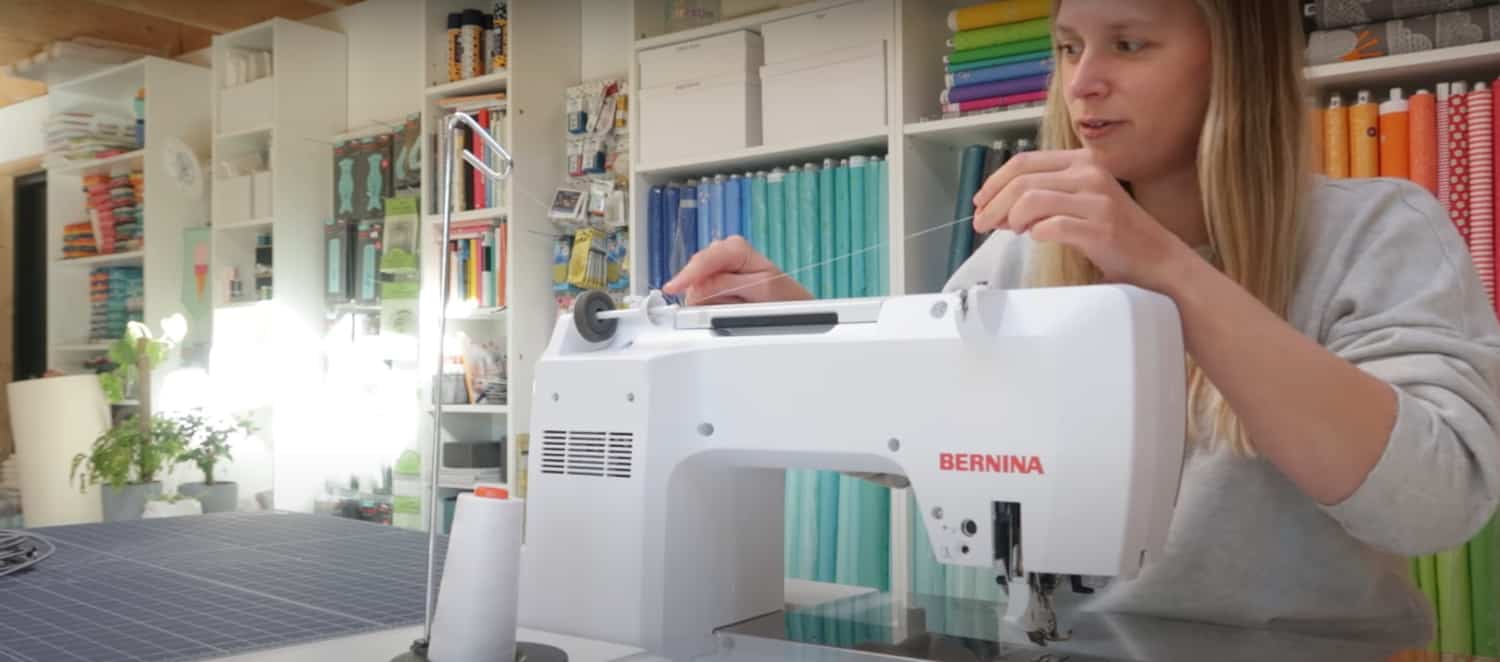
3. String Pressure Control: Go the string through the strain control, ensuring it settles between the pressure circles.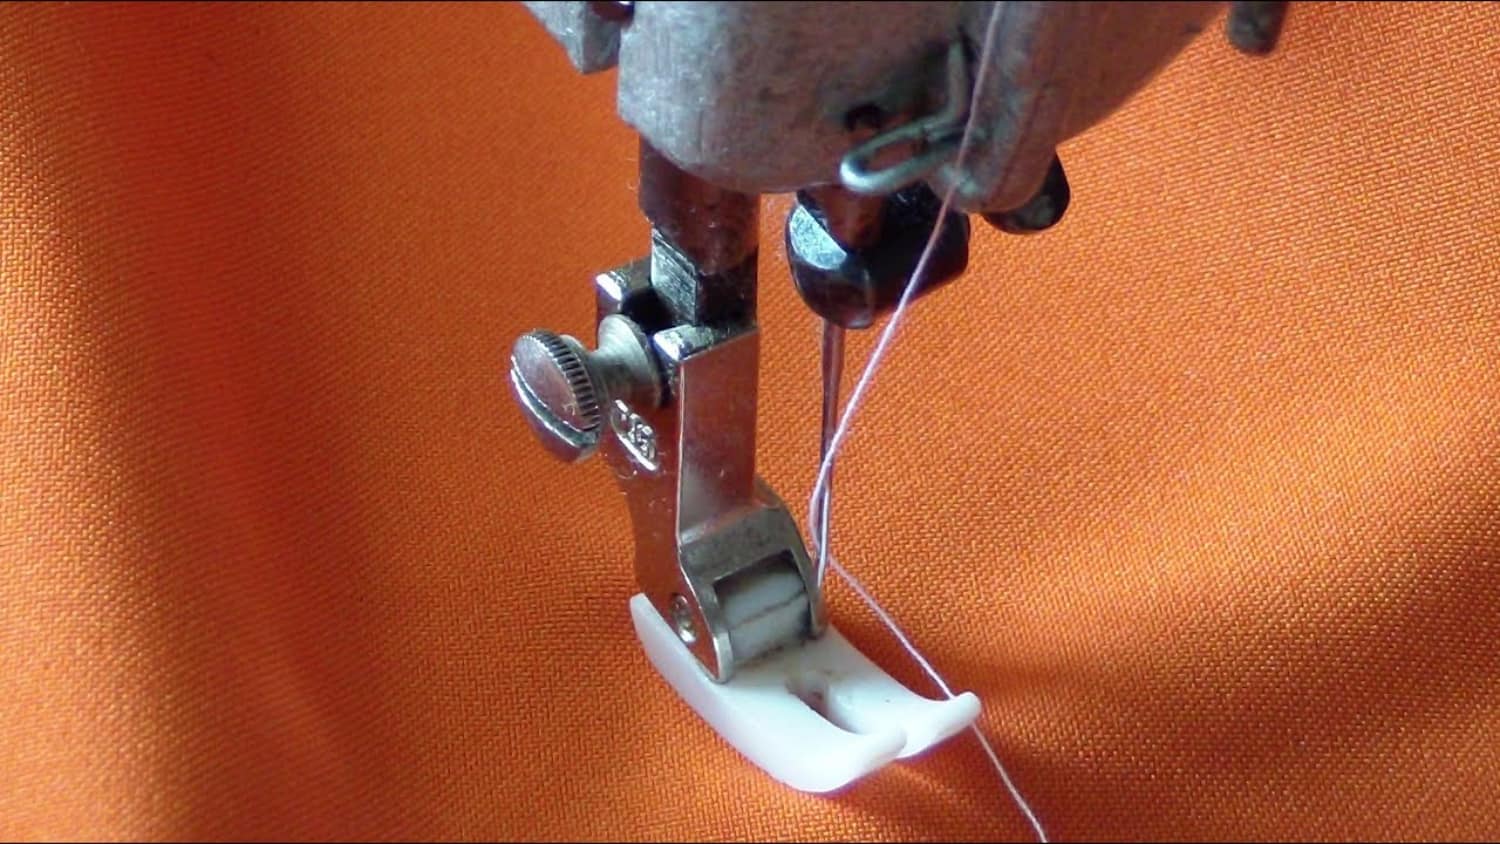
4. Take-Up Switch: String the take-up switch (a little snare or arm) by passing the string from right to left.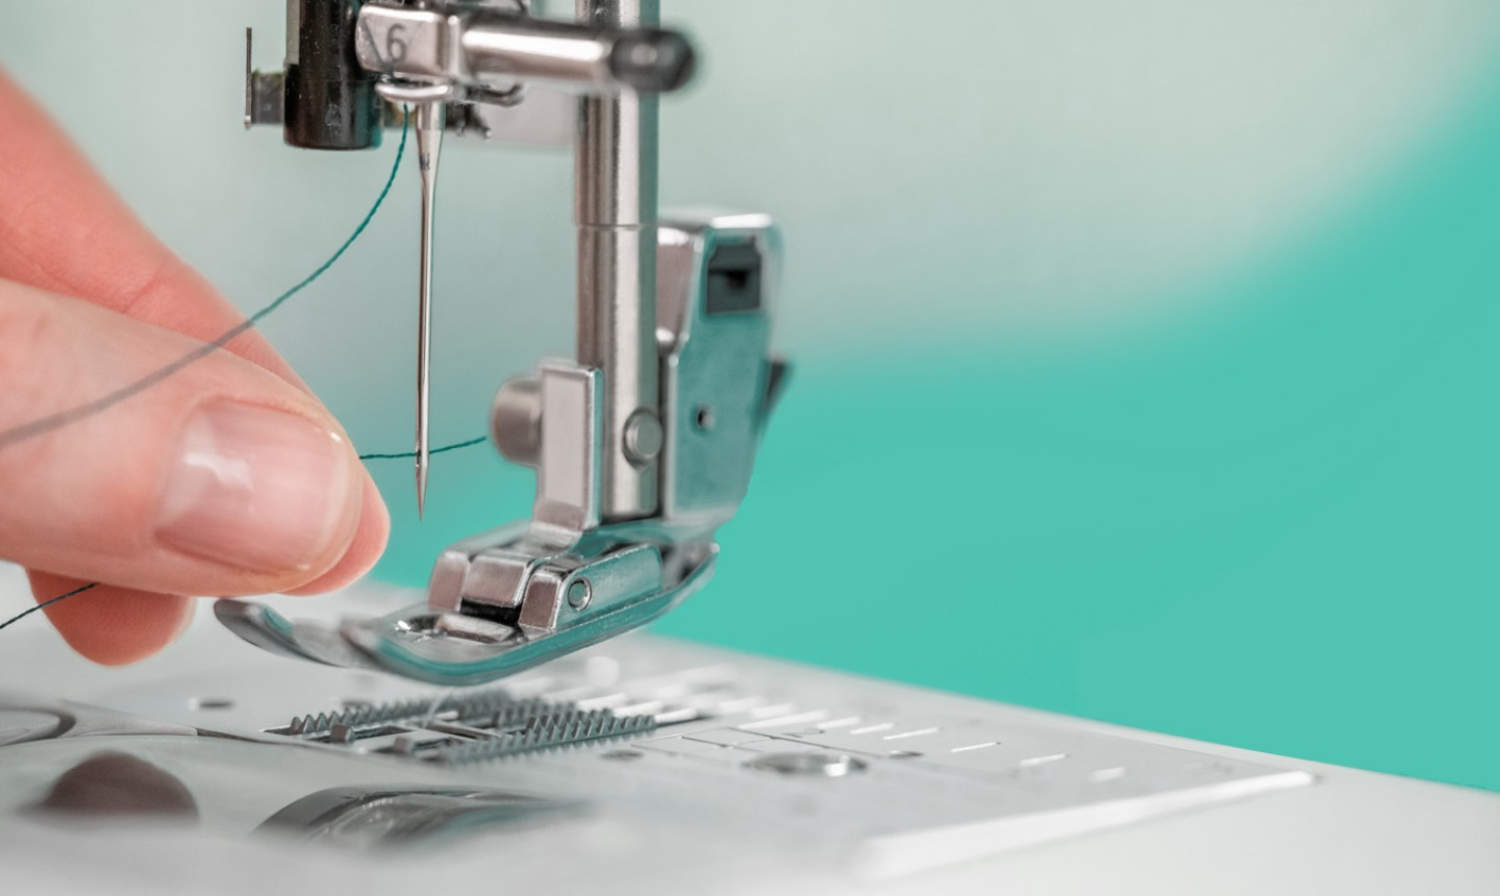
5. String Guides: Follow the way demonstrated by your machine’s stringing graph, going the string through different string guides.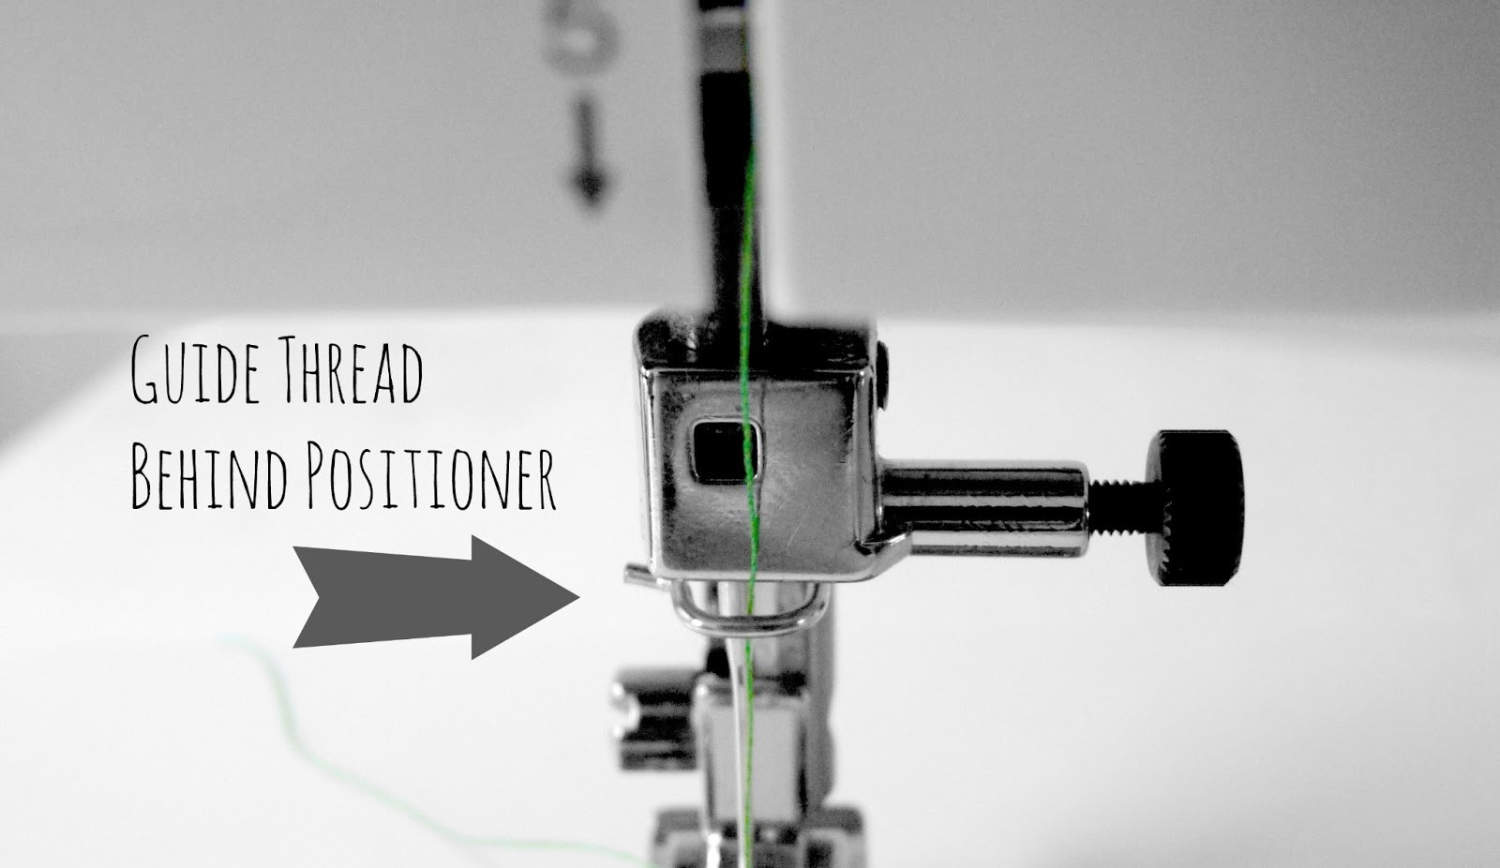
6. Needle Threader (if accessible): A few machines accompany programmed needle threaders. Adhere to the machine’s guidelines to utilize this element.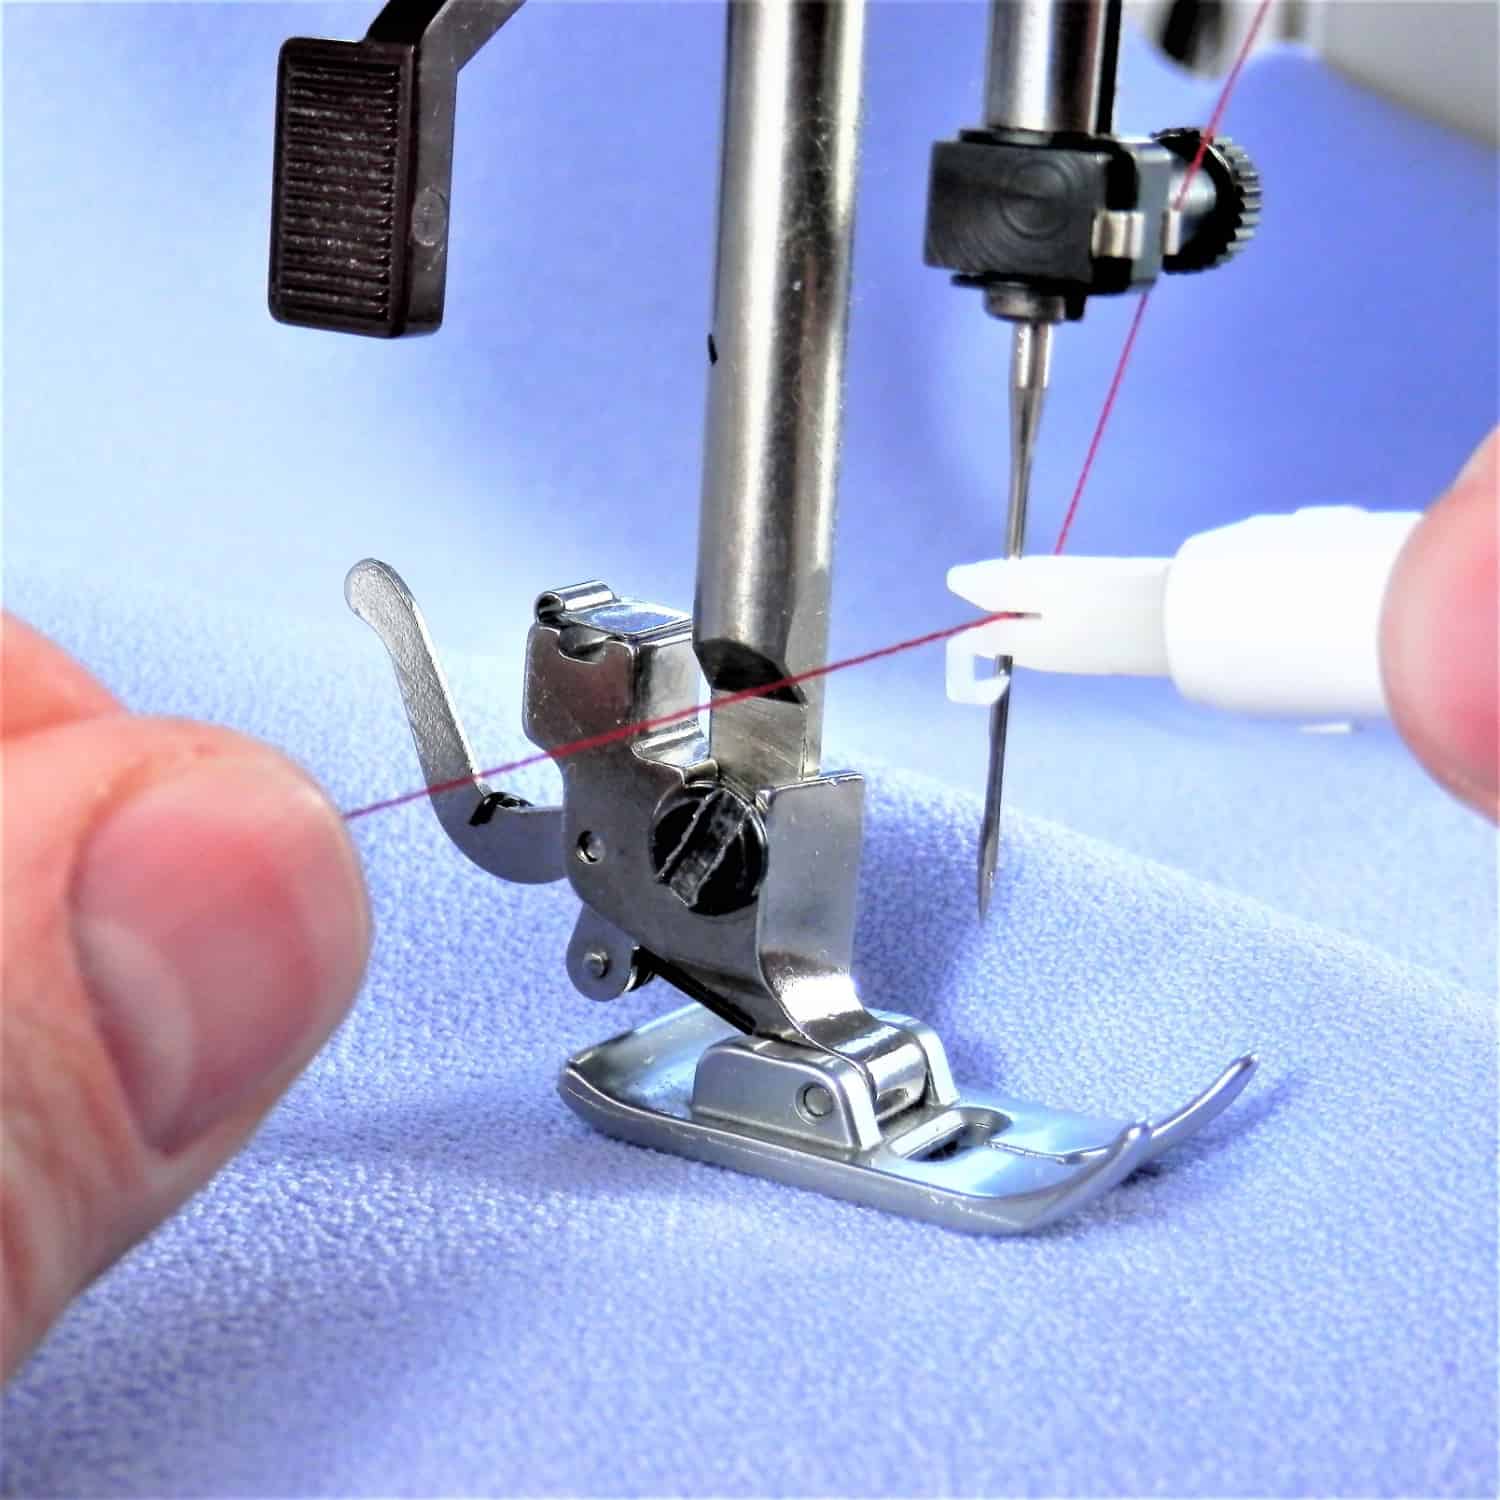
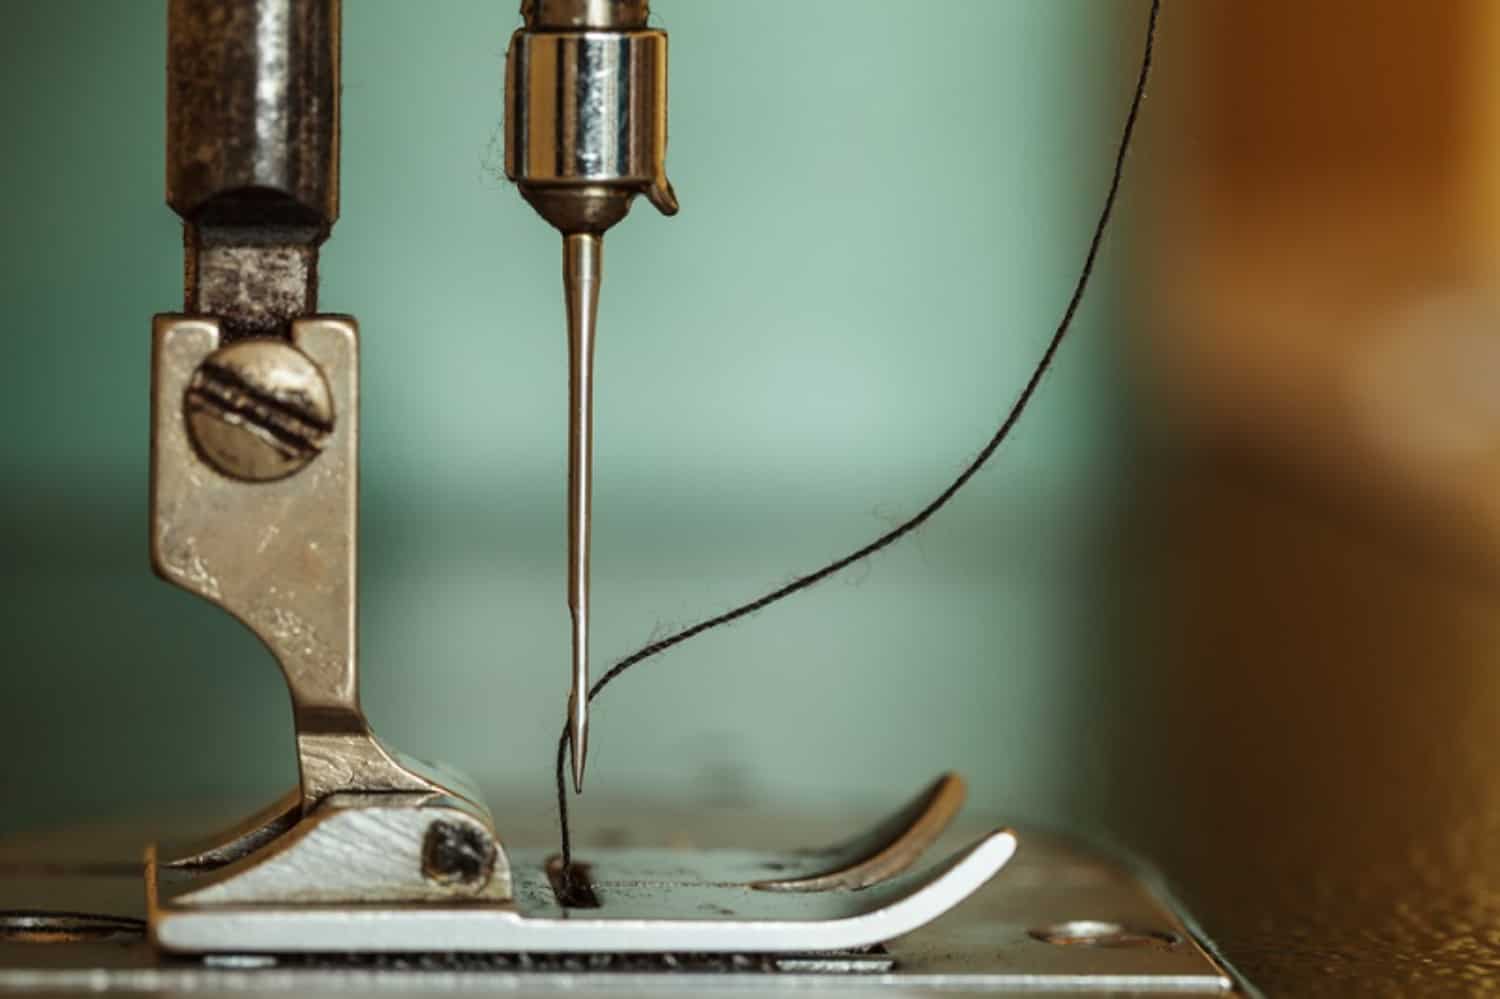
7. Needle String: String the needle from front to back, leaving a couple of creeps of string hanging.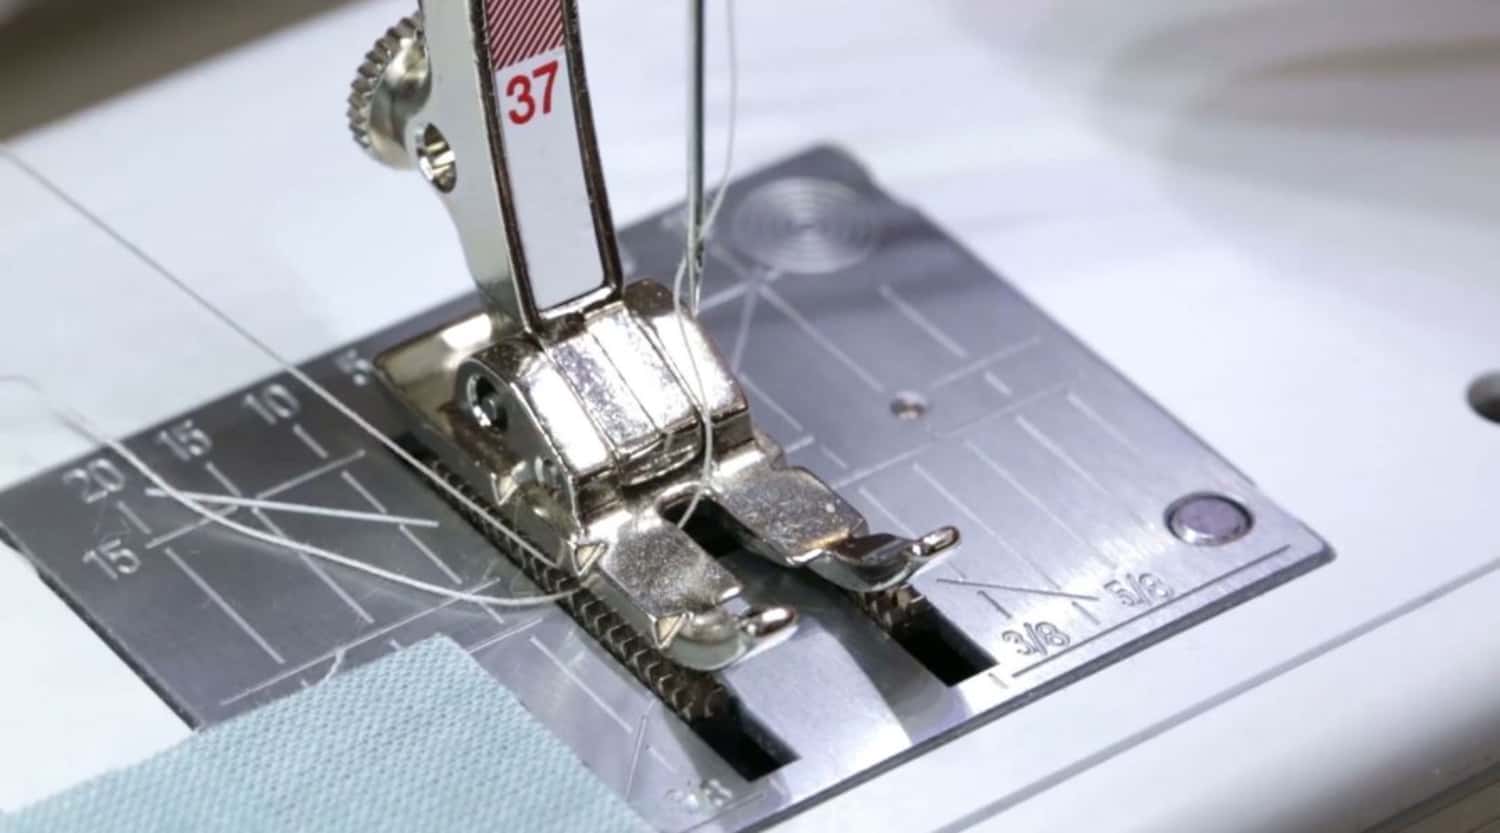
8. Getting the Strings: Hold the two strings and take a couple of join-on piece textures to get the strings. Trim any abundance.
Setting Up the Fasten
When your sewing machine is strung and all set, now is the right time to set the fastening boundaries for your venture. Picking the right fastening type and changing the join length and width are vital to accomplishing your ideal sewing results.
Picking the Right Line Type
Sewing machines offer various fasten types, from essential straight join to enriching plans. Think about the idea of your venture:
1. Straight Join: Ideal for most sewing errands, a straight fasten gives clean lines and secure creases.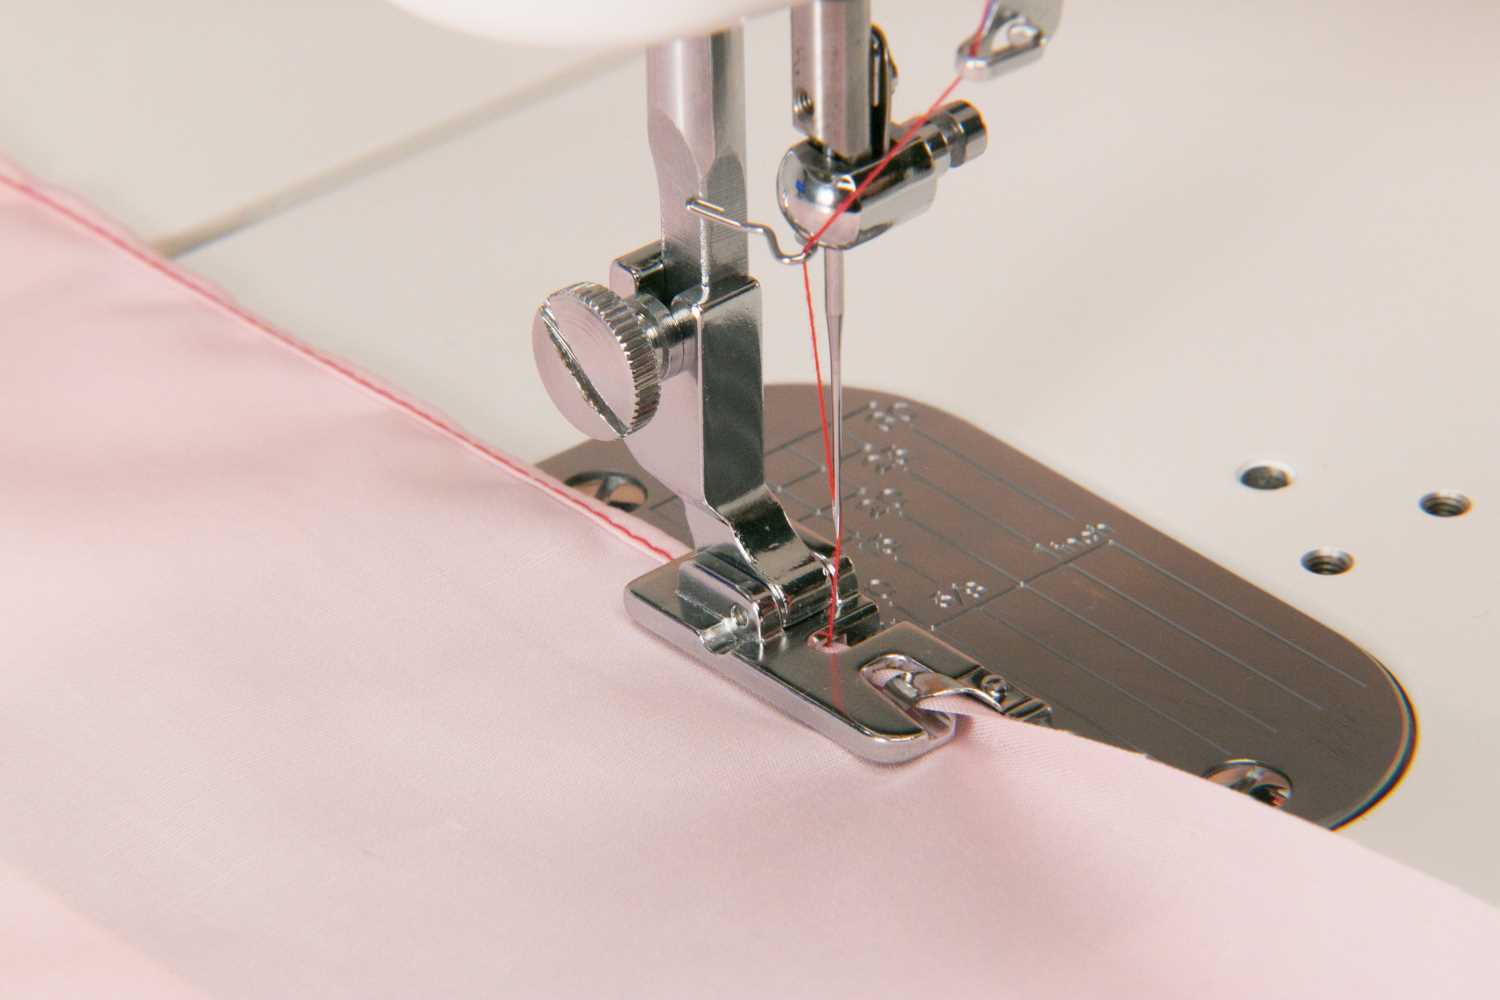
2. Crisscross Line: Helpful for completing edges, forestalling fraying, and sewing stretch textures.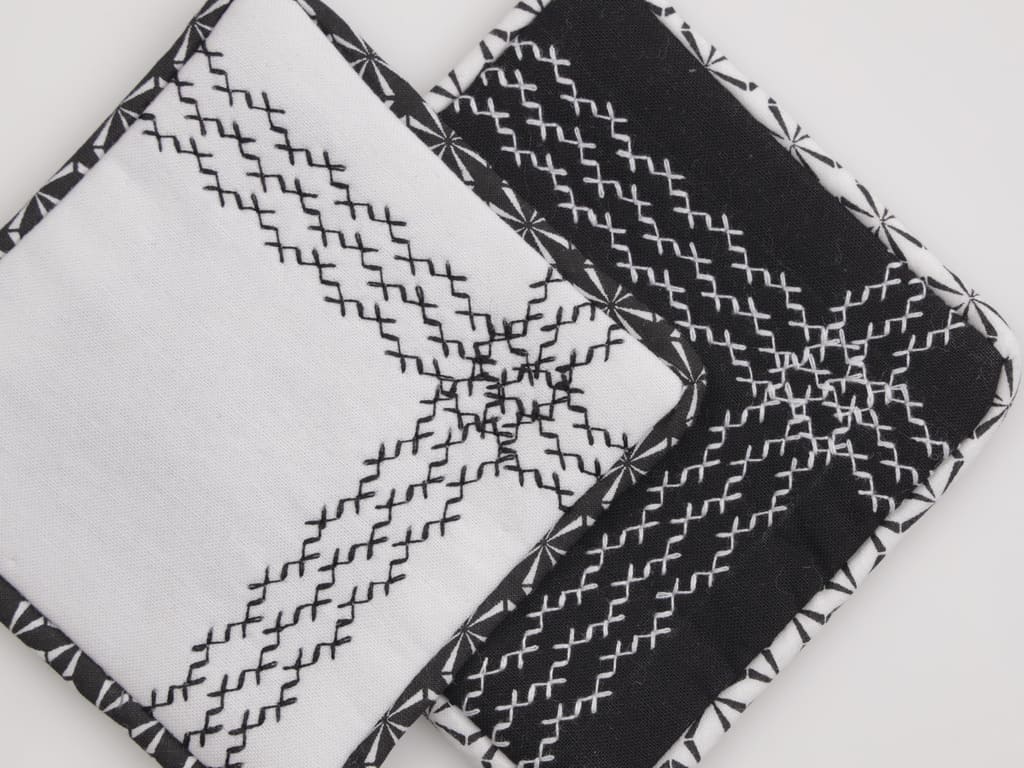
3. Buttonhole Fasten: Explicitly intended for making buttonholes, this fastens guarantees perfect and challenging button situations.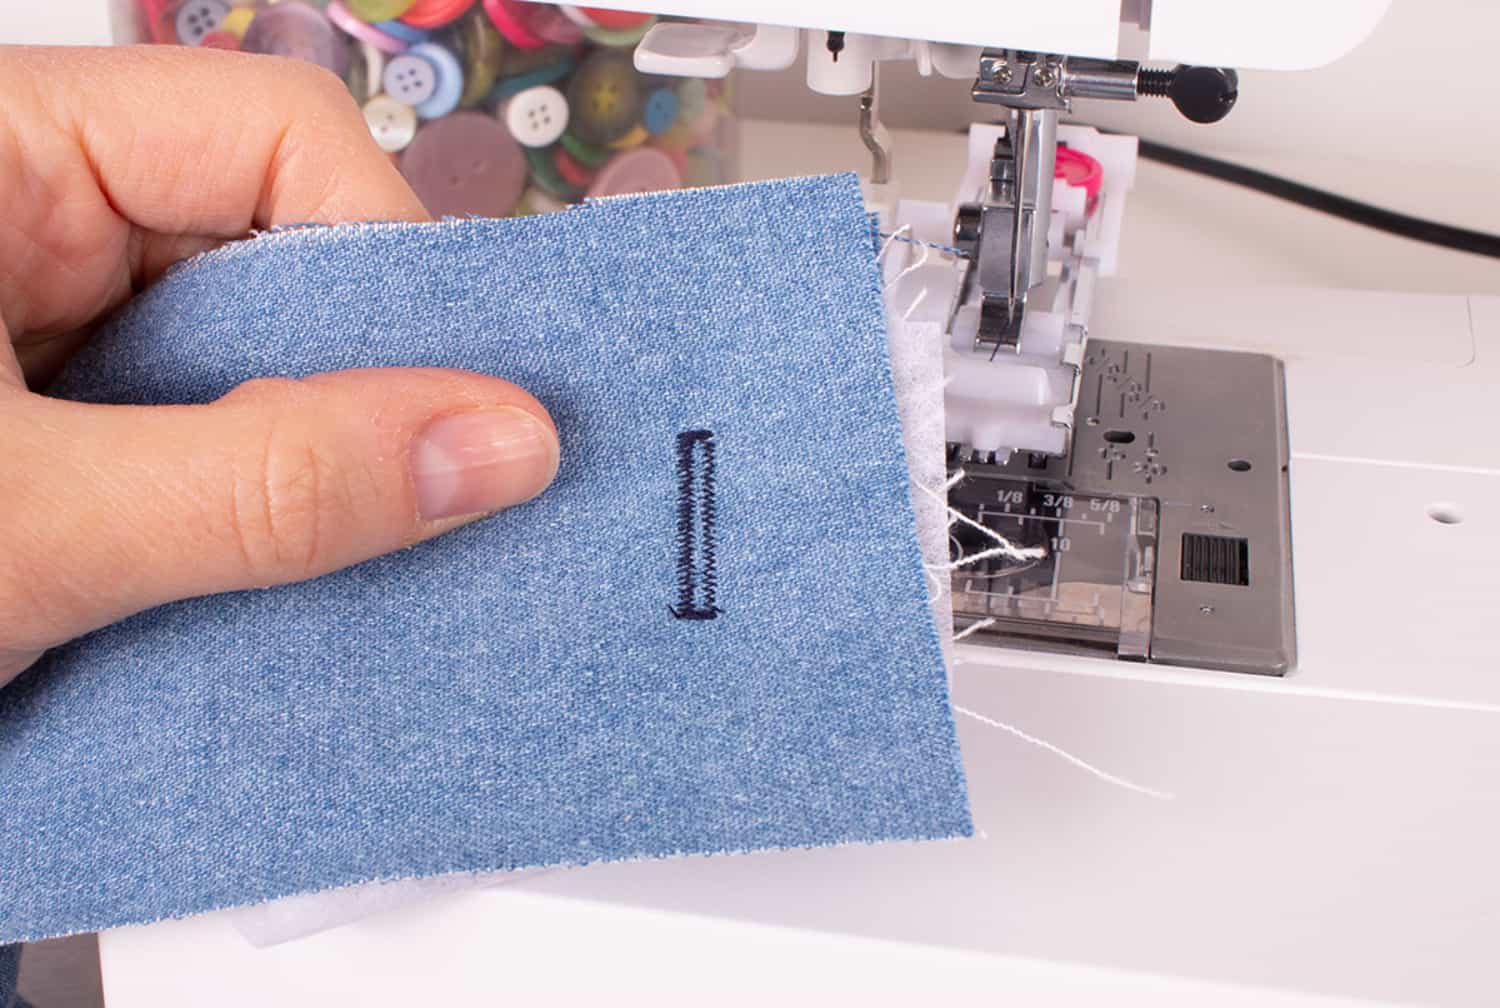
4. Embellishing Join: Investigate your machine’s enlivening lines for embellishments and unique plans.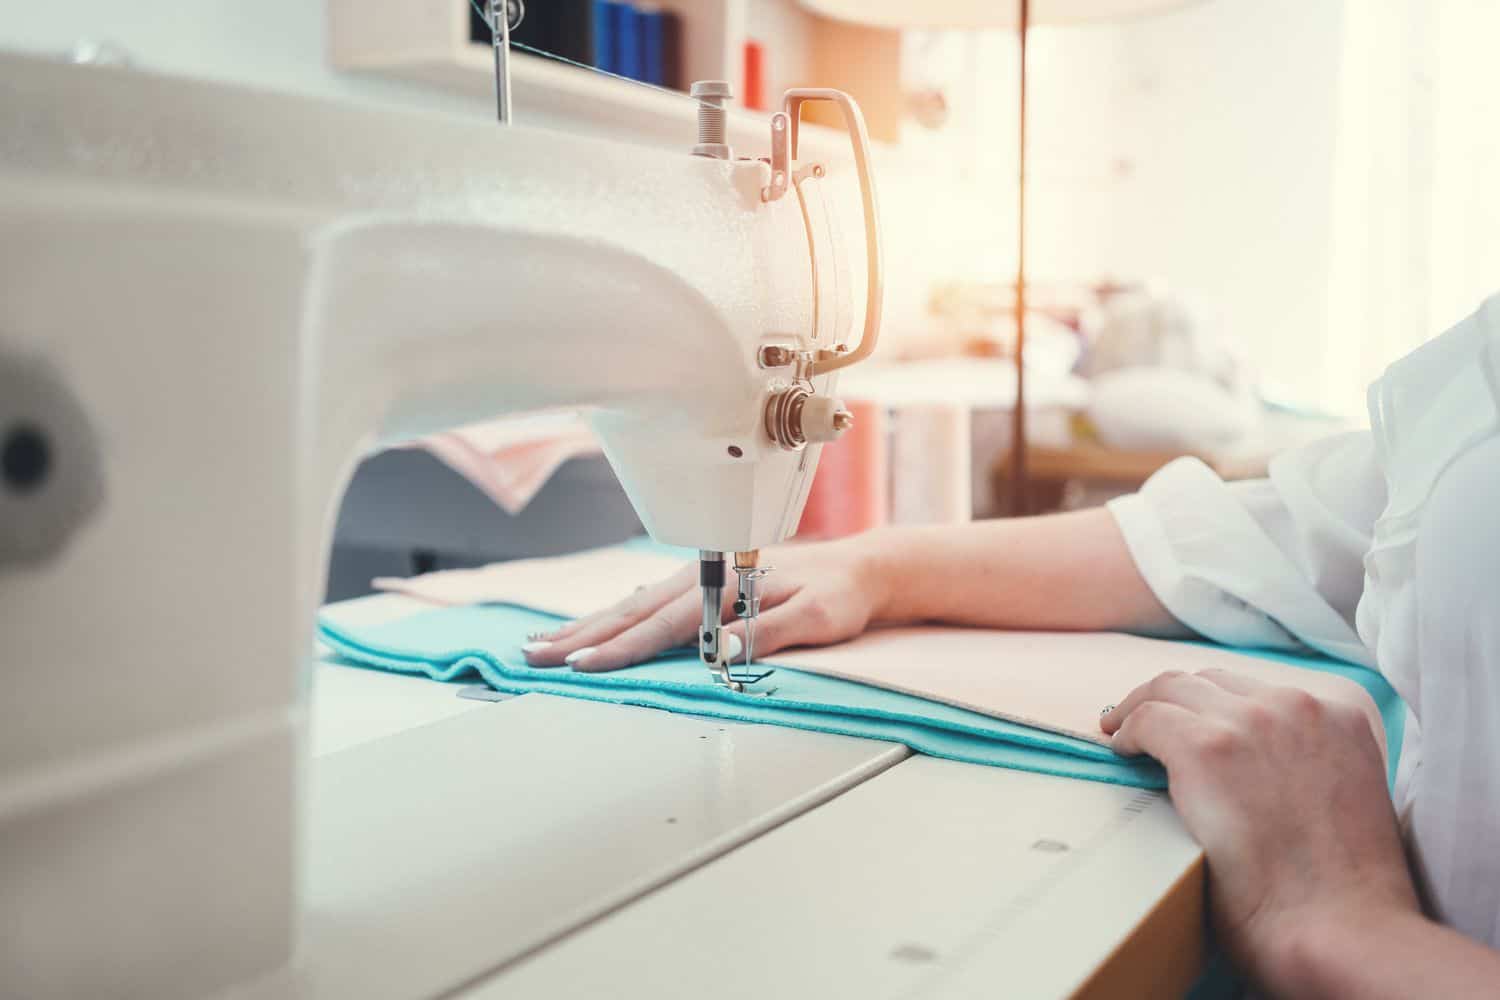
5. Stretch Join: Working with sews or stretch textures, settle on a join that obliges texture development.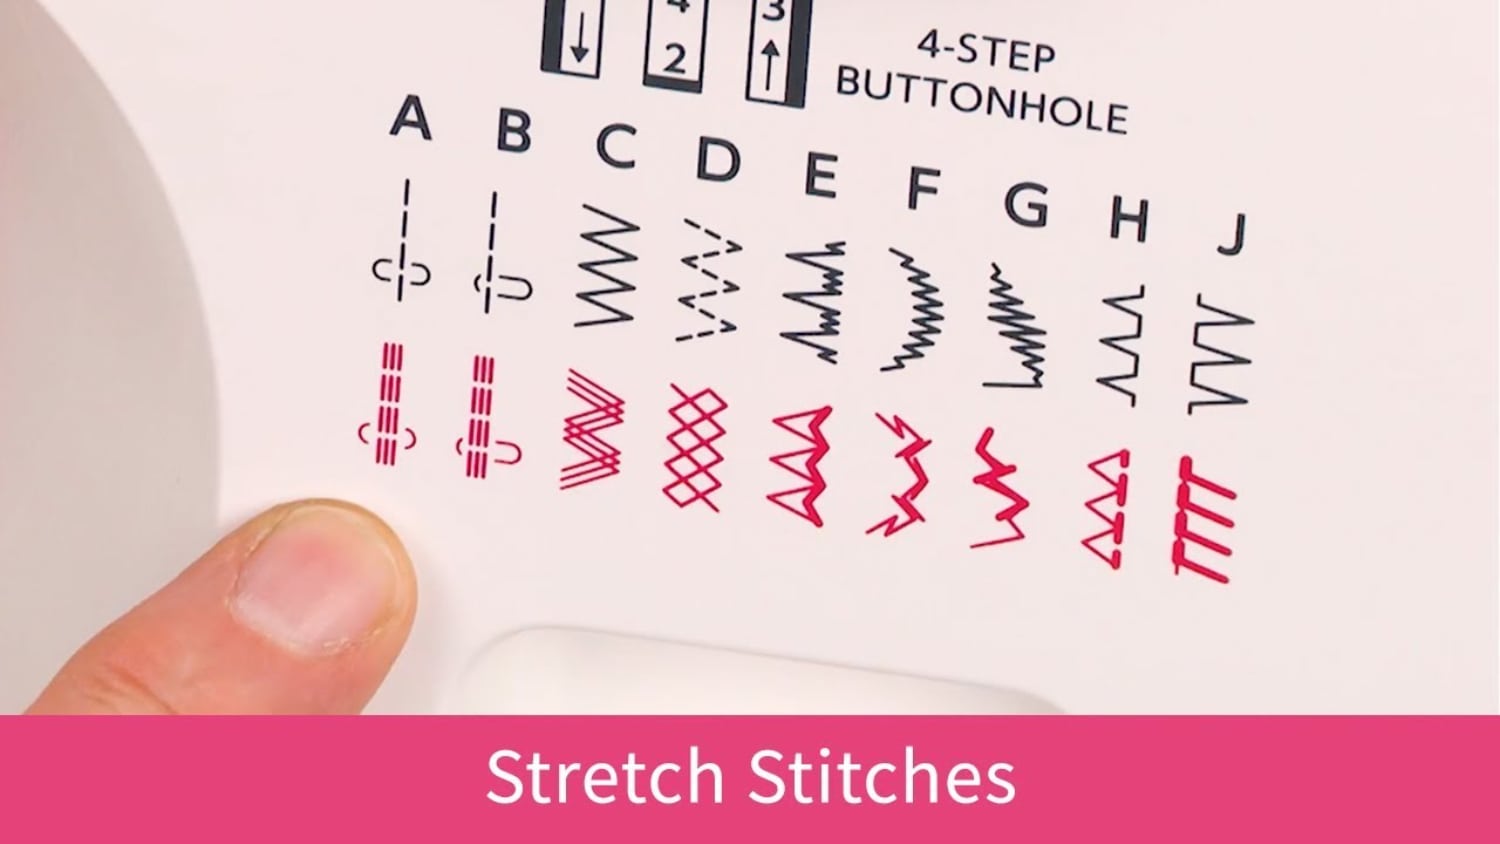
Changing Line Length and Width
Adjusting your line length and width upgrades the quality and presence of your sewing:
1. Fasten Length: Longer fastens are reasonable for seasoning or assembling, while more limited join guarantee more grounded creases. Change in light of the texture and undertaking prerequisites.
2. Line Width: Set the width to nothing for straight sewing. While utilizing crisscross or enhancing join, change the width to your ideal plan.
Remember that testing lines on piece texture before beginning your venture is a wise practice. This assists you with affirming that the join type, length, and width are proper and accomplish the ideal result.
By choosing the proper fastening type and designing the line length and width as indicated by your undertaking, you’re setting the establishment for exact and outwardly engaging sewing.
Starting to Sew
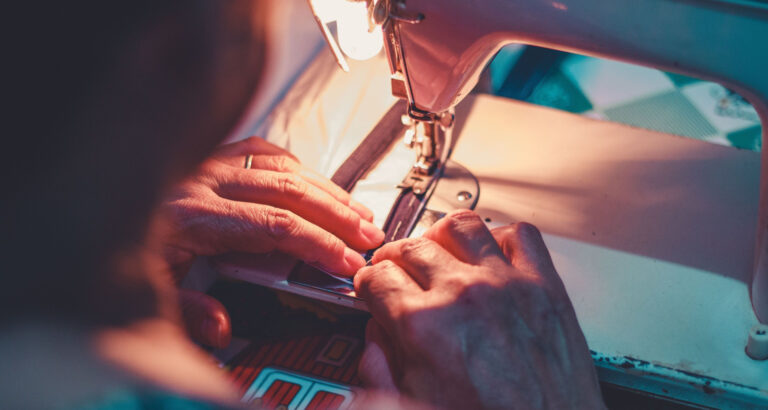
With your sewing machine set up and fastened arranged, now is the right time to jump into sewing your venture and dominating the legitimate strategy for situating the texture, bringing down the presser foot, and controlling the sewing speed guarantees practical and charming sewing.
Situating the Texture
Legitimate texture situating adds to even join and forestalls texture moving:
1. Adjust Texture: Place the texture under the presser foot, guaranteeing the edge lines up with the ideal crease recompense.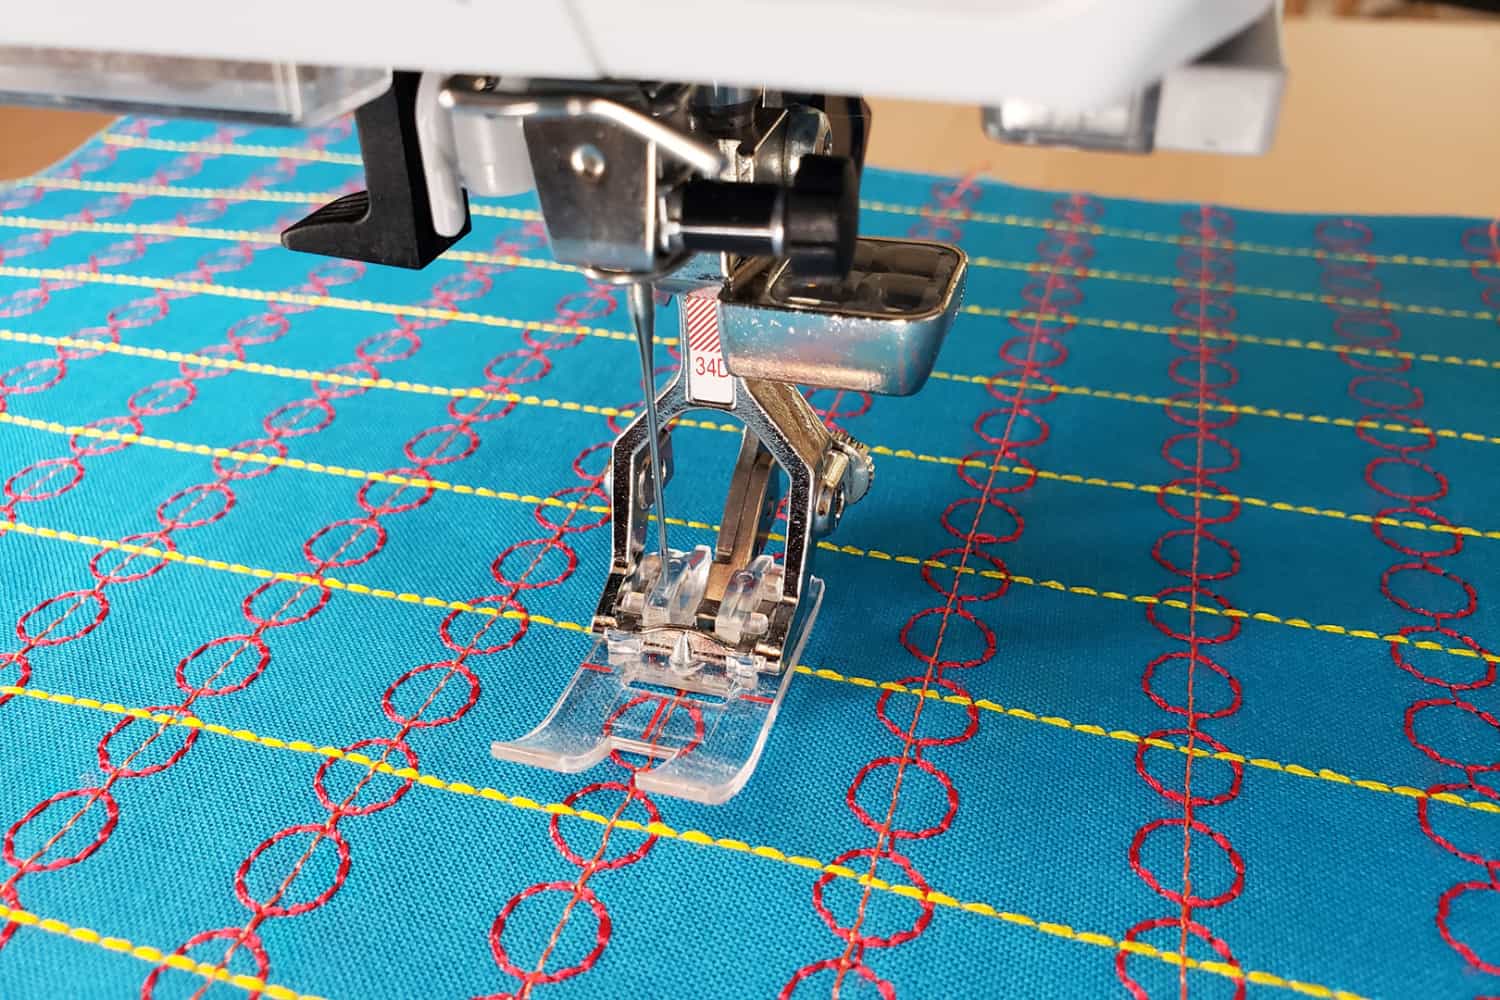
2. Hold the Strings: Clutch the needle and bobbin strings behind the presser foot. This forestalls tangling and guarantees a smooth beginning.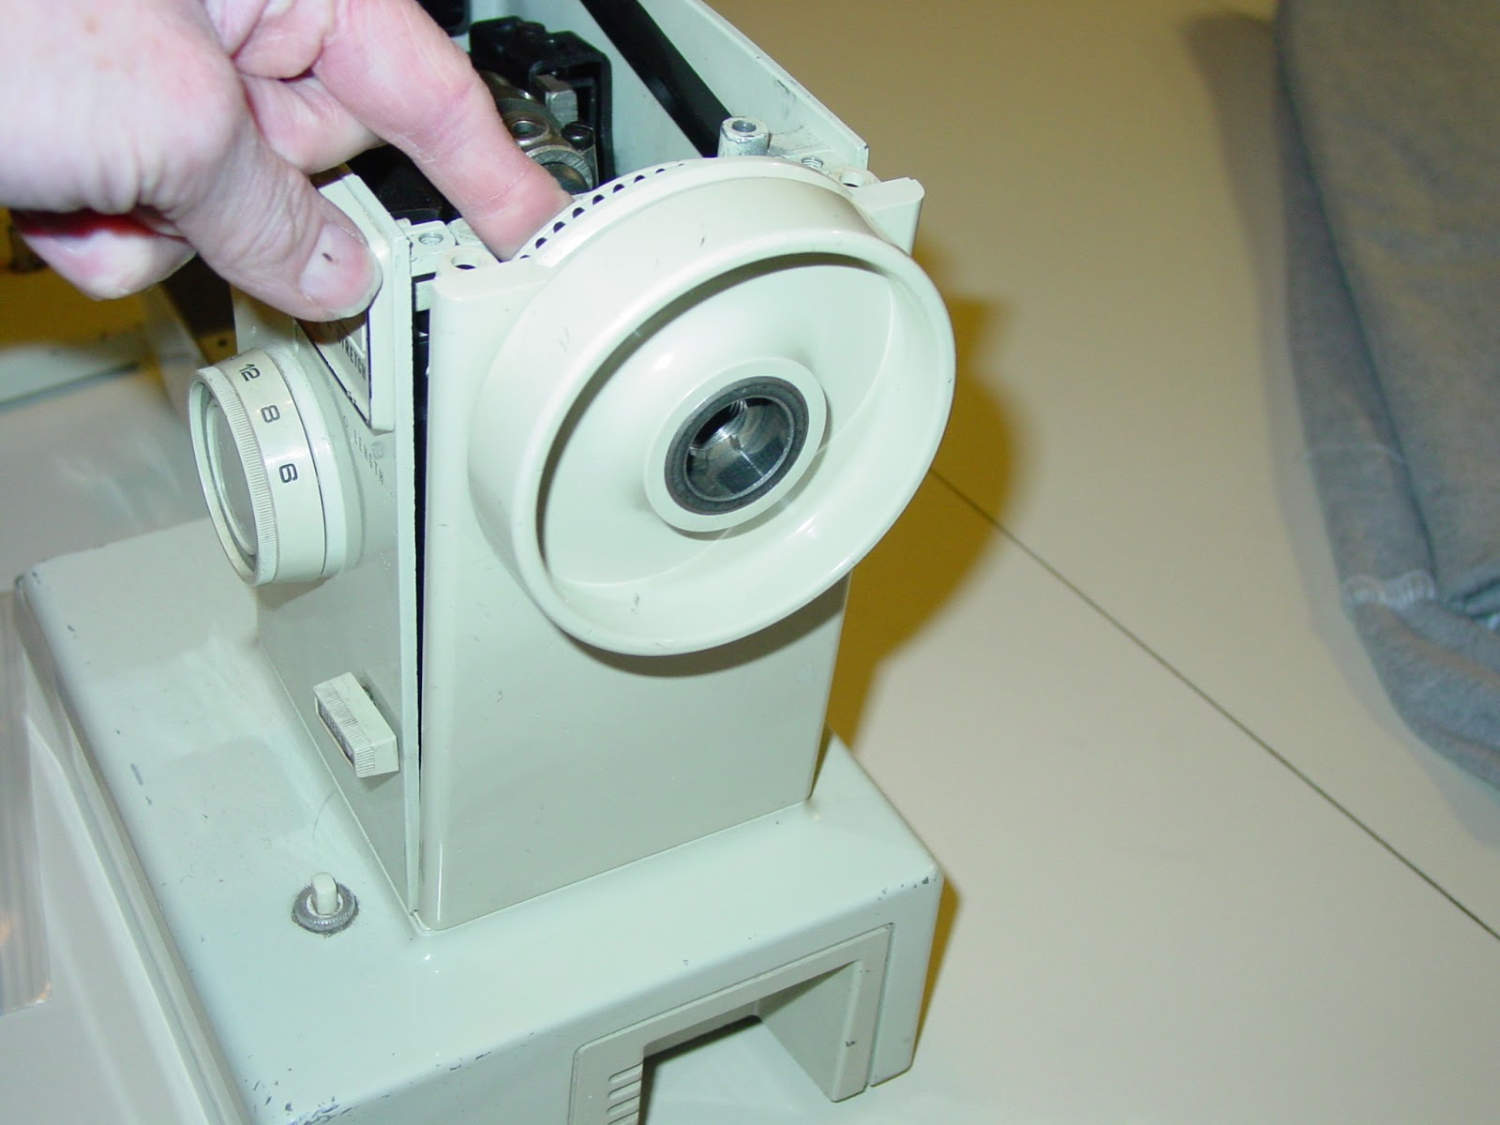
3. Directing Texture: Delicately guide the texture using two hands, keeping it lined up with the sewing machine’s edge guide markings or crease guide.
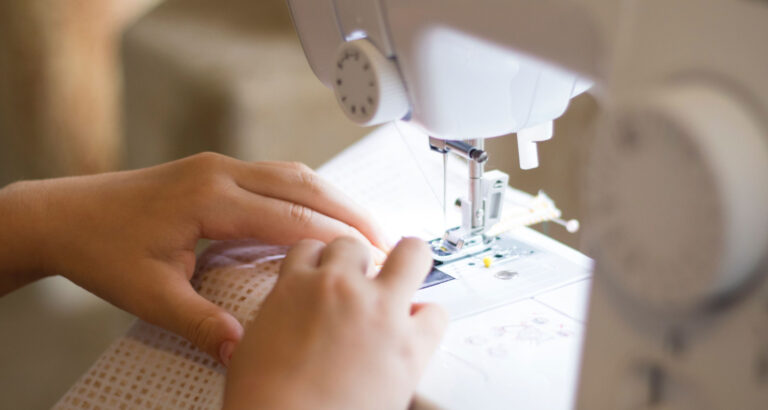
Bringing down the Presser Foot
The presser tractions the texture set up during sewing:
1. Lift Foot Switch: Utilize the presser foot switch to raise the presser foot.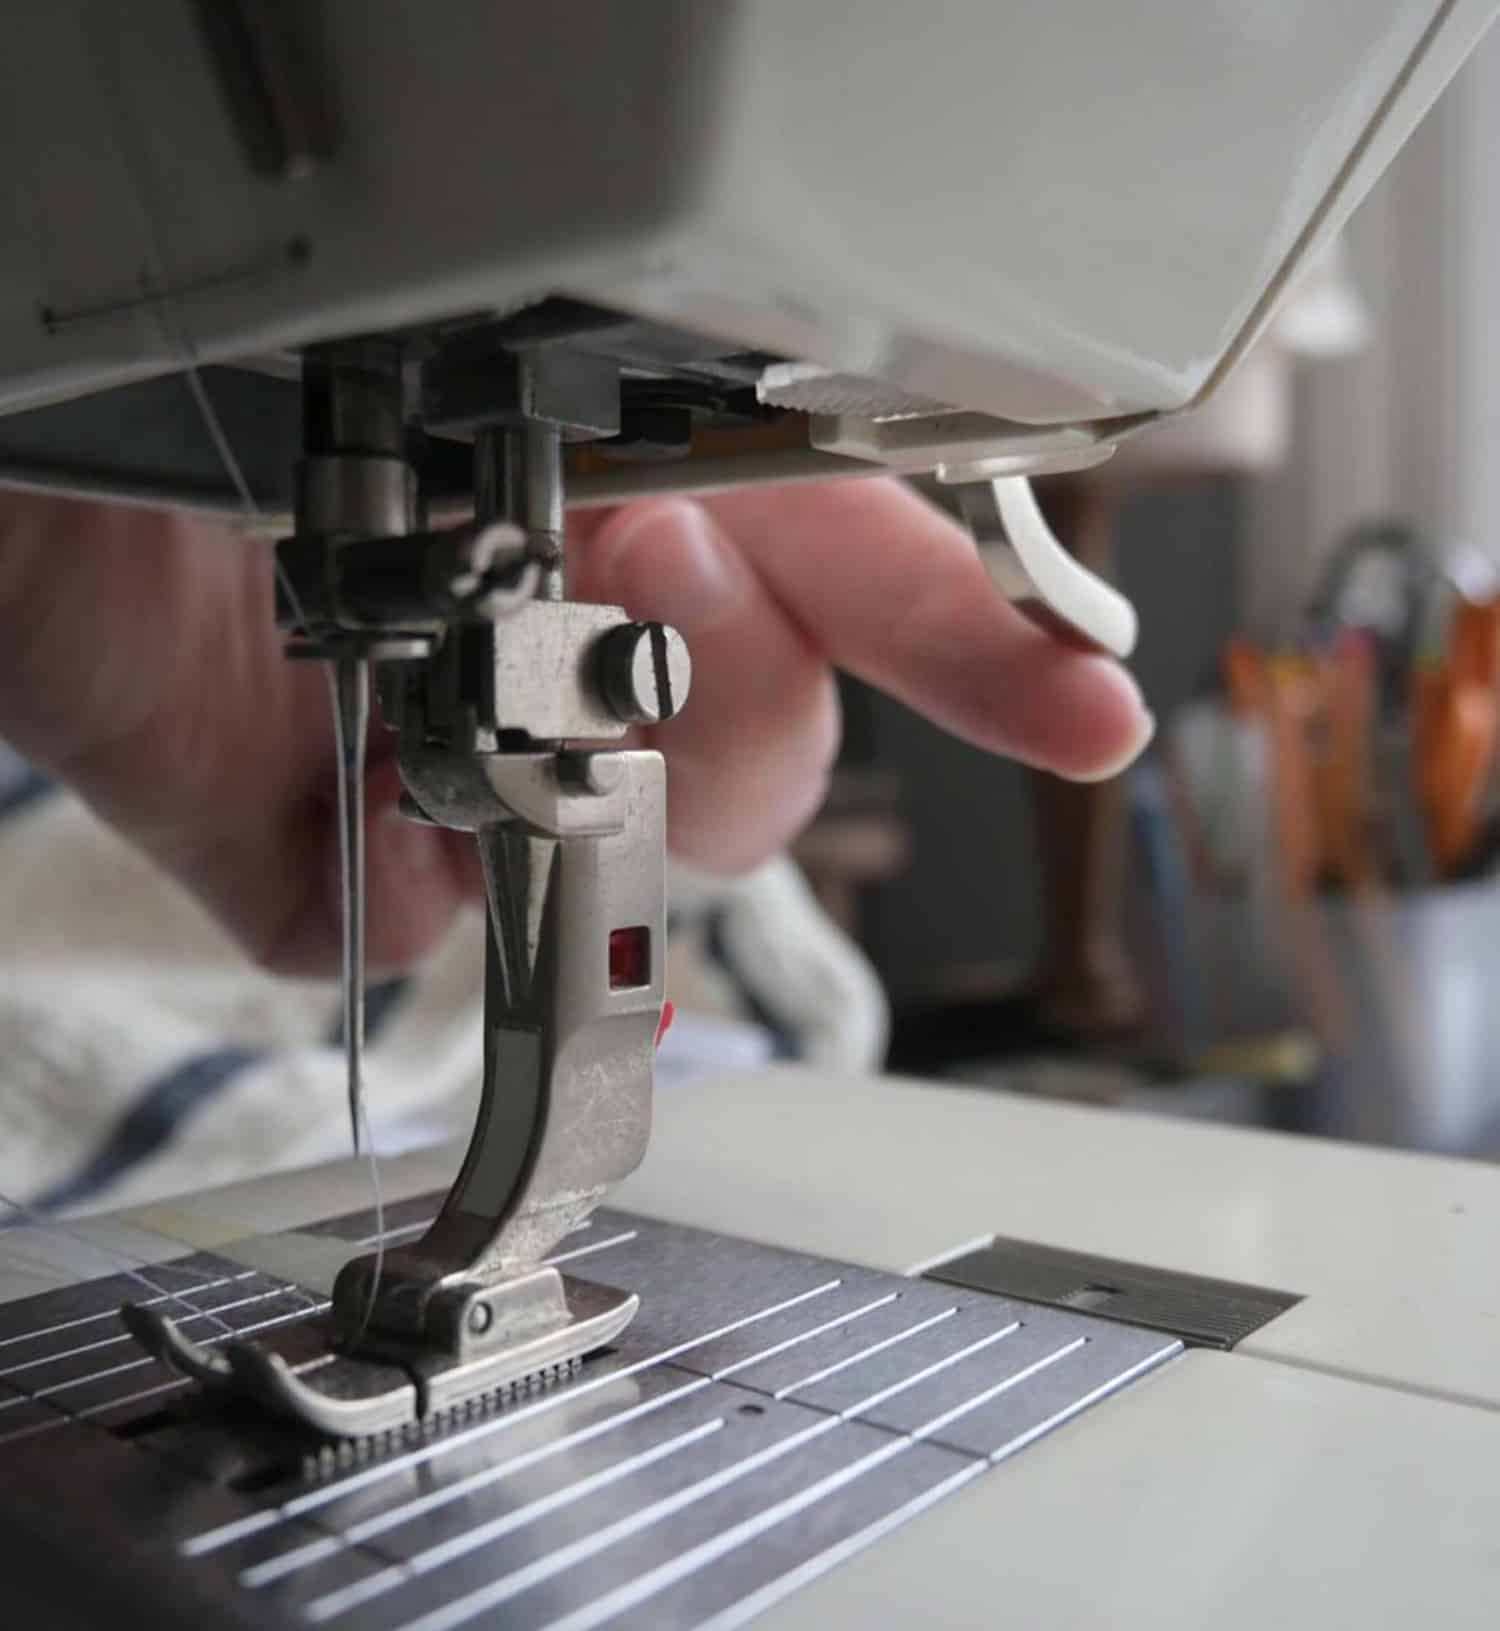
2. Position Texture: Slide the texture under the presser foot, ensuring it’s equally positioned.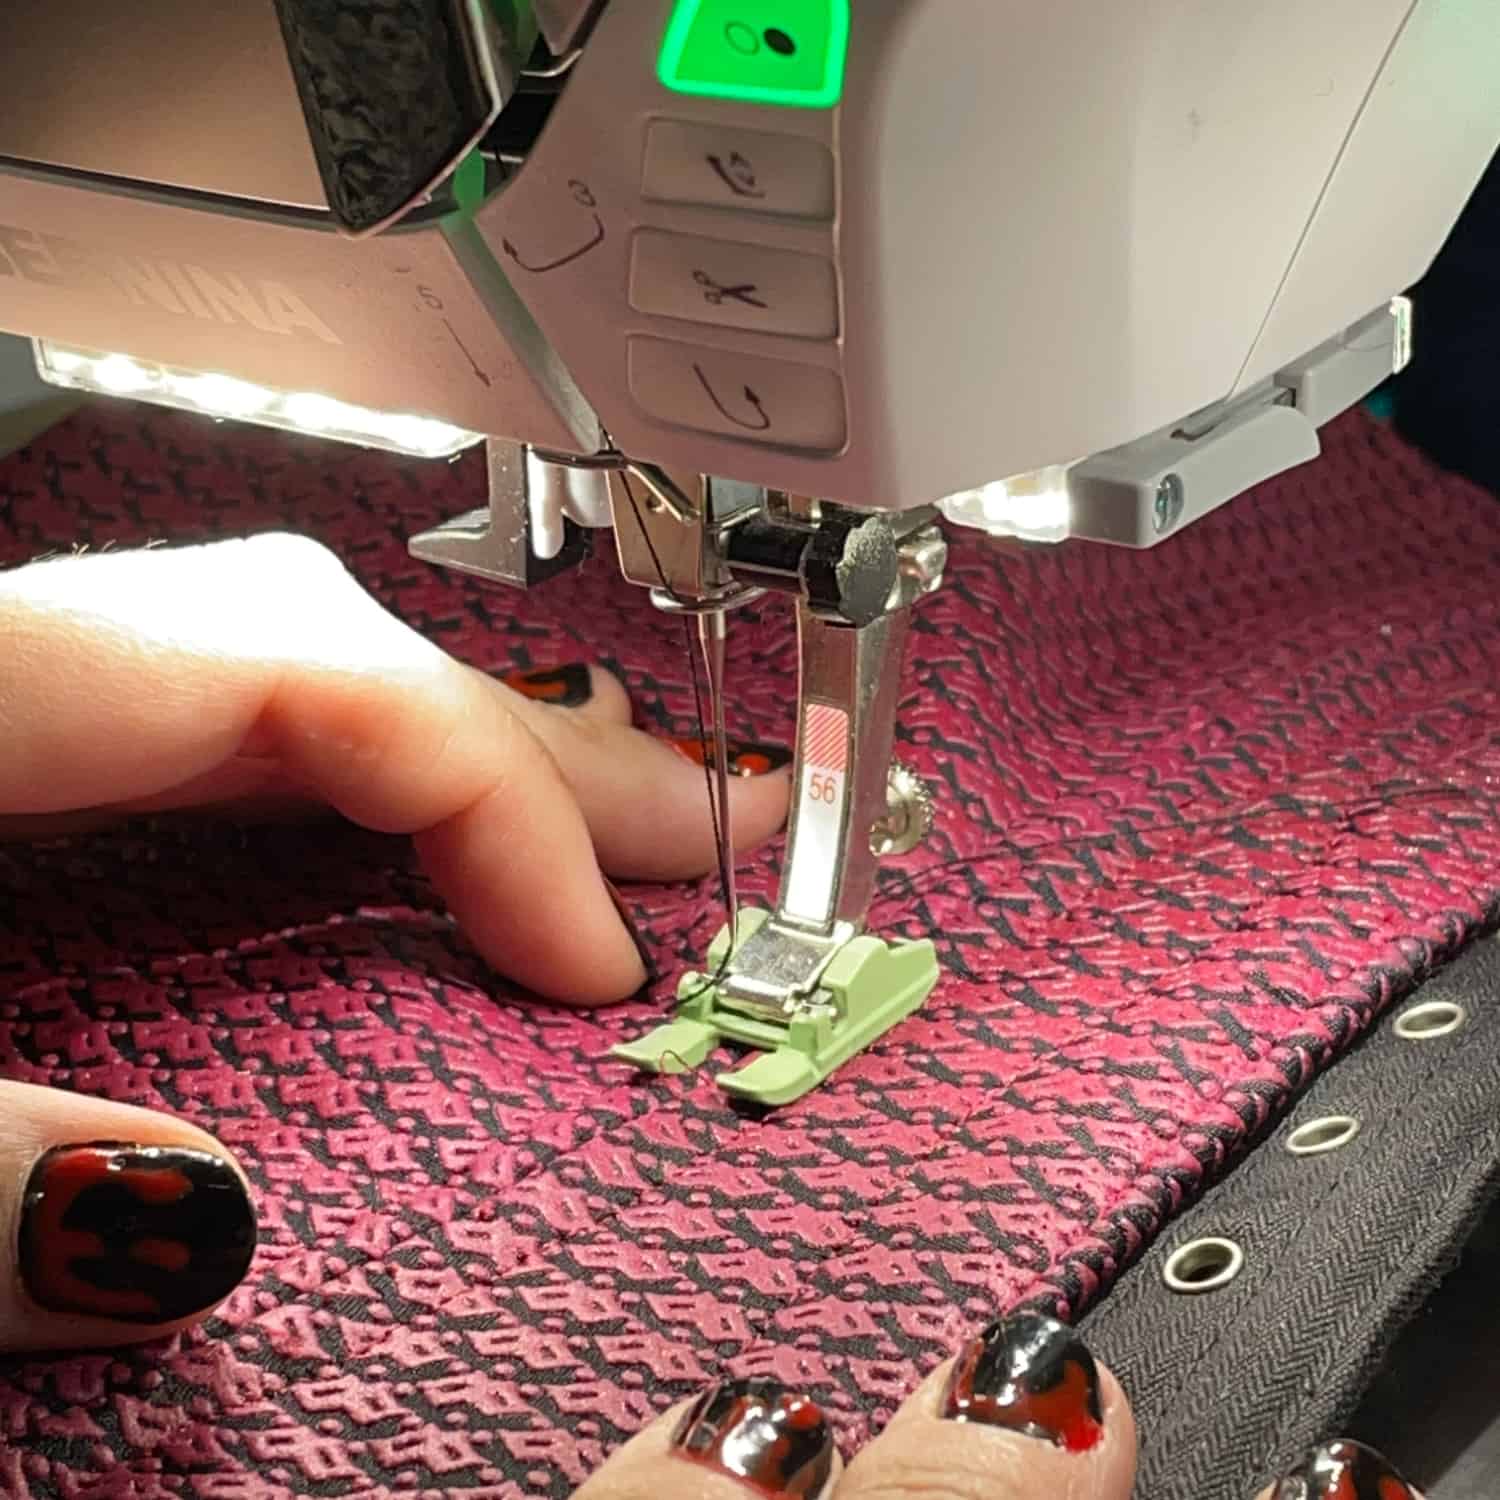
3. Lower Foot Switch: Bring down the presser foot switch to get the texture.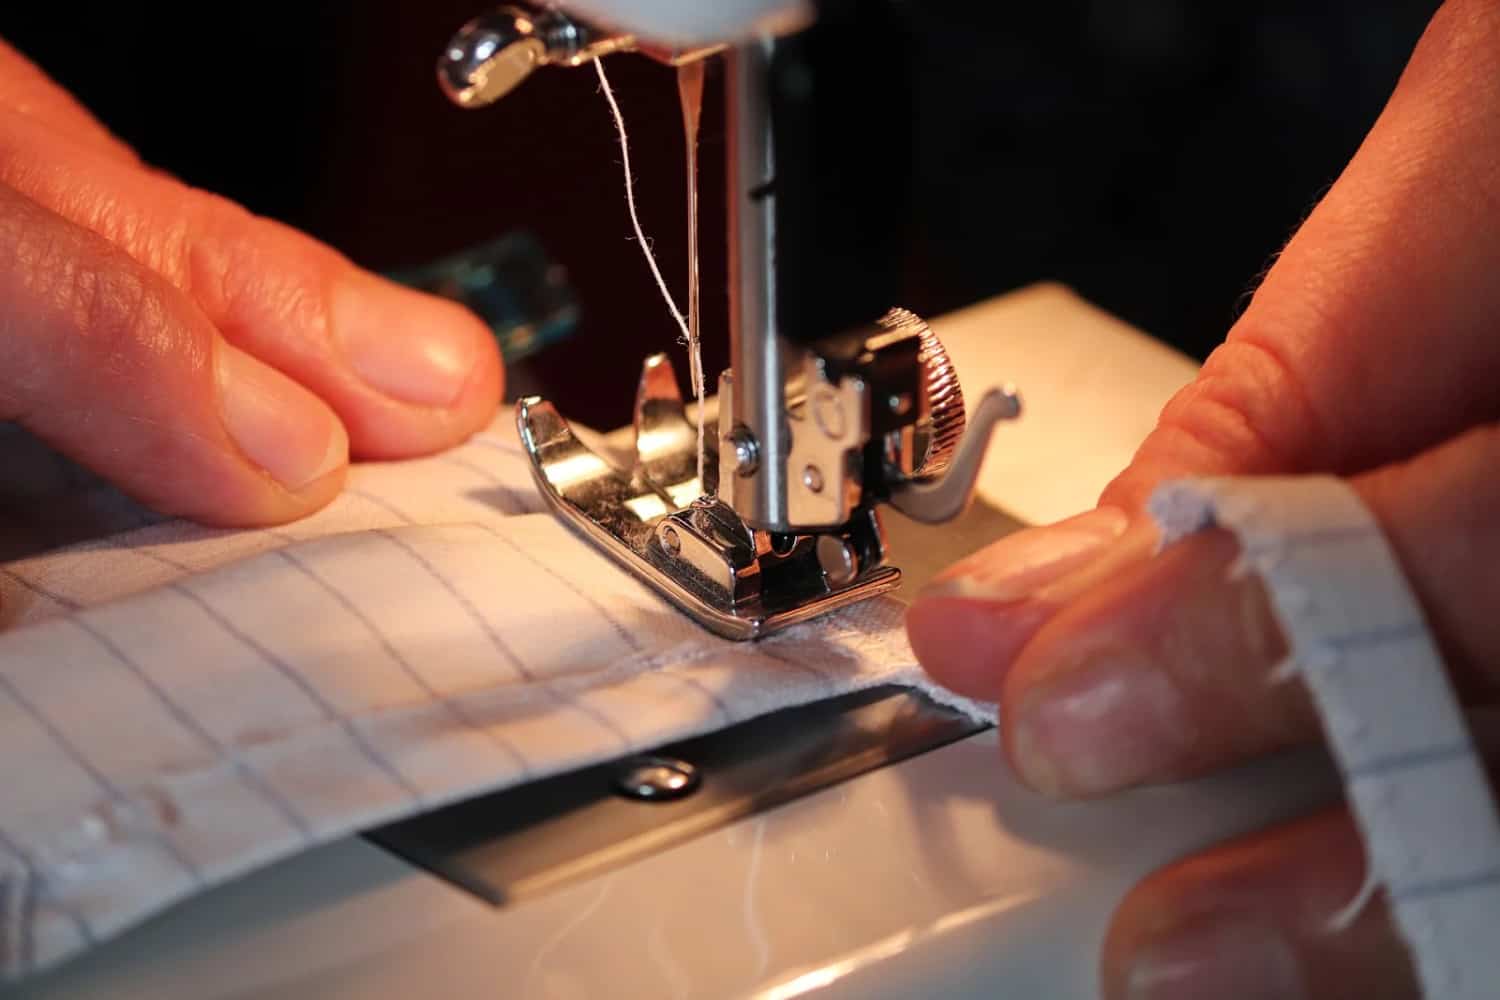
The presser foot should apply delicate strain on the surface without twisting it.
Starting to Sew and Controlling the Speed
Beginning to sew requires a consistent hand and command over the sewing speed:
1. Hand Position: Put one hand on the texture behind the presser foot and the other on the texture before the needle.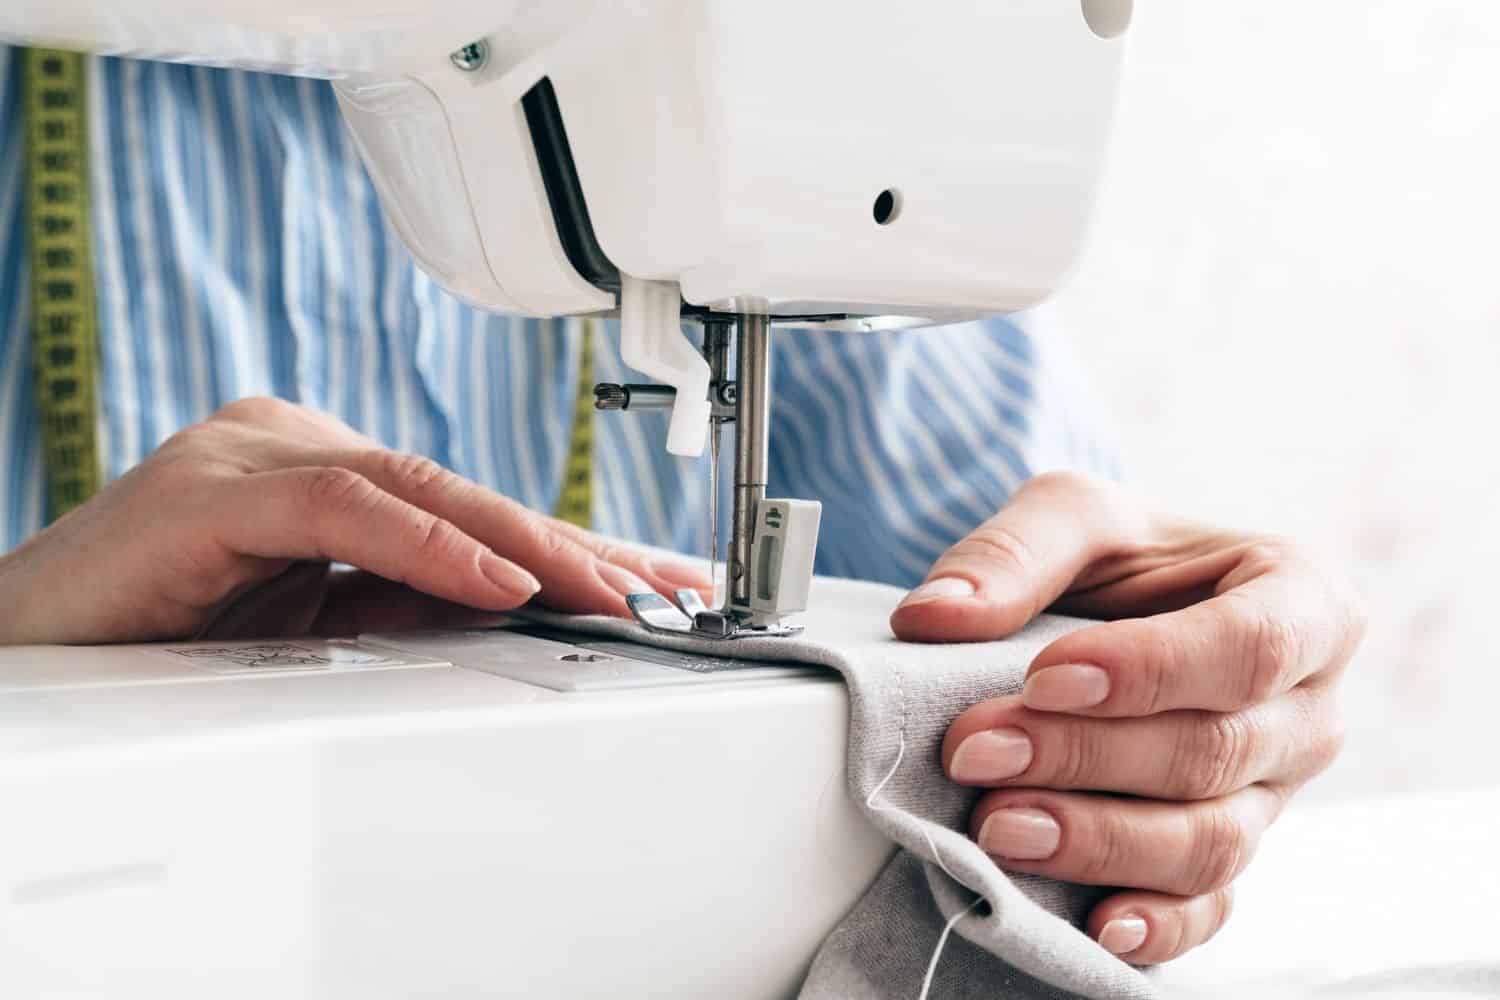
2. Start Gradually: Press the foot pedal delicately to begin sewing at a sluggish and controlled pace.
3. Consistent Development: Guide the texture delicately as you sew, keeping it lined up with the edge guide—center around keeping a steady speed and heading.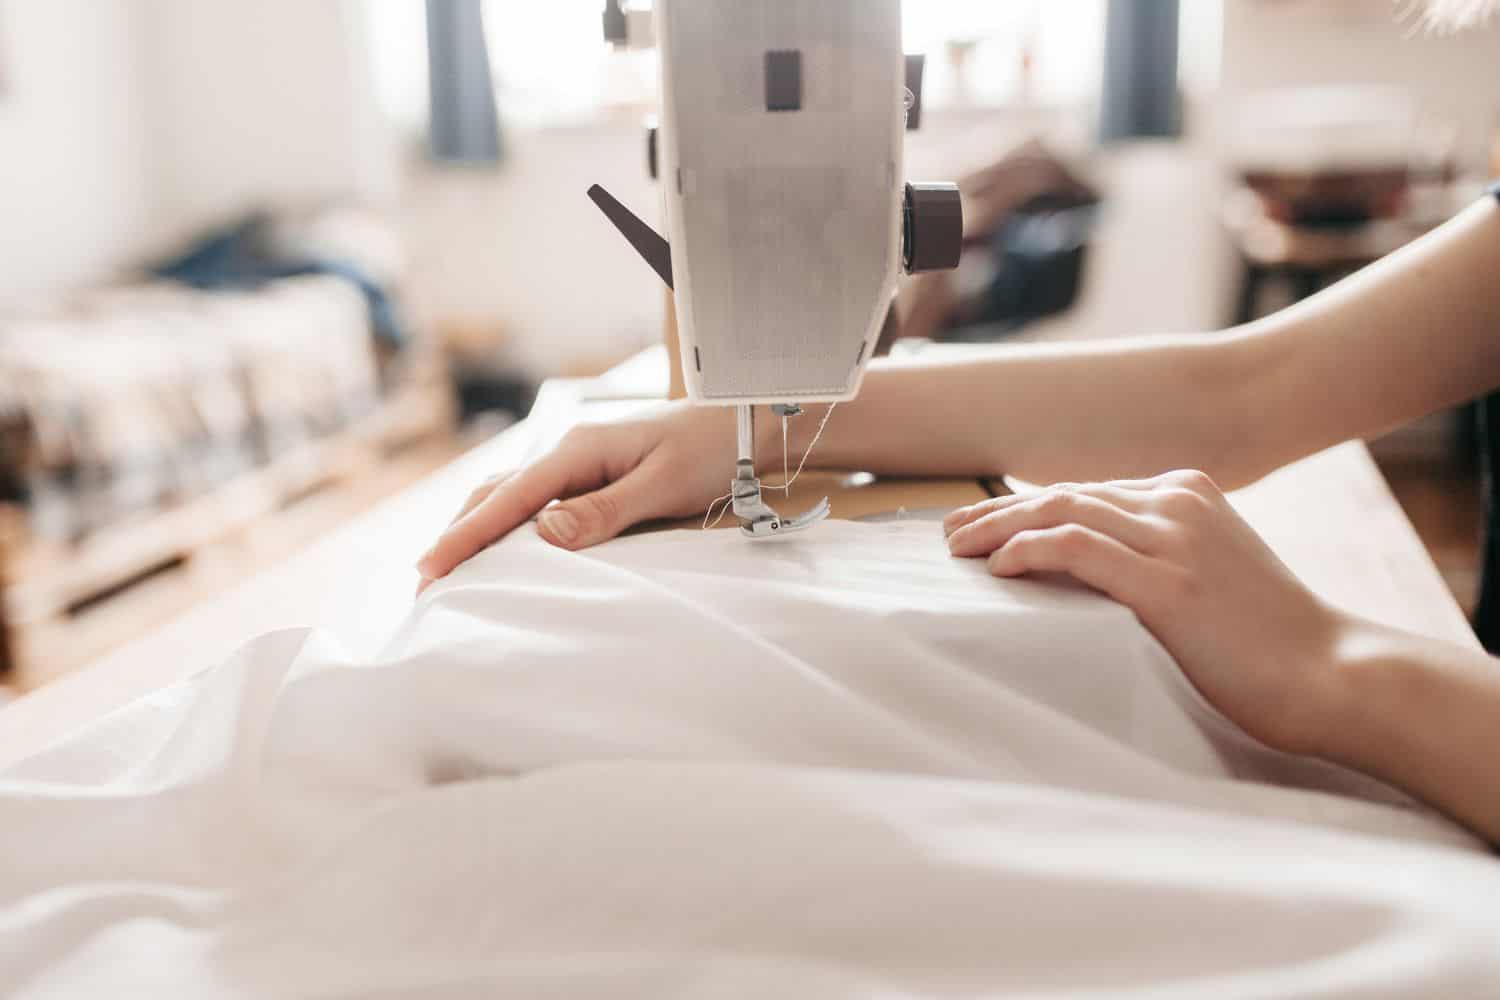
4. Pivoting: While arriving at a corner or bend, stop with the needle down, lift the presser foot, turn the texture, bring down the presser foot, and sew.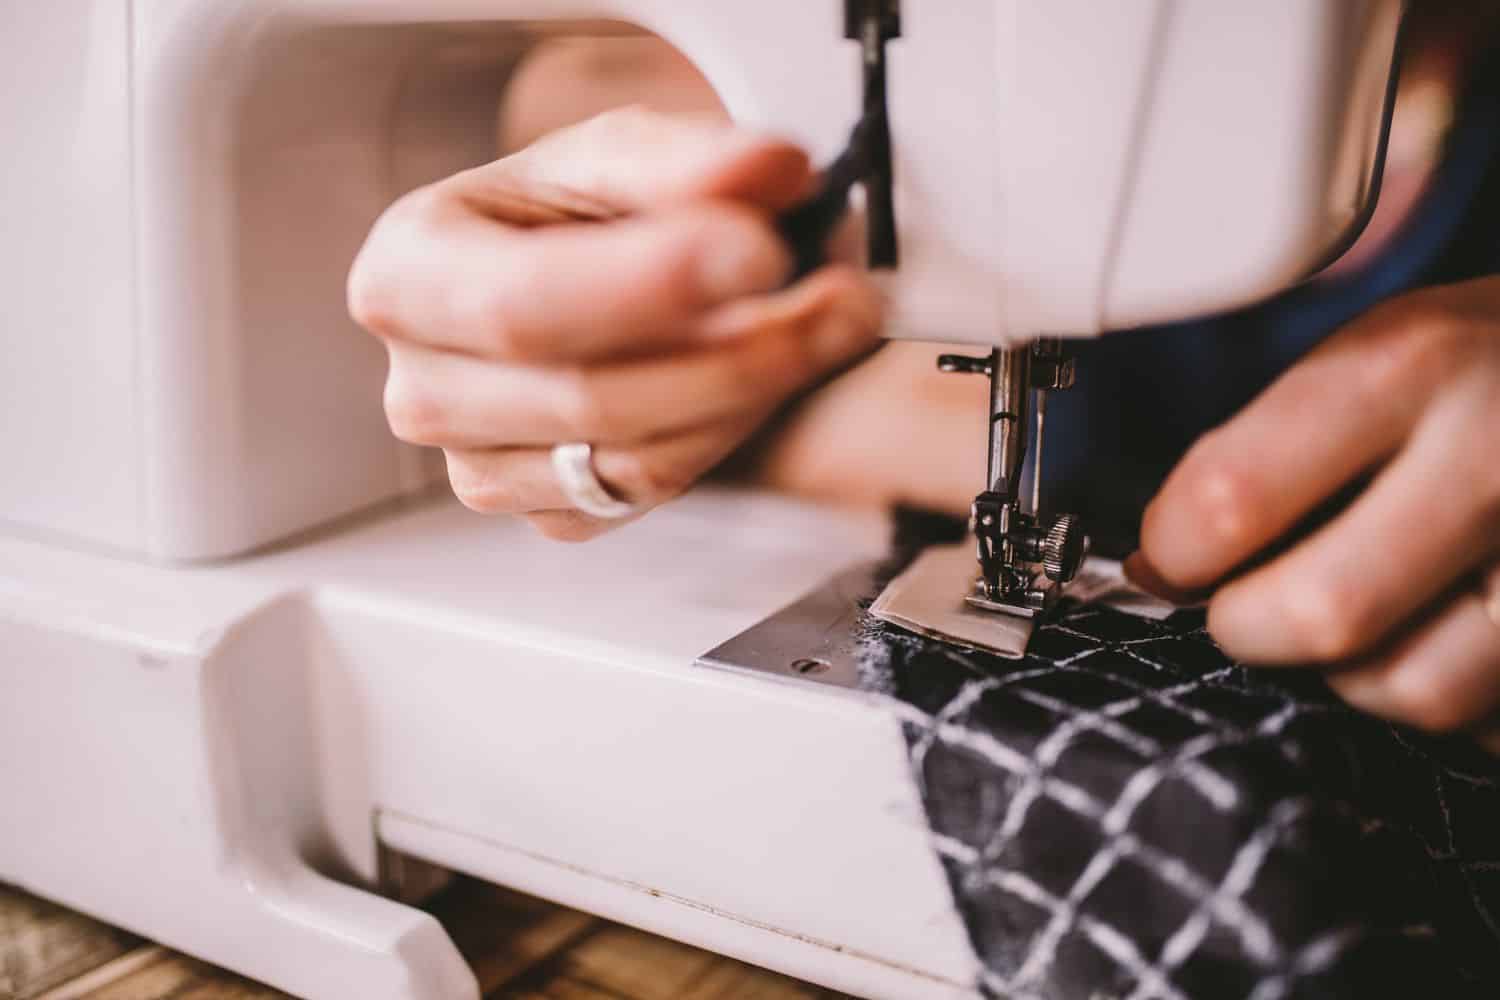
5. Speed Control: Slowly press the foot pedal to speed up the sewing speed, yet consistently keep up with control.
How to set up a sewing machine: Investigating Normal Issues
Sewing isn’t generally going great, yet knowing how to investigate everyday issues enables you to conquer difficulties and continue your ventures.
Managing String Breakage
String breakage can be baffling, yet this is the way to address it:
- Look at the Needle: A dull or twisted needle can cause string breakage. Supplant the needle with another one, guaranteeing it’s the right kind and size for your texture.
- String Quality: Low-quality string can shred and break easily. Utilize incredible string reasonable for your texture.
- String Pressure: Inaccurate strain can prompt string breakage. Guarantee the string is strung accurately and goes through every essential aide and pressure circle.
- Bobbin Issues: A mis wound or inappropriately embedded bobbin can cause string breakage. Reinsert the bobbin observing your machine’s rules.
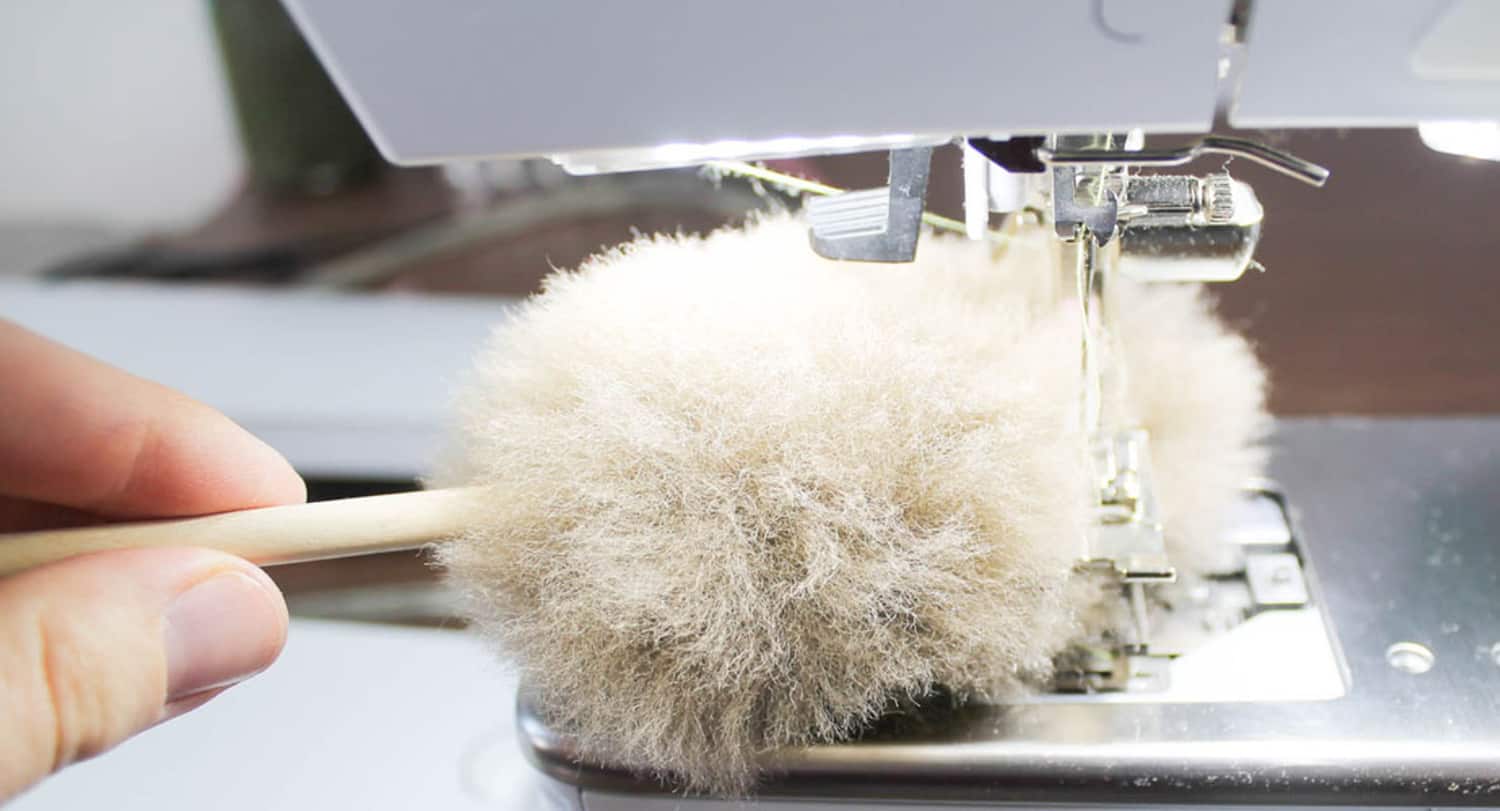
- Clean Machine: Build up and flotsam and jetsam in the machine can influence string stream. Routinely perfect the device, particularly around the bobbin region and strain circles.
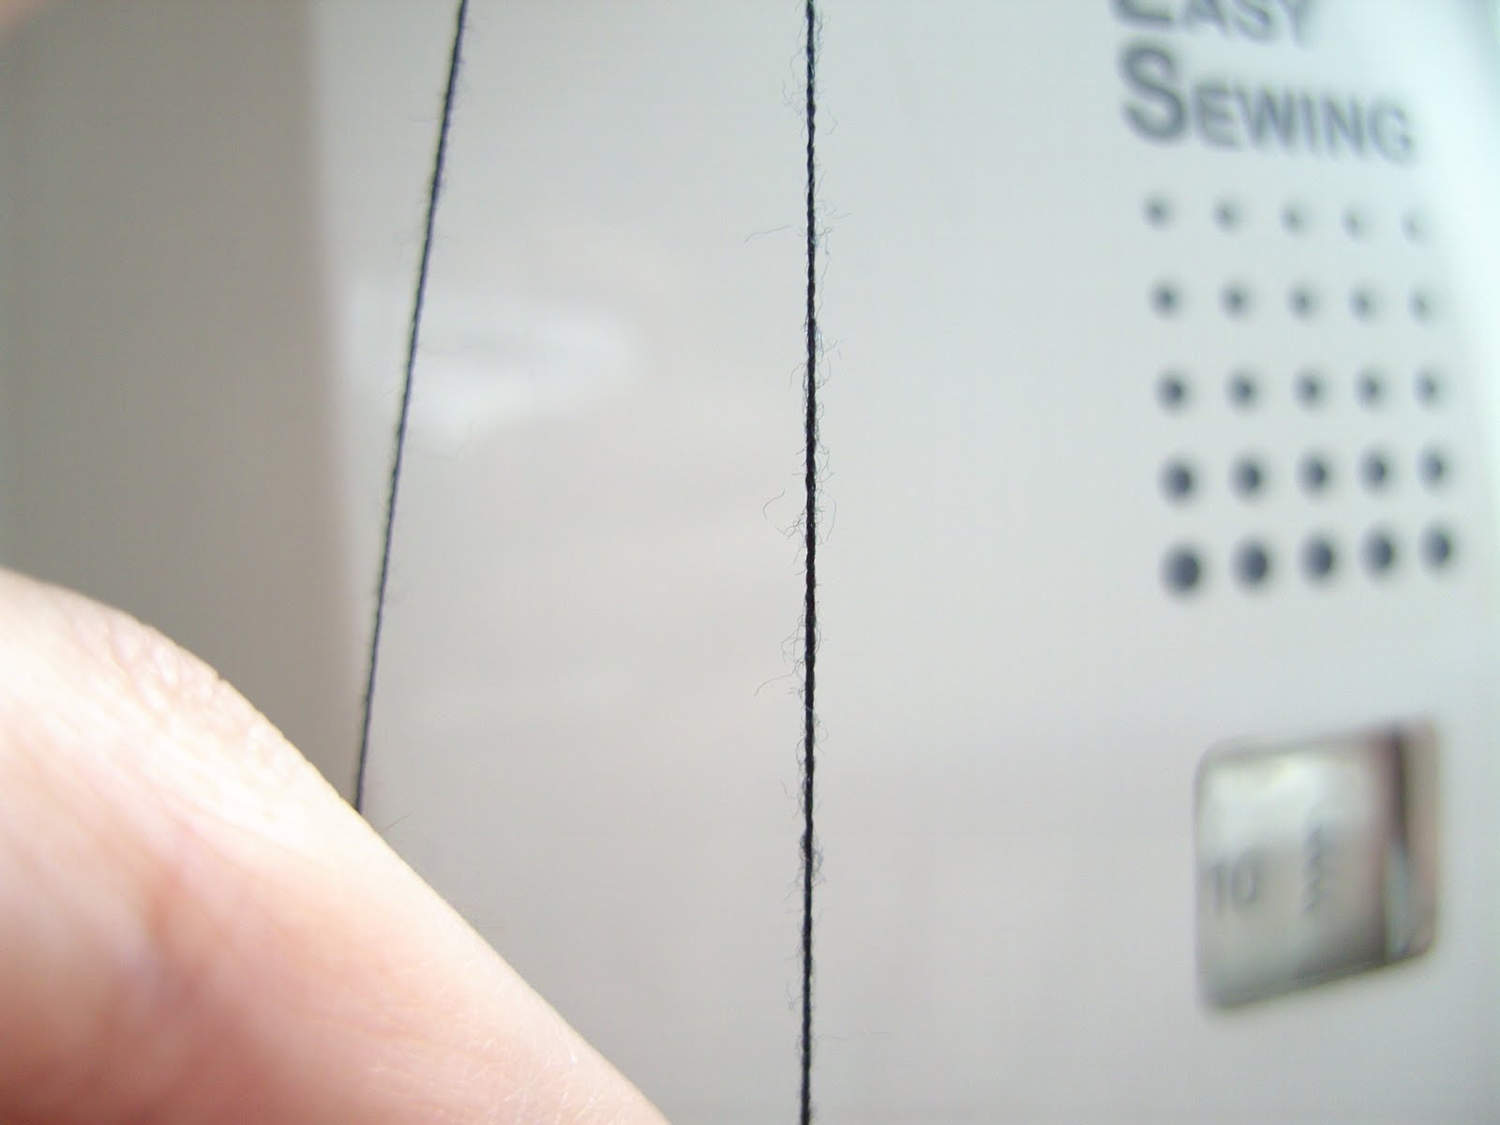
How to set up a sewing machine: What to Do When the Machine Skips Lines
Line skipping can think twice about the nature of your work. This is the way to address it:
- Needle Issues: A bowed or dull needle can make lines skip. Supplant the needle and guarantee it’s embedded accurately.
- String Pressure: Inaccurate pressure can prompt skipped join. Reevaluate the string pressure settings and guarantee appropriate stringing.
- Texture Type: A few textures require explicit needle types and acclimations to forestall skipped fastens. Utilize the suitable needle for your surface.
- Machine Support: Routinely spotless and oil your machine according to the producer’s suggestions to guarantee smooth sewing.
Instructions to Fix Pressure Issues
Strain issues can bring about lopsided or uneven lines. This is the way to address them: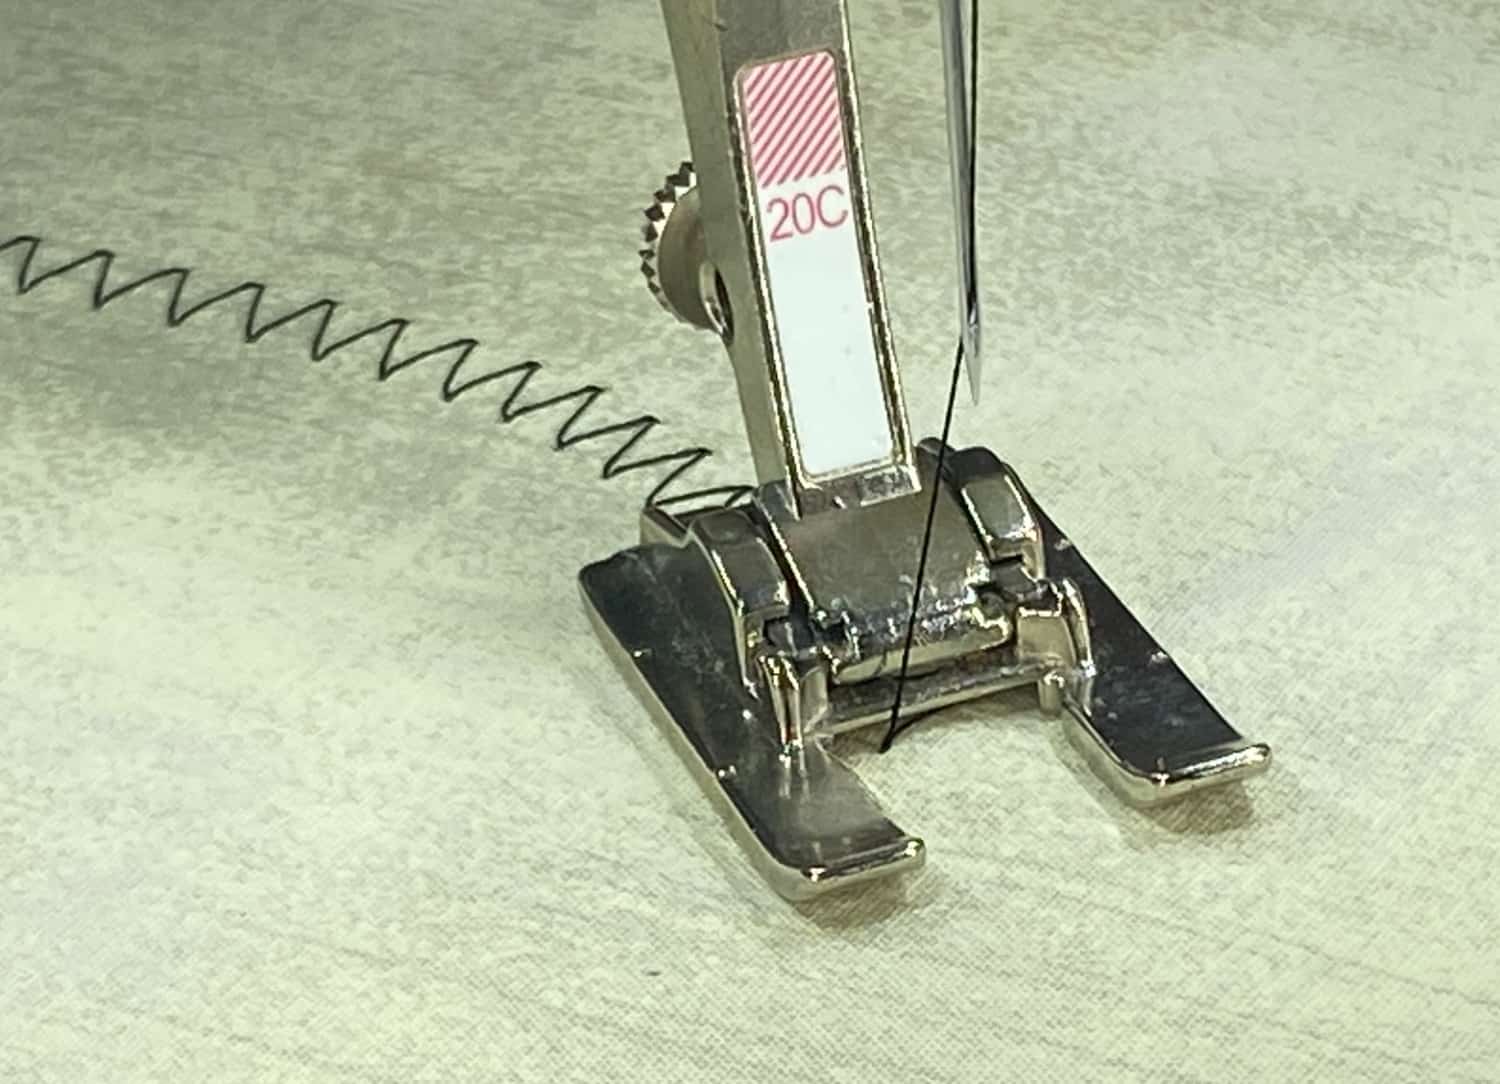
1. String Stringing: Ill-advised stringing can prompt strain issues. Follow the machine’s stringing graph cautiously.
2. Strain Settings: Erroneous strain settings cause lopsided fastens. Test various locations on the piece texture until you accomplish adjusted fastens.
3. Needle and String Similarity: Guarantee your needle and string are viable with one another and the texture you’re utilizing.
4. Build-up Development: Gathered build-up and flotsam and jetsam can influence strain. Consistently perfect your machine to forestall this.
5. Bobbin Strain: Look at the bobbin pressure. A too-close or too-free bobbin string can prompt strain issues.
Keeping up with Your Sewing Machine
Legitimate upkeep guarantees the life span and ideal execution of your sewing machine. This is the way to keep your machine in top shape:
Customary Cleaning and Oiling
Look into how to do it:
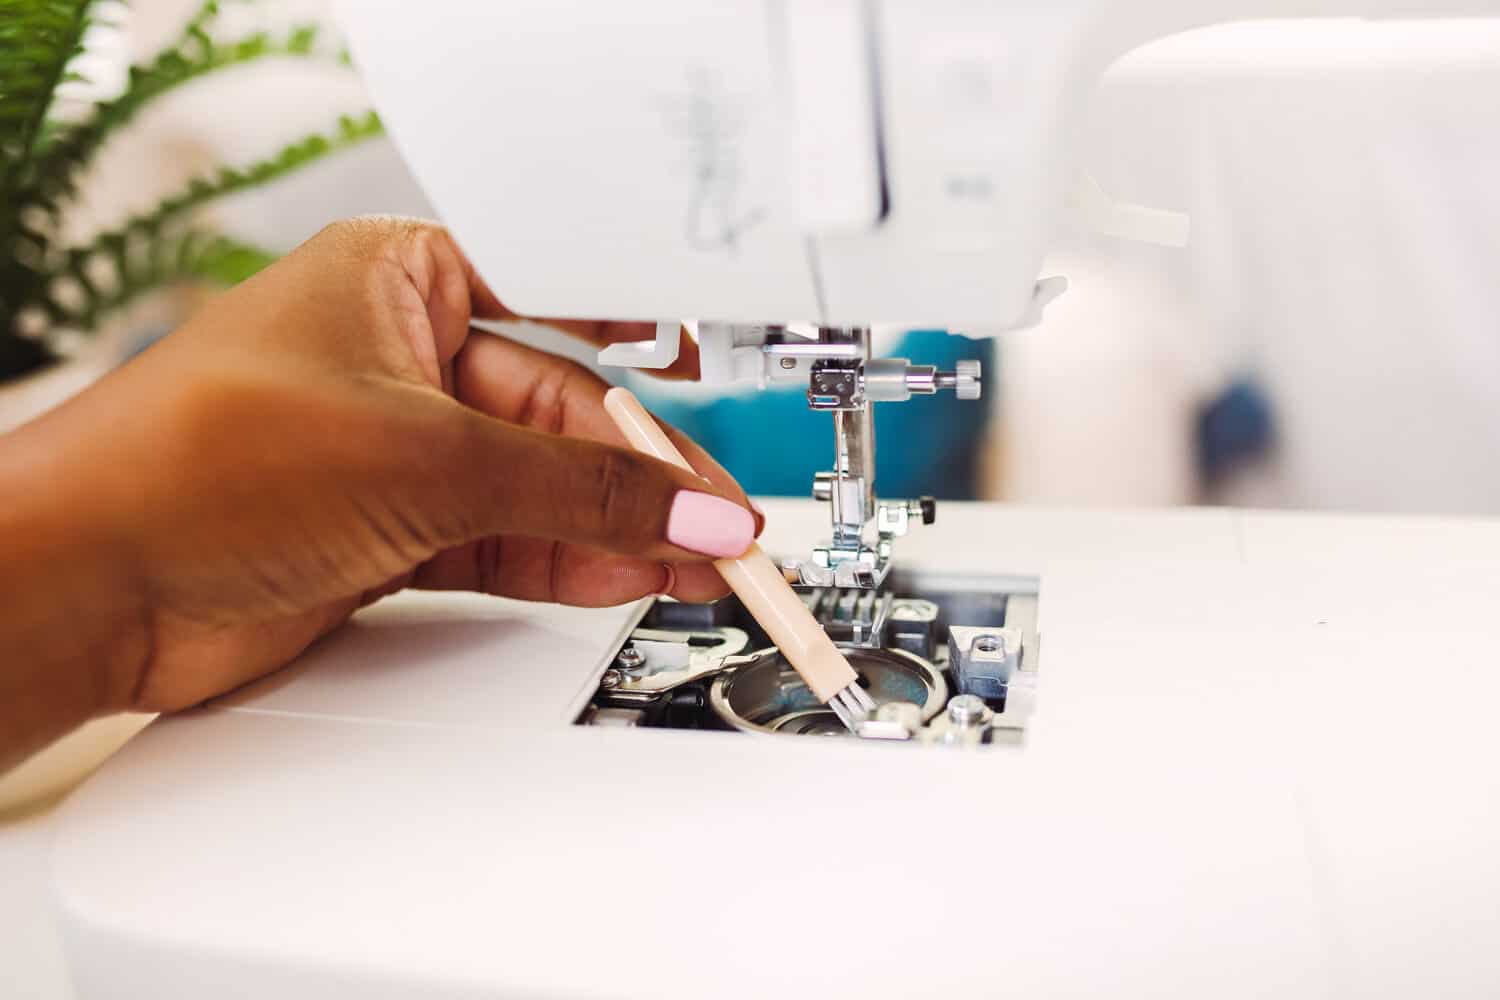
- Build-up Expulsion: Clean your machine consistently to eliminate build-up, residue, and flotsam and jetsam that can gather. Utilize a little brush, packed air, or a build-up roller to clean the bobbin region, feed canines, and different parts.
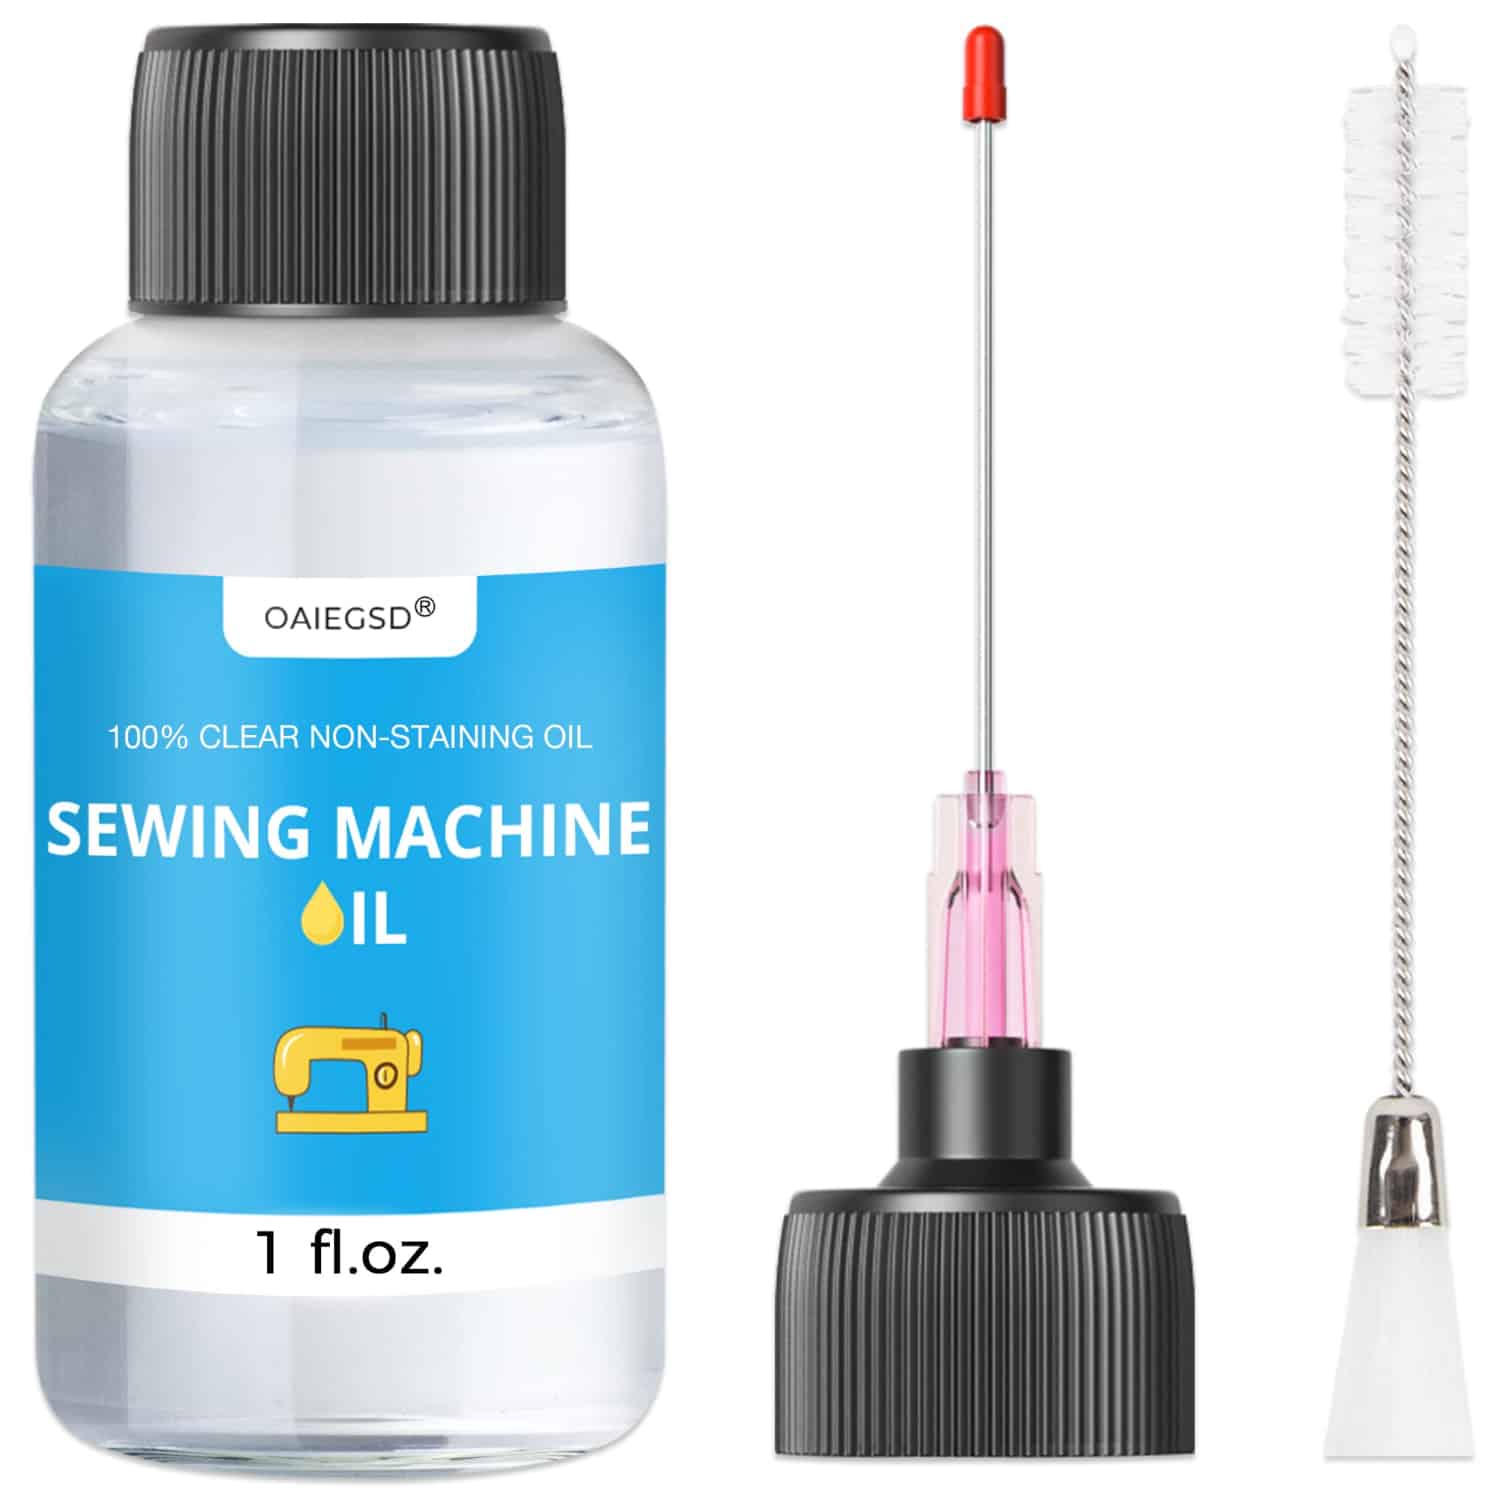
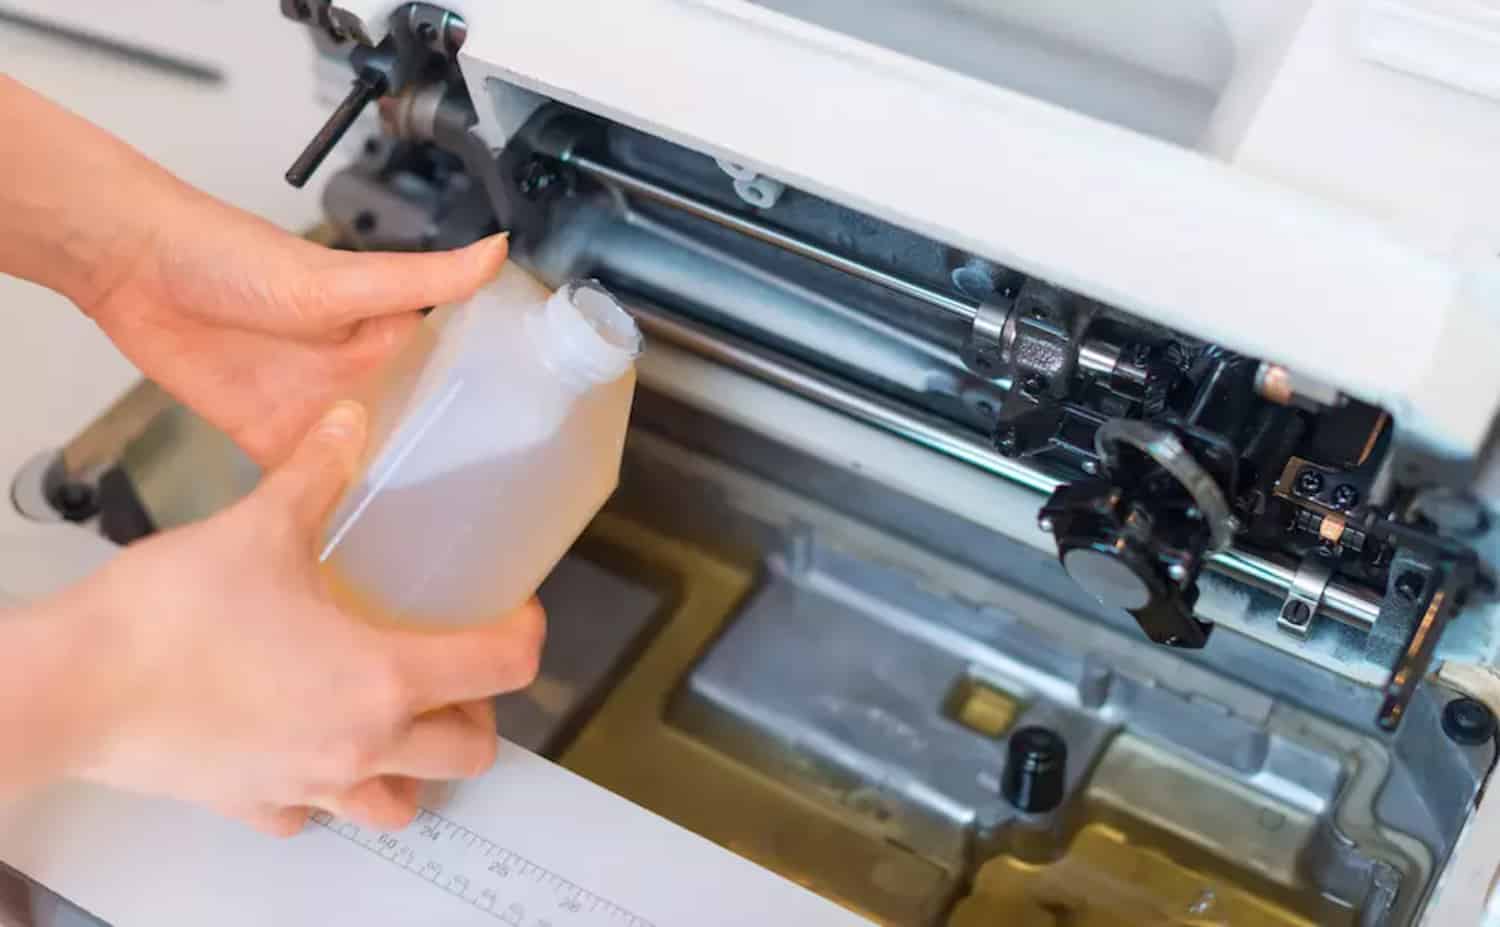
- Oiling: Follow your machine’s manual for oiling directions. Be careful not to over-oil.
When to Change the Needle
Know this:
- Frequency: Change the needle following 8-10 hours of sewing or when you notice it’s getting dull or bowed. An exhausted hand can cause sewing issues.
- Project Change: While exchanging between textures or undertakings, it’s a decent practice to change the needle. Various surfaces might require different needle types.
The Significance of Utilizing Quality String
Know the importance:
- String Quality: Utilizing top-notch string lessens the probability of string breakage and tangles, bringing about smoother sewing.
- Texture Similarity: Pick a string that supplements your texture type. Weighty textures require more grounded strings, while sensitive surfaces need better lines.
- Stay away from Old String: String can crumble after some time. Utilize new string to forestall breakage and guarantee solid fastens.
See Also: Crochet Baby Booties Pattern: A Step-By-Step Guide
FAQS
How to set up a sewing machine step by step?
To set up a sewing machine, start by placing it on a stable surface. Install the needle and wind the bobbin. Thread the device following the guide and select the appropriate stitch. Position your fabric, lower the presser foot, and start sewing at a controlled speed.
How to set up a mini sewing machine?
Set up a mini sewing machine similar to a regular one. Put it on a steady surface, introduce the needle, wind the bobbin, and string the machine. Follow the manufacturer's instructions specific to your mini sewing machine model for proper threading and stitching techniques.
How to set up the bottom thread on a sewing machine?
To set up the bottom thread, wind the bobbin using the machine's instructions. Insert the wound bobbin into the case and thread it through the necessary guides. Hold the top rope and turn the handwheel to bring up the bobbin thread. Pull both lines under the presser foot.
How to set up the bobbin in a sewing machine?
Wind the bobbin with string adhering to your machine's rules. Open the bobbin case, embed the injury bobbin with the string taking care of in the right bearing, and string it through the machine's aides. Clutch the top string, bring down the needle, and raise it to get the bobbin string. Pull the two lines under the presser foot.
How to set up a manual sewing machine?
For a manual sewing machine, follow similar steps to other devices. Put it on a steady surface, introduce the needle, wind the bobbin, and string the machine. Adjust stitch settings and start sewing while controlling the speed manually by turning the handwheel.
How to set up a double-thread sewing machine?
A double-thread sewing machine, often used for hand-held sewing, involves inserting two threads through the needle's eye. Wind both lines onto the bobbin and through the machine's guides. Thread the needle with both cables and hold onto them while sewing. This technique creates a stronger stitch for specific projects.
Conclusion
How to set up a sewing machine is a query that easily gets solved. Setting up a sewing machine correctly is the foundation for successful and enjoyable sewing projects. Understanding the machine’s parts, threading it accurately, selecting the correct stitch settings, and practicing proper techniques all contribute to seamless stitching.
Following the step-by-step guide, you’ll be well-equipped to position your fabric, control the machine, troubleshoot issues, and maintain your sewing machine. With each project, you’ll gain confidence and skill, creating beautiful and precise stitches reflecting your creativity and sewing dedication.

I am Sammy and I blog at Live it. Love it. Make it. It is creative lifestyle blog run by best friends H and Sammy. Head over and follow our crafty adventures!