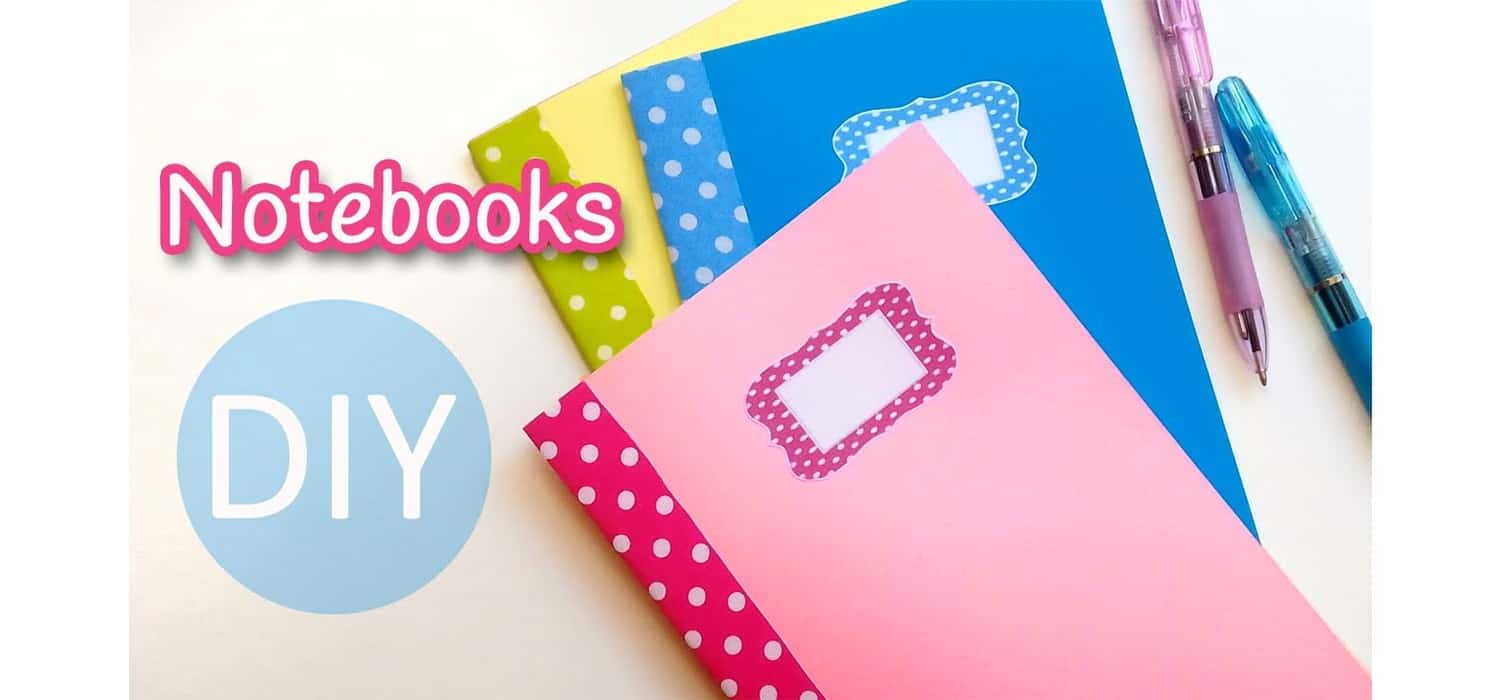
Are you tired of searching for the perfect notebook only to be disappointed by the options available? Look no further! In this article, we’ll guide you through creating your own DIY notebook that’s both personalized and functional. Get ready to unleash your creativity and craft a notebook that’s uniquely yours. How to Make a DIY Notebook: Start with a stack of paper and a cardboard cover. Fold them in half and stitch or staple along the fold. Decorate the cover to your liking, and voila! Your DIY notebook is ready to use.
Key Takeaways
- Making a DIY notebook is a fun and creative way to personalize your stationery.
- You can customize the size, paper type, and cover design to suit your preferences.
- It’s a cost-effective alternative to buying expensive notebooks.
- You can make notebooks for specific purposes, such as bullet journaling or sketching.
Materials Needed
To make your own DIY notebook, you’ll need:
- Paper: Choose the type and size of paper you want for your notebook’s pages.
- Cover: Use cardboard, cardstock, or decorative paper for the cover.
- Binding: Options include stapling, stitching, or using a binder or spiral coil.
- Decorative Elements: Optional items like stickers, markers, or washi tape for decoration.
- Cutting Tools: Scissors or a paper cutter to trim paper and cover to size.
- Adhesives: Glue or double-sided tape to attach the cover and secure pages if needed.
- Ruler and Pencil: For measuring and marking where to fold and cut.
- Optional: Hole punch, corner rounder, or other tools for additional customization.
Step-by-Step Instructions:
- Gather Materials: Collect paper, a cover, binding materials, and any decorative elements you want to use.
- Prepare Paper: Cut the paper to your desired size using a ruler and scissors or a paper cutter.
- Fold Paper: Fold the paper stack in half to create the pages of your notebook. Use a bone folder or the edge of a ruler to crease the fold for a crisp edge.
- Prepare Cover: Cut the cover material to the size of the folded paper, leaving a slight overhang if desired for a decorative edge.
- Decorate Cover: Use markers, stickers, or other decorative elements to personalize the cover of your notebook.
- Attach Cover to Paper: Place the folded paper stack inside the cover, aligning the edges. Use glue or double-sided tape to attach the cover to the paper stack along the spine.
- Secure Binding: Depending on your chosen binding method, you can:
- Staple: Use a long-arm stapler to staple along the spine, ensuring the staples are evenly spaced.
- Stitch: Use a needle and thread to stitch along the spine, going through all layers of paper and the cover.
- Trim Excess: If there is any excess paper or cover material, trim it with scissors for a neat finish.
- Personalize Further: Once your notebook is assembled, you can further personalize it by adding tabs, pockets, or additional decorations inside.
- Allow to Dry: If you used glue or wet adhesive, allow your notebook to dry completely before using it.
By following these simple steps, you can create a custom notebook that reflects your style and personality. Get creative with your materials and decorations to make a notebook that is uniquely yours.
Decorating Your Notebook:
- Cover Design: Start by deciding on a theme or design for your notebook cover. You can use markers, colored pencils, or paint to create a design that reflects your personality or interests.
- Stickers and Decals: Add stickers or decals to your notebook cover for a fun and playful look. You can find stickers in a variety of designs, including quotes, patterns, and characters.
- Washi Tape: Use washi tape to create borders, patterns, or designs on your notebook cover. Washi tape is easy to remove and comes in a wide range of colors and patterns.
- Photos and Collages: Personalize your notebook cover by adding photos or collages. You can use photos of your friends, family, or pets, or create a collage of images that inspire you.
- Quotes and Sayings: Add a motivational or inspiring quote to your notebook cover using letter stickers or by writing it out neatly. Choose a quote that resonates with you and reflects your goals or mindset.
- Doodles and Drawings: If you enjoy drawing, use your notebook cover as a canvas for your artwork. Create doodles, sketches, or full drawings to make your notebook unique.
- Use Stencils: If you’re not confident in your drawing skills, use stencils to create designs on your notebook cover. Stencils are available in a variety of shapes and patterns and can help you create professional-looking designs.
Conclusion
In conclusion, creating your own DIY notebook is a rewarding and creative endeavor. Not only does it allow you to personalize your stationery, but it also gives you a sense of accomplishment. By following the simple steps outlined above, you can make a notebook that is unique to you and reflects your personality and style. Whether you use it for journaling, note-taking, or sketching, your DIY notebook is sure to be a cherished possession. So gather your materials, unleash your creativity, and enjoy the process of making your own personalized notebook.
FAQ’s
How do you bind a DIY notebook?
You can bind a DIY notebook using methods like stapling, stitching, or using a binder or spiral coil. Choose the method that best suits your preferences and materials.
What kind of paper is best for DIY notebooks?
The best paper for DIY notebooks depends on your intended use. For writing, consider using lined or blank paper. For sketching or drawing, choose heavier weight paper to prevent bleed-through.
Can I use recycled materials to make a DIY notebook?
Yes, you can use recycled materials to make a DIY notebook. Look for paper products that are made from recycled materials and repurpose old cardboard or covers for the notebook cover.
How can I personalize my DIY notebook?
You can personalize your DIY notebook by decorating the cover with stickers, drawings, or photos. You can also add tabs, pockets, or bookmarks to make it more functional and unique.
What size should I make my DIY notebook?
The size of your DIY notebook depends on your preferences and intended use. Common sizes include A5 (5.8 x 8.3 inches) for a portable notebook or A4 (8.3 x 11.7 inches) for a larger notebook.

I am Sammy and I blog at Live it. Love it. Make it. It is creative lifestyle blog run by best friends H and Sammy. Head over and follow our crafty adventures!