Feeling overwhelmed by the chaos of daily life? Craving order but can’t find the perfect planner to suit your needs? Craft your own DIY planner and seize control. This article guides you through the process, ensuring you create a personalized tool that aligns with your life and aspirations. Learn to organize, design, and maintain your planner, transforming how you manage time and tasks. Get ready to make planning a highlight of your day!
To make a DIY planner, choose your preferred size and format, gather materials like paper and a binder, and select printable templates for customization. Assemble and personalize to match your style and needs.
Key Takeways
- Creating your own DIY planner is easier than you think and highly customizable to fit your personal and professional needs.
- Understand the basics of planner creation, including size, format, and purpose to ensure it suits your lifestyle.
- Select high-quality materials for durability and a pleasant tactile experience. Consider paper weight, binding options, and cover material.
- Design a layout that mirrors your daily routine, incorporating monthly, weekly, and daily spreads to keep track of appointments, tasks, and goals.
- Leverage printables to enhance your planner’s functionality and aesthetic appeal. Utilize online resources for unique and practical templates.
Understanding the Basics
Understanding the basics of creating a DIY planner involves recognizing your organizational needs, preferences for planner size and format, and selecting the right tools and materials. This foundational knowledge ensures you create a planner that not only meets your daily planning requirements but also inspires productivity and creativity.
- Choose the right size: A5 for portability, Letter or A4 for more writing space.
- Decide on the format: Daily, weekly, or monthly layouts to match your planning style.
- Essential tools: High-quality paper, a reliable printer, a binder or ring system, and a hole puncher.
- Personal touches: Utilize stickers, colored pens, and washi tape for customization.
By considering these elements, you’re on your way to crafting a planner that’s uniquely yours, enhancing your ability to manage tasks, appointments, and goals effectively.
Selecting Your Planner Size and Format
- Size Considerations: Common planner sizes include A5 (5.8″ x 8.3″), Personal (3.7″ x 6.7″), and Letter (8.5″ x 11″). Consider where you’ll use your planner (at home, work, or on the go) and how much space you need for writing.
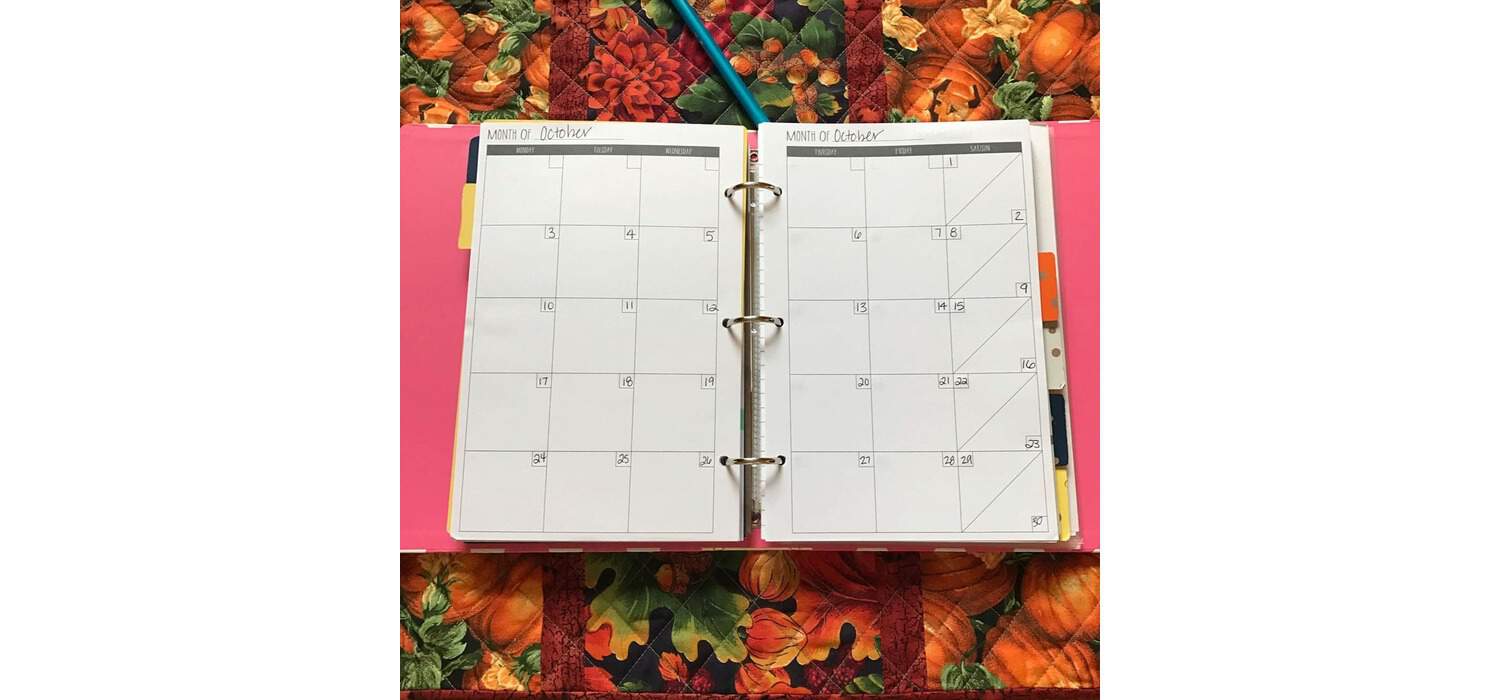
- Format Choices: Planners can be formatted for daily, weekly, or monthly planning. Daily planners are ideal for detailed scheduling, while weekly planners provide a broader overview of your week. Monthly planners are excellent for long-term planning and tracking important dates.
Essential Tools and Materials
- Tools: Essential tools include a printer, hole puncher, scissors, and a ruler. A laminator and paper trimmer are optional but can enhance the durability and precision of your planner.
- Materials: Opt for high-quality, thick paper (at least 100gsm) to prevent ink bleed-through. Choose a binder, disc-bound system, or spiral binding to hold your planner pages together.
Designing Your Planner Layout
Designing your planner layout is a creative process that lets you tailor your planning system to fit your exact needs. This step is about deciding how you want to structure your days, weeks, and months to best support your productivity and goals.
- Define Your Needs: Begin by listing what you need from your planner. Do you track daily tasks, monthly goals, or both? Understanding this will guide your layout design.
- Choose Layout Types: Daily layouts are great for detailed planning, while weekly layouts offer a broader view. Monthly overviews help with long-term planning.
- Incorporate Sections: Consider adding sections for goals, to-do lists, habit trackers, and reflection spaces. These can make your planner more than just a schedule keeper.
- Be Flexible: Your needs may change, so design a layout that can evolve. Use adjustable binder systems or digital apps for easy customization.
Designing your planner layout is about creating a system that feels natural to use, encourages consistency, and helps you manage your time effectively. With the right layout, your DIY planner becomes a powerful tool for organization and motivation.
Customizing with Printables
The journey to a fully tailored DIY planner often begins with the delightful exploration of printables. These digital files, ranging from daily schedules to intricate mood trackers, offer an unparalleled opportunity to infuse your planner with both function and personality. Here’s how to dive deep into the world of printables:
- Discovering Resources: Venture into platforms such as Pinterest, Etsy, or dedicated planner websites. Here, you’ll unearth a treasure trove of designs, each catering to varied tastes and organizational needs.
- Choosing What You Need: With the abundance of options, select printables that resonate with your planning style. Whether it’s a minimalist daily layout, a colorful monthly calendar, or a detailed habit tracker, the right choices can transform your planner into a highly personalized tool.
- Customization: Tools like Canva and Adobe Illustrator open the doors to personalization. Adjust colors, fonts, or even layout elements to create printables that are uniquely yours. This step is not just about aesthetics but ensuring the design aligns perfectly with your organizational method.
Printing and Assembling Your Planner
Bringing your planner to life from digital designs is a process filled with anticipation and creativity:
- Selecting the Right Paper: Opt for heavier paper (around 120-160gsm) to enhance the durability of your pages and provide a premium feel. This choice also minimizes ink bleed-through, ensuring double-sided printouts look crisp.
- Printing with Precision: Quality matters. Adjust your printer for the best output, and consider the page orientation to ensure your printables fit the planner’s dimensions. Trial prints can help fine-tune settings before printing in bulk.
- Assembly: Armed with a reliable hole puncher and your printed pages, begin assembling your planner. Pay attention to the order of pages, grouping similar sections together for ease of use. A binder or disc-bound system allows for flexibility, enabling you to add or remove pages as your planning needs evolve.
Personalizing Your DIY Planner
The beauty of a DIY planner lies in its potential for personalization. Beyond the functional aspect, your planner can reflect your personality, interests, and even aspirations:
- Creative Flair: Embellishments such as stickers, washi tape, and personalized dividers not only beautify your planner but also serve practical purposes, like highlighting important dates or segregating sections.
- Functional Additions: Consider incorporating pockets for loose papers, a pen holder, or adhesive tabs for easy navigation. These small enhancements can significantly boost the usability of your planner.
Maintenance and Updating
A planner is a living document, one that adapts and changes with your life’s rhythms:
- Regular Review Sessions: Set aside time weekly or monthly to reflect on your goals, rearrange tasks, and update your planner. This habit ensures your planner remains relevant and aligned with your objectives.
- Refreshing Your Planner: As seasons change or your preferences evolve, don’t hesitate to introduce new printables, switch out sections, or experiment with different layouts. The goal is to keep the planning process enjoyable and your motivation levels high.
In essence, a DIY planner is not just about keeping track of your schedule; it’s a canvas for creativity, a tool for self-reflection, and a companion on your journey towards organized and intentional living. By dedicating time to customize, assemble, and personalize your planner, you create more than just an organizational tool—you craft a space that inspires and evolves with you.
Conclusion
Creating a DIY planner is a rewarding project that allows you to design a personalized organizational tool that caters to your specific needs. By following this guide, you can craft a planner that not only helps you stay organized but also reflects your personal style and creativity. Regularly update and personalize your planner to ensure it remains an effective and enjoyable tool for managing your life.
FAQ’s
Q: What essentials do I need for a DIY planner?
A: Start with quality paper or an A5 binder, choose printable templates that suit your schedule, and consider tools like hole punchers and pens for customization.
Q: How do I choose the right size for my planner?
A: Consider how you'll use it—A5 for portability or letter size for more space. Your lifestyle and planning needs should guide your choice.
Q: Can I customize my planner pages?
A: Absolutely! Use design software like Canva for custom layouts, or find inspiration on Pinterest for creative printable pages.
Q: What's the best way to print my DIY planner pages?
A: Use a home printer with quality ink and select the correct paper type. For durable pages, thicker paper is recommended.
Q: How can I keep my planner organized?
A: Utilize tabs or dividers for sections, employ color-coding with pens or stickers, and regularly update your planner to reflect your current tasks and goals.

I am Sammy and I blog at Live it. Love it. Make it. It is creative lifestyle blog run by best friends H and Sammy. Head over and follow our crafty adventures!